
Garlic is known for both its delicious taste and its medicinal benefits. If you are aware of these merits of garlic and want to grow it in your home garden, you may be wondering if that is possible. Well, the good news is that you can propagate garlic right at home. And once you learn how you might not ever buy your garlic from the supermarket again!
How do I get started?
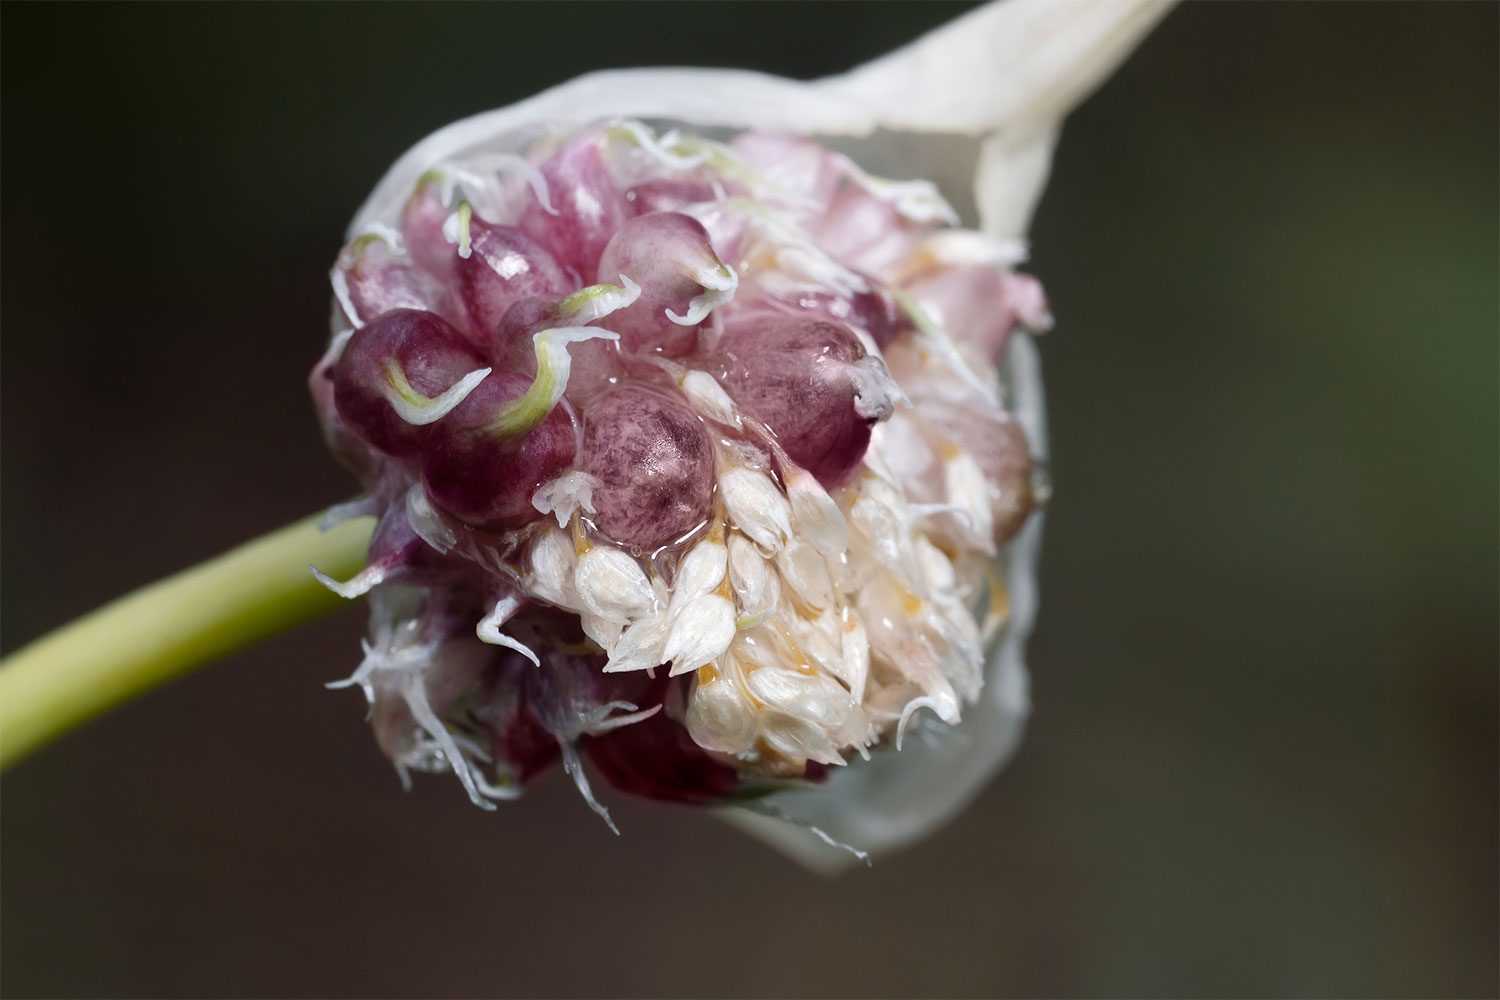
Garlic is propagated in two ways. One way is by planting cloves that are separated individually from bulbs. Another way is using the small, unseparated bulbs of hard neck garlic. These bulbs are found in the scape, which emerges in mid-spring up the middle of the developing garlic bulb. It will produce a “flower” filled with tiny garlic cloves, known as bulbils. Removing the garlic scape redirects growth energy into producing a larger garlic bulb. Also, many people consider the garlic scape as a delicacy in cooking.
Bulbils are the best way to propagate garlic because the number of bulbils is higher than cloves, meaning you’ll grow more garlic. Also, unlike cloves, bulbils don’t grow under the soil. So there’s less chance of losing your production because of soil-borne diseases. If you want to propagate garlic from cloves, make sure to use disease-free cloves.
How do I propagate garlic cloves?
To propagate garlic cloves you need to separate the cloves from the bulb and make sure to save the papery thin cover of each clove. The covers protect the cloves from pests.
Next, dig small holes approximately 1 inch deep and 2 inches wide. Maintain a distance of at least 5 to 6 inches between each hole; also, keep an average of 6 to 10 inches between each row.
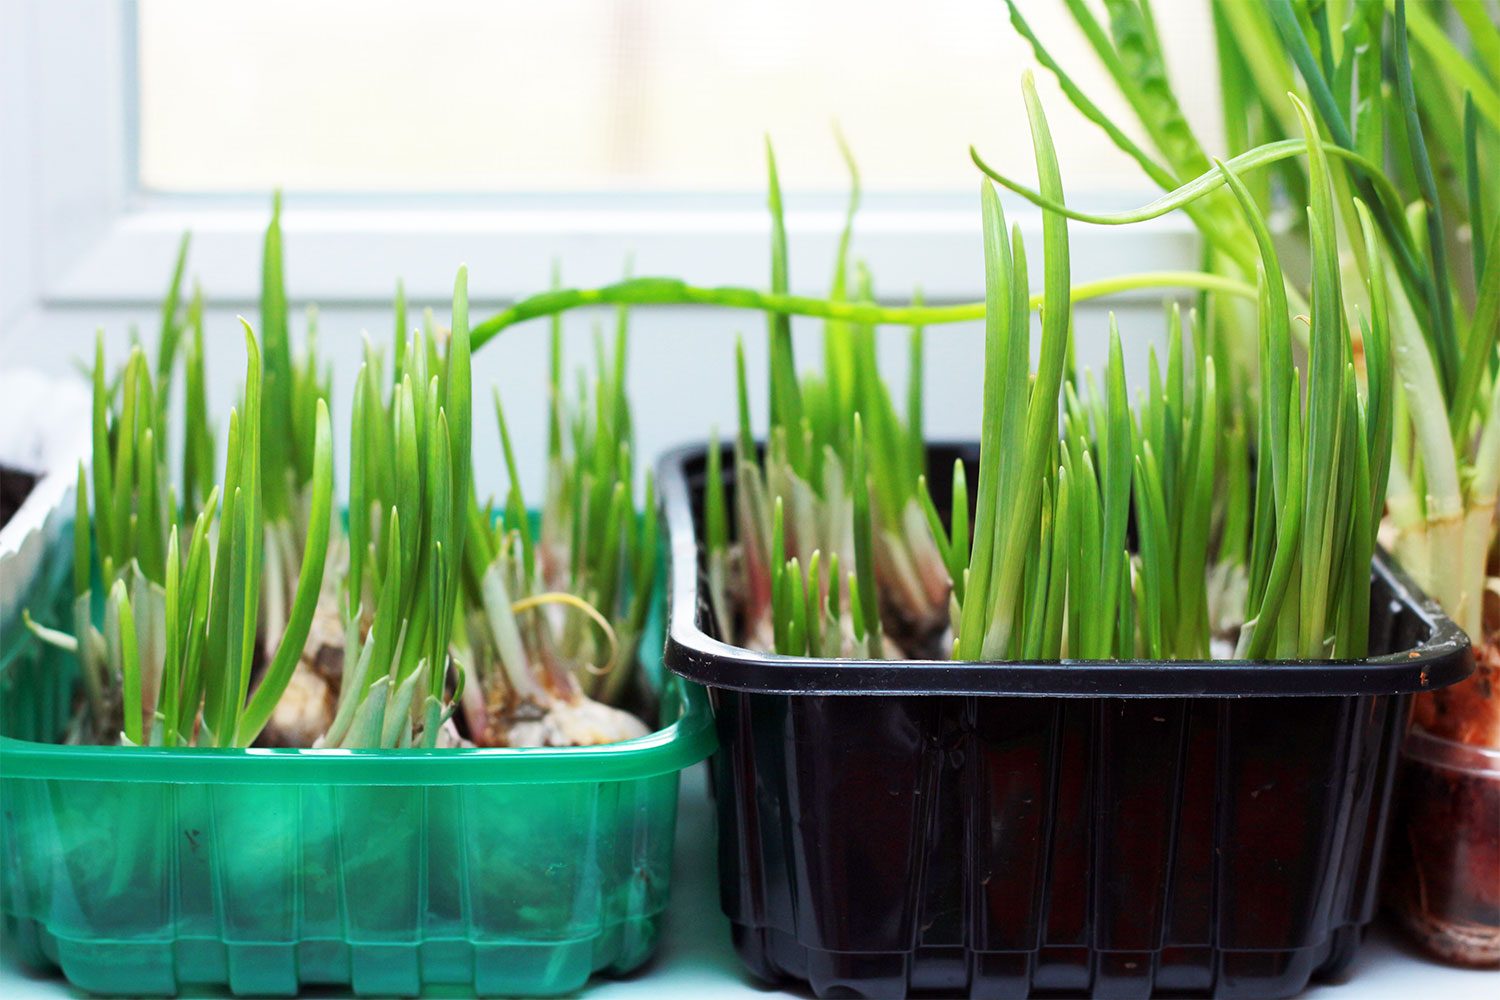
If you’d prefer, you can also plant bulbils in seedling trays indoors or in a greenhouse. The results will be the same, so you just need to determine what method works best for you. A 6-inch pot should be able to hold about 10 bulbils.
Place a clove in each hole with the pointed side facing upward. The roots grow from the bottom of the cloves and the shoots grow from the pointed side. Cover the holes with well-drained soil and compost and a soil pH of 6 to 7.5.
Keep a handle on the weeds
Make sure you keep your planting area free of weeds so they don’t choke out your tender, new garlic. It will actually look like chives so don’t mistake it for grass. Some experts suggest planting bulbils in furrows so you can easily distinguish shoots from weeds and grass.
The small bulbils can take as much as three years to produce a good-sized bulb while large bulbils will produce small bulbs the first year. This is also the time to make sure you water regularly. The bulbils need to be kept moist; if allowed to dry out in the early stages of growth they will die.
If you are planting cloves in the fall, there is always the risk of losing your crop to winter kill or voles or moles. Use 2 to 3 inches of mulch over the garlic clove beds to protect them from freezing, but do not mulch until just before snowfall. Mulch attracts pests like voles and moles that will make a comfy nest right over their winter snacks!
You’ll know it’s time to harvest when the garlic is mostly brown and starting to dry. Cure in a well-ventilated area with no direct sunlight.
Replenish soil before replanting
Once you’ve been successful harvesting bulbils your first year, you’ll probably want to turn around and replant them. But don’t just leave them in the ground to grow another year! You’ll want to plant them farther apart the second year and you don’t want to use the same soil two years in a row, which would increase your chance for diseases.
It’s a good idea to replenish the nutrients in your soil before the second planting. Composted mature or vegetable compost are both highly recommended.
The key here is patience! It can take a few years to achieve beautiful, large garlic bulbs, but the investment is worth it.


