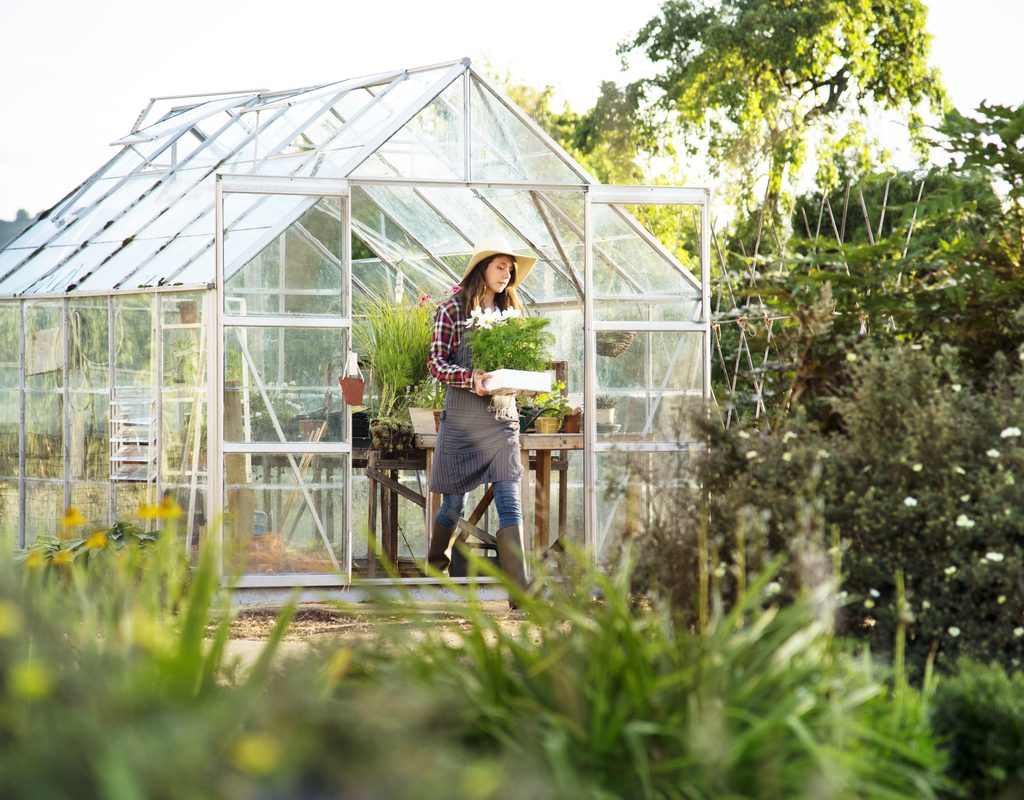
Step into a greenhouse in the middle of winter and you’ll instantly understand the attraction. It’s an oasis away from the cold, dreary days of winter, and it’s kind of like cheating the seasons. If you’re heading into your first winter with a new greenhouse, you’ll want to make sure that it’s ready for whatever Mother Nature has to offer. When the first frost arrives, it is time to winterize your greenhouse.
Why winterize your greenhouse
Greenhouses are built with a variety of features to protect plants from the cold while allowing adequate sunlight penetration for plants to photosynthesize. Some naturally allow more light to pass through, or retain more heat, or are more resistant to degradation than others. Winterizing includes several preventative maintenance, structural repair, and pest control measures. Winterizing the greenhouse each year ensures that the structure is ready on all fronts heading into the most important time of year.
Whether your growing system is actively or passively heated, proper winterization will ensure that both the plants and your infrastructure survive the cold with minimal wear and tear. Follow along as we walk through the process.
How to winterize your greenhouse
Step 1: Deep clean
Before cold weather sets in, give the whole greenhouse structure a deep cleaning from top to bottom. Remove shade cloth. Wash the glazing inside and out with a mild detergent solution to remove dirt, moss, mold, and algae, which will ensure maximum light transmission this winter. Scrape any built-up dirt and debris from between glazing panels and framework. Open the doors and vents, turn on the fans, and let the surfaces air dry.
Step 2: Check for pests
Insects and rodents can hide in the tiniest spaces. To keep them from damaging your winter plants, you’ll need to search them out. Check all interior surfaces for insects and eggs, including the undersides of plant benches, storage bins, spare pots, etc. Inspect all plants that will be overwintered inside the greenhouse. Cull, quarantine, or treat plants as necessary to eliminate any problems and keep the greenhouse pest free through the winter.
Step 3: Inspect the electrical system
Throughout the growing season, heat and critters can wreak havoc on electrical components. Inspect all wiring for damage. Clean built-up dust and debris out of heaters. Test all lights, heaters, soil cables, vent motors, and thermostats to make sure they’re functioning properly. Check the heater thermostat against a thermometer to make sure it is properly calibrated.
Step 4: Secure the structure
Check the whole structure for any necessary repairs. Damaged caulk lets in cold drafts. Scrape and re-caulk if necessary. Make sure that vents and windows close completely and securely. Inspect the operation of vent fans and louvers. Install storm windows and vent plugs. If strong winds are problematic in your area, disconnect automatic controls and securely close any vents on the windward side of the greenhouse.
Step 5: Protect the water lines
Unprotected water lines can easily be destroyed by the first freeze. If you’re completely shutting down in winter, turn off the water supply and drain the lines before cold weather arrives. Winter gardeners should plan on hand watering as needed. Where freezing temperatures are rare, it is possible to use the watering system all winter, but you have to keep a close watch on the weather forecast and drain the system ahead of predicted temperatures 32 degrees and lower.
Step 6: Ensure proper air circulation
Set circulating fans to operate constantly during the heating season. Doing so equalizes the temperature throughout the greenhouse, minimizes damp spots where mold and mildew could grow, and stimulates stronger plant growth. Be sure to space plants far enough apart for healthy air flow.
Step 7: Add insulation
A power outage or unusually cold weather may risk damaging your plant collection. Be prepared for a severe cold snap by having a backup plan to help the structure better retain the sun’s warmth. Large cell bubble wrap has been used for this purpose for years. Use greenhouse clips or a staple gun to line the interior of the greenhouse with bubble wrap.
With age and use, the structure will slowly degrade, so a little bit of timely maintenance is necessary. In frigid winter weather, the only thing keeping your garden plants alive is the thin glass (or plastic) wall of the greenhouse. With proper planning, care, and maintenance, the greenhouse will be a safe haven for you and your plants throughout the worst of winter. It all starts with winterization. Take care of your greenhouse and it will take care of you.