There’s such a wide variety of edible plants available that can be grown at home, so it isn’t surprising if you’ve never heard of eating prickly pears. Even if you have heard of them, harvesting and eating them may seem intimidating. They are the fruits of cacti, after all, which can make them tricky to pick. Don’t worry though, it’s easier than you may first suspect. This handy guide has all the information you need to grow, harvest, store, and eat prickly pears.
Growing prickly pears
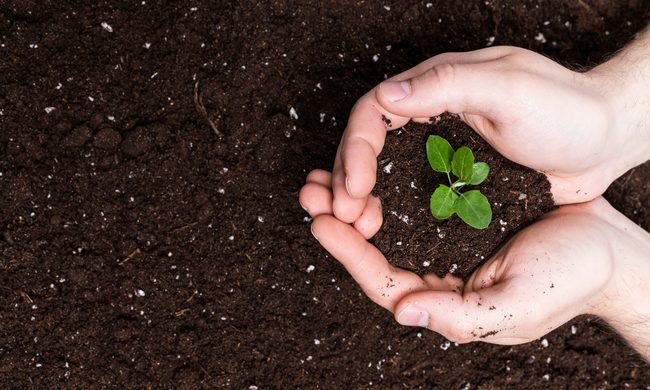
Prickly pears are cacti native to both North America and Central America. They thrive in hot, dry climates, making them great candidates for sections of your garden that may not support more delicate plants. It’s important to remember that prickly pears have large spines and glochids (smaller spines that detach from the plant), so they may not be a good fit if you have small children or pets, and you’ll need to wear thick gloves and sleeves when planting them.
Prickly pears come in a range of sizes, so you can choose the variety that best suits your garden. Although you can grow prickly pears from seed, they germinate and grow at uneven rates and are difficult to predict. The easier solution is to grow them from cuttings that can be obtained from nurseries and garden stores.
Dig a hole that is the same depth as the pot it was growing in, and carefully lower it in. When you first plant them, water them every two to three weeks. Once your prickly pear has begun growing, you can stop watering it. Rainwater alone is typically enough to keep a prickly pear alive and thriving.
How and when to harvest prickly pears
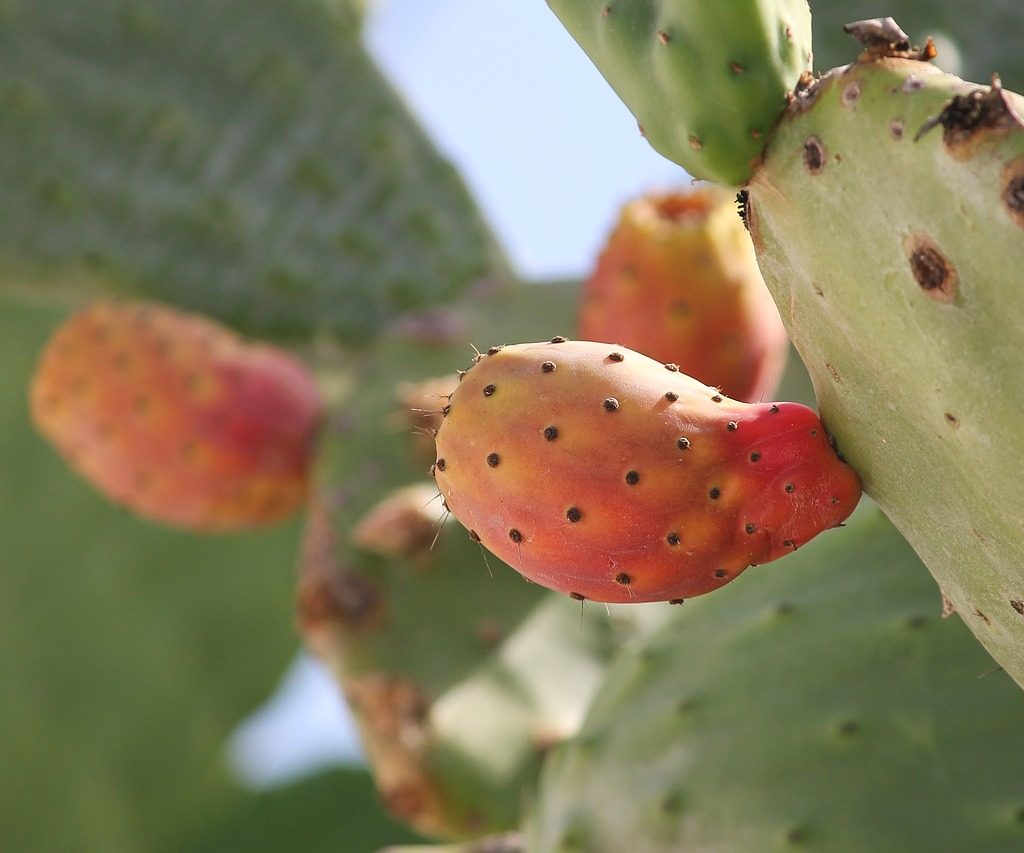
Prickly pears ripen throughout August, with the bulk of them becoming fully ripe in mid-August. However, it’s more important to know how to recognize a ripe prickly pear. Pick your prickly pear when the fruit is fully red, with no green remaining. It should detach from the rest of the plant easily, with little to no effort, and leak or drip some juice from the end when it’s picked. If you face more than a little resistance, your pear may not be fully ripe yet.
Since prickly pears have both long spines and smaller glochids, which detach from the plant when they come into contact with other surfaces, caution is key when harvesting prickly pears. Always wear thick gloves, long sleeves, and long pants when working with prickly pears, since even a slight brush against them can result in contact with glochids. If you do come into contact with them, the good news is that you can remove glochids from your skin by placing some tape, sticky side down, on the affected area, then removing the tape to pull the glochids out.
The actual harvesting process itself is quite simple. While you can remove them by hand (with gloves), this does put you closer to the prickly pear (and it’s unpleasant, irritating glochids). Instead, the most common solution is to use tongs. Either way, grip the prickly pear fruit firmly, but gently, and twist or snap it off at the base, where it connects to the rest of the plant.

Storing and eating prickly pears
Unfortunately, prickly pears don’t keep very well in storage. They can be refrigerated for a few days, or frozen for slightly longer. This means you should avoid harvesting much more than you’re prepared to eat, cook, or give away. However, there are plenty of great ways to prepare your prickly pears.
First, rinse the fruit carefully, like you would any other harvest. However, be mindful that the fruit of prickly pears also has spines, so keep your gloves on. The easiest way to safely get past the spines is to blend or mash the fruit, then strain it thoroughly. You can blend the fruit in its entirety, or freeze or cook the fruit, then mash it.
To strain your prickly pear fruit juice, use a metal strainer lined with cloth. Avoid using cheesecloth, as the spines could tear through it instead of being caught in it. Cloth napkins, a clean shirt, or part of a clean sheet are all good options, but keep in mind that the cloth should be disposable. It will collect the spines, which do not come out in the wash.
Once your juice is strained, it can be used for any number of things. You can drink it, or sweeten it to use as a syrup, jam, or a flavoring for drinks. Prickly pear juice also makes a good topping for desserts like cheesecake. Best of all, the juice keeps better than the fruit, so feel free to freeze it.
You’re finally ready to grow, harvest, and eat your own prickly pear fruit. Keep these tips in mind and you’re sure to find success in your garden. Just remember to practice good cactus safety, and keep your bare skin well away from your prickly pear. Enjoy your delicious, nutritious fruit juice, and experiment with all the rewarding recipes out there.