
Plenty of gardeners grow fruits and vegetables at home, and even some edible flowers, but what about mushrooms? Mushrooms are a favorite food for many, whether in stir fries or on pizzas, but they aren’t often grown at home. Does that mean mushrooms are too difficult to grow, or is that just a misconception caused by how different they are from vegetables and flowers?
If you’re curious about growing mushrooms, but aren’t sure where to start, then you’re in the right place. We’ll break down everything you need to know about growing mushrooms at home in this simple guide.
Are mushrooms difficult to grow?
The answer is yes and no. Growing mushrooms can be tricky at first. However, once you’ve had some practice, growing mushrooms isn’t any more difficult than other types of gardening. You might even find it easier than growing plants! You can cut through some of the difficulty and anxiety associated with growing mushrooms for the first time by getting a kit. Kits, which come with everything you need, along with instructions, are a great way to get started.
What are the easiest mushrooms to grow?
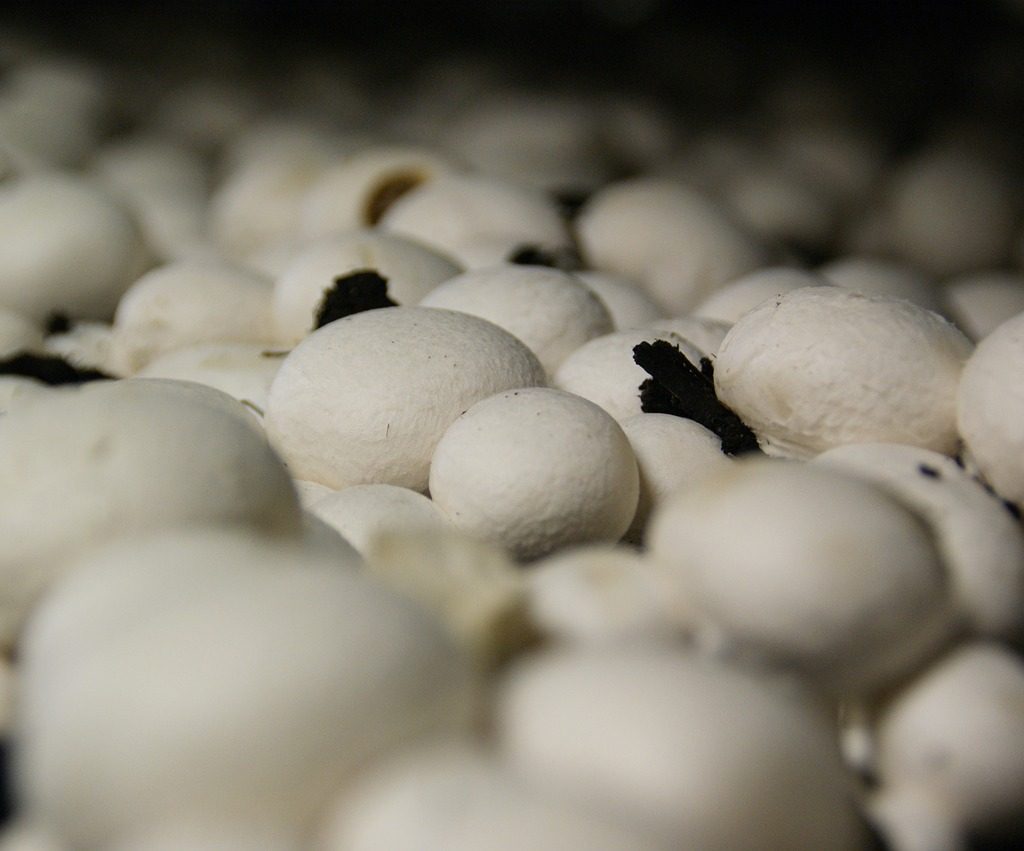
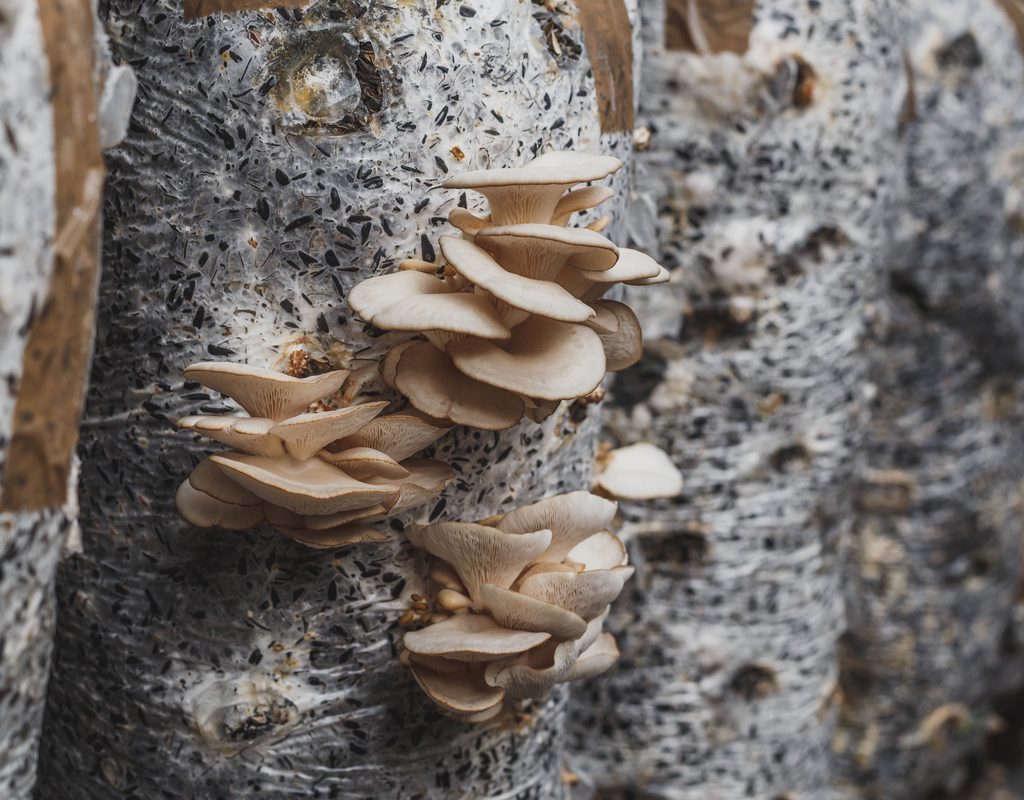
While you can theoretically grow any mushroom at home, some of them will be fairly easy and others will be much more difficult. There are two types of mushrooms that work best for beginners: oyster mushrooms and button mushrooms. There are kits available for both, but you can also easily find spores or spawn if using a kit isn’t to your liking. They’re easy to grow, and very versatile. There are several different kinds of oyster mushroom, and button mushrooms are actually the same as cremini and portobello mushrooms.
How to start growing mushrooms
The growing substrate (the material the mushrooms are grown in) will be different depending on the type of mushroom you’re growing, so it’s always a good idea to double check your mushroom’s needs before you begin. Button mushrooms need a lot of nitrogen, so the most common substrate for them is manure, or a mix of manure and compost.
Oyster mushrooms aren’t quite as picky, and are typically grown in straw, sawdust, cardboard, or wood pellets. The substrate will need to be sterilized, so that you can avoid growing other, less pleasant fungi along with your tasty treats. This generally means heating the substrate, typically through boiling or soaking in hot water, but will vary slightly depending on your substrate of choice.
Next, you’ll need to prepare the growing container. For button mushrooms, you can use any box with solid sides that is at least 6 inches deep. Wood, metal, and plastic are all acceptable. Oyster mushrooms grow horizontally rather than vertically, so they need grow bags or a bucket with a lid. If you use a bucket, drill holes four or five inches apart, with each row offset from the one above it. The holes should form a rough diamond pattern around the sides of the bucket. If you’re using a grow bag, you’ll need to add the substrate and spores before cutting holes in the sides, to avoid spilling the substrate when you add it.
Finally it’s time to add the spores to the substrate. Be sure your hands and any surfaces you’re working on are clean. If you’re growing button mushrooms, add your substrate to the box, leaving a couple inches of room at the top of the box. Add your spores, mixing them into the top few inches of the substrate. For oyster mushrooms, make sure your substrate is damp, and then simply mix your spores or spawn into the substrate and add it to your container.
Caring for and harvesting your mushrooms
Button mushrooms grow best in dark places. You can place the box under your bed, in a closet, or even in a corner of your basement. You can add a lid or covering to the box to help keep them in the dark, but be sure there are plenty of ventilation holes. Oyster mushrooms need indirect light. Direct light can dry them out, so avoid sunny areas. Start them in the dark, then move them to indirect light once the mushrooms begin showing.
Both mushrooms need warmer temperatures to begin the growing process, so keep the containers away from cold areas of your house at first. Button mushrooms should be moved to a cooler location once the substrate is coated with white mycelium. Mist button mushrooms both before and after they begin fruiting, but don’t mist oyster mushrooms until the mushrooms begin forming. Once the mushrooms form, mist them daily.
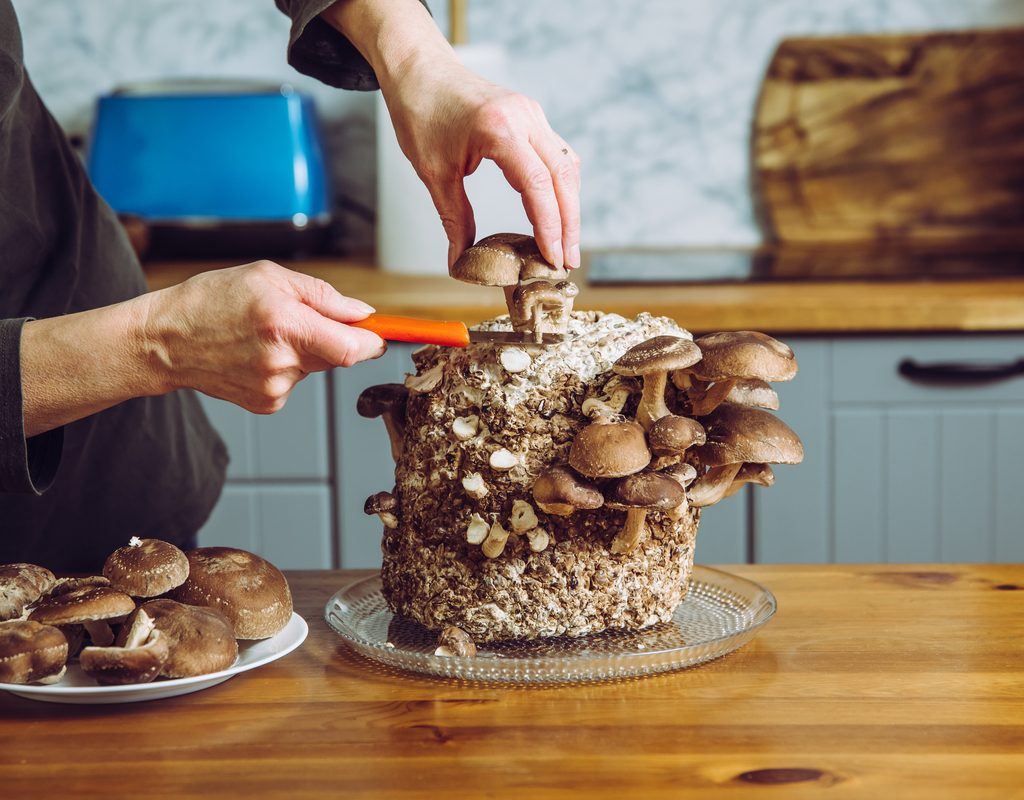
Oyster mushrooms are ready to harvest a few days to a week after the mushrooms become visible, when the edges of their caps flatten out. A sure sign that button mushrooms are ready for harvest is their caps, which will open or pull away from the stem. If you leave them to continue to grow, you’ll end up with cremini or portobello mushrooms. To harvest either mushroom, gently snap or cut them off at the stem.
Now you have all the basics covered to begin growing the two easiest mushrooms. You can even regrow the same kind of mushroom, by waiting two weeks after harvest and beginning to mist the substrate again. Once you’ve tried these out, you can move on to more complicated or exotic mushrooms. No matter what you decide to grow, enjoy your delicious, nutritious fungus!


