
In order to grow most plants, you need soil. In many cases, you can just plant some seeds in the ground and watch them grow. For pickier plants, you can make your own soil mixes tailored to the plant’s needs. What do you do when your soil carries fungal spores or diseases, though? If you want to safely grow plants using it then you’ll need to sterilize it first. That may sound intimidating, but it’s actually quite easy. Here is how to sterilize soil and why you might want to.
Why should you sterilize soil?
Sterilizing soil isn’t necessary for everyone, but it can help if you’re using soil that has a history of diseases, pests, or fungal infections. If you aren’t sure about the soil’s history, then sterilizing it can help ensure that any harmful bacteria, pests, or fungal spores are less likely to impact the plants you grow.
Soil sterilization doesn’t kill everything. Those that are heat resistant or are able to multiply quickly may still survive the process. You can sterilize soil through heat or chemicals. Chemical sterilization is impacted by which chemicals you use. However, chemical sterilization can be hazardous to do at home, because of the potential health effects of the chemicals used. Heat sterilization is impacted by how hot the soil gets and how long it stays at that temperature.
Additionally, most methods are better suited to sterilizing potting soil. Traditional outdoor gardens simply have too much soil for most sterilization methods. While you could sterilize part of your outdoor garden, it wouldn’t have much of an effect. The best ways to sterilize traditional gardens is through solarization, simply letting it sit unused, or switching to plants that are resistant to the particular disease you’re dealing with.

Baking in an oven or microwave
To prepare your soil, place it in an appropriate container and moisten it slightly. The water will become steam, which helps evenly heat the soil. For ovens, spread the soil out in a layer that is 1 to 3 inches thick and cover the container with tin foil. For microwaves, use a microwave-safe bag or bowl that isn’t sealed or covered. Make sure there is no metal in your soil before placing it in the microwave!
The ideal temperature for this method is 180 to 200 degrees Fahrenheit. Use a meat thermometer or other easy-to-clean thermometer to measure the temperature of the soil itself. The soil should stay in that temperature range for 25 to 30 minutes if you’re using an oven.
Microwaves, which are used for shorter times, won’t be able to hold the temperature for that long. Instead, focus on getting the soil to that temperature range. The amount of time it takes varies depending on the strength of your microwave. Remember, the soil will be hot, so let it cool before you handle it.
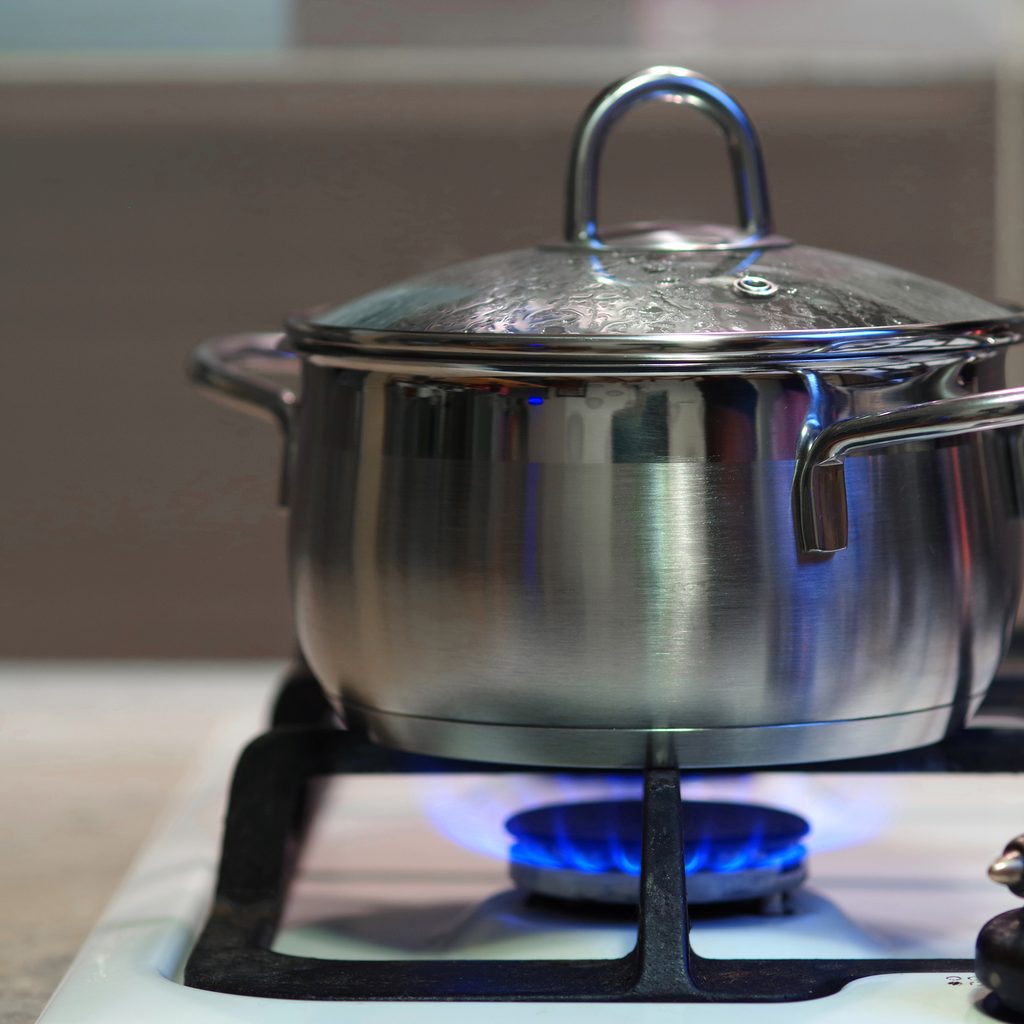
Steaming
You can steam soil in a pressure cooker or on a stove, but the method is more or less the same in either case. Start with a couple of cups of water in the bottom of the pressure cooker or a couple of inches of water in the bottom of a pot. Place a rack over the water, so the soil is just above the water rather than sitting in it. Place your soil in small heat-safe containers. The layer of soil in each container should only be a couple of inches thick.
Cover the containers with tinfoil. Put a lid on the pot, leaving a small gap for steam to escape. If you’re using a pressure cooker, leave the steam vent open, to begin with. Depending on the pressure cooker model, the valve may close on its own, or you may need to manually close it once the water heats up. Cook the soil in the pressure cooker for 15 to 30 minutes, and the soil on the stove for 30 minutes. Let the soil cool before removing it.
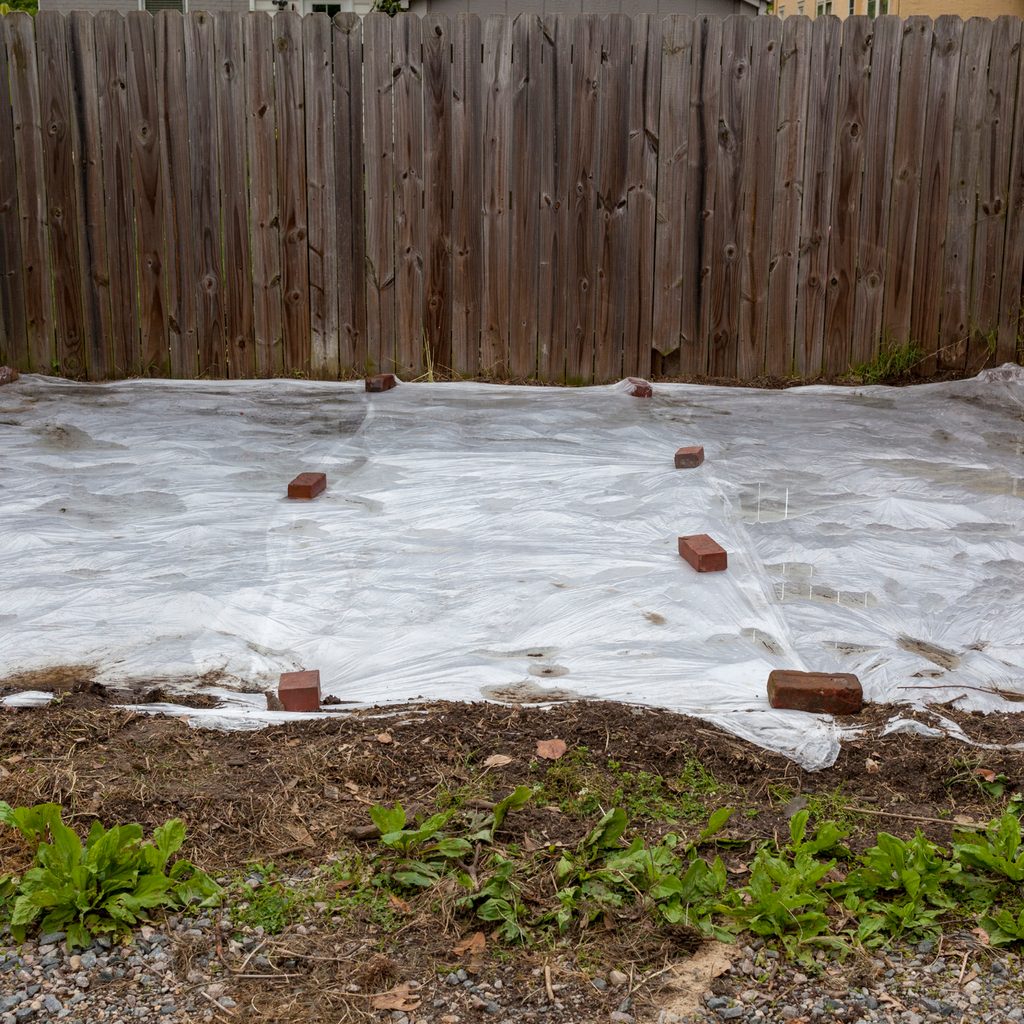
Solarization
Solarization, or using the sun to sterilize your soil, can be done on small or large batches of soil. The downside of this is that it takes much longer. All you need is clear plastic of a medium thickness, which is about 1.5 to 2 millimeters. Thinner plastic is more likely to tear, while thicker plastic can slow down the solarization process.
Remove rocks or debris from the soil and then break up any large clumps before starting. If you’re solarizing potting soil, then spread it out on a layer of plastic. Moisten the entire amount of potting soil or the top foot of your garden. Then spread another layer of plastic on top. Secure it at the edges with heavy objects, and wait four to six weeks in the summer, or twice as long in colder, cloudier conditions.
Sterilization can help protect your plants from pests, diseases, and fungal infections. It may even kill some weed seeds, reducing the amount of weeding you’ll need to do. While it can’t get rid of everything, it can be helpful if you’re reusing your soil. It’s an especially good idea to sterilize soil if plants grown in it before struggled with diseases or infections. Using these simple methods, you can sterilize your soil and grow your plants safely.


