
There are tons of products and techniques for enriching your garden and helping your plants thrive, but some of them can sound pretty intimidating. Bone meal is certainly on the list of scary-sounding plant products. Is it actually made of bones, and what could it possibly do for your garden? If you’ve ever been confused or even a little grossed out by bone meal, don’t worry. We’re going to tell you everything you need to know about what bone meal is and how to use it.
What is bone meal?
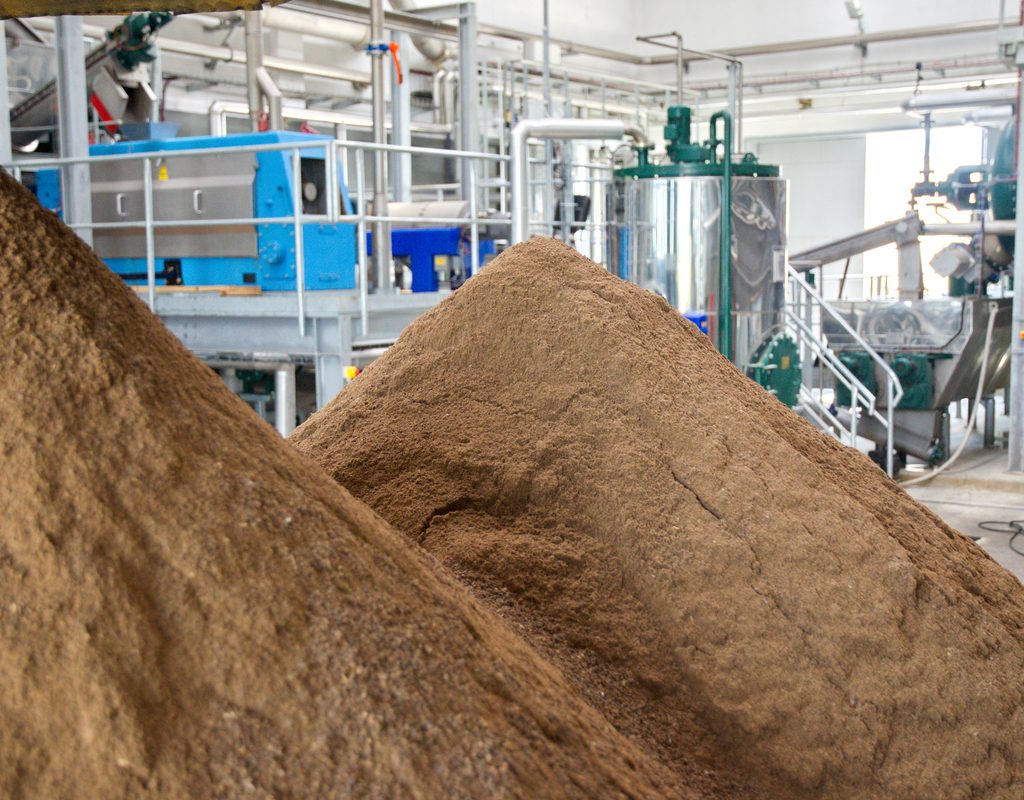
Bone meal is a powder made from finely ground animal bones. The bones are sourced from farms or slaughterhouses, so the most commonly used bones are beef. However, you can find bone meal made from other common livestock, such as pigs or chickens. The animals are tested for disease, and the bones are boiled or steamed before being ground, so you don’t need to worry about sanitation.
Most gardening supply stores will carry bone meal, however you can make your own if you’re feeling particularly industrious. If you do want to make your own, we’d recommend using chicken or turkey bones, as they’re smaller and easier to grind without special equipment. Be sure to boil them thoroughly first, both to clean and to soften the bones.
How does it help your garden?
Bone meal contains a lot of phosphorus and calcium, two nutrients that plants need to grow and thrive. Phosphorus is associated with growth and blooming, while calcium helps with the building of cell walls. Additionally, bone meal breaks down very slowly, meaning that a small amount of bone meal can last for quite a while. This prevents nutrient overload and cuts down on the amount of time you have to spend fertilizing your plants.
Bone meal is also completely natural and organic. Some manufacturers may add other nutrients to the mix, which can affect its organic status. However, pure bone meal, being only animal bones, is fully organic. In fact, it’s one of the best organic ways to add a large amount of phosphorus and calcium to the soil.
How to use bone meal
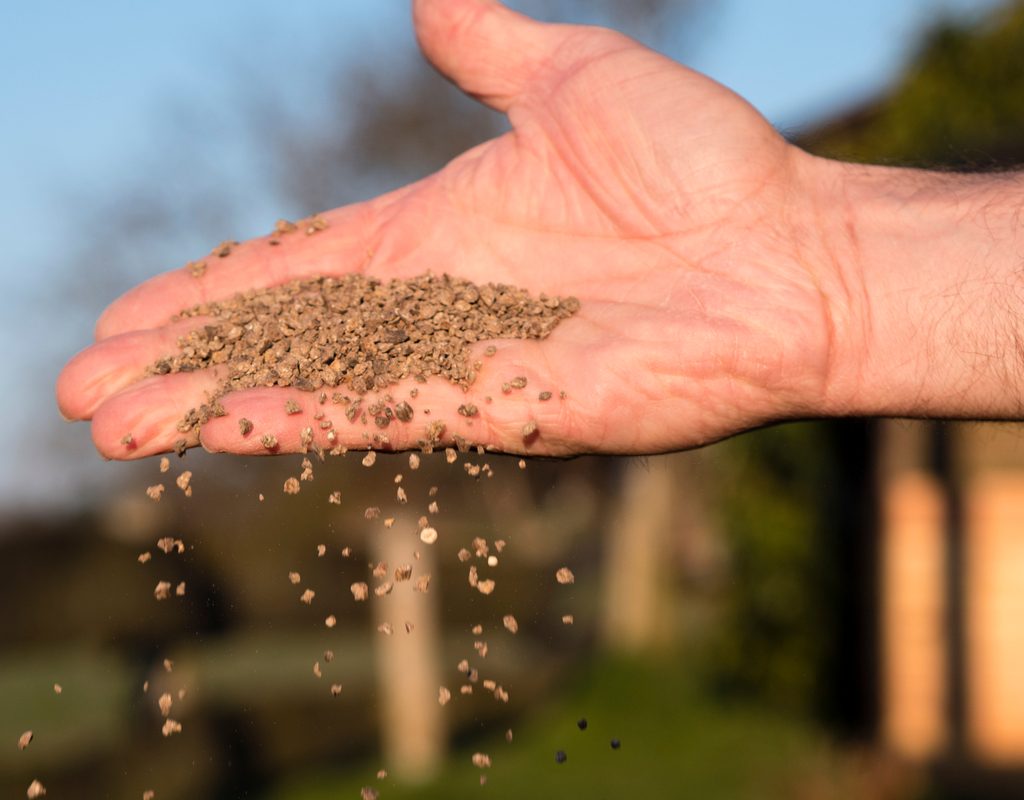
Bone meal is used like any other fertilizer, in that it’s mixed into the top three to six inches of soil. However, it’s important not to use too much. Remember that bone meal stays in the soil for a long time before it fully breaks down, so if too much is added, you’ll have to wait a while for the soil to return to normal nutrient levels.
You should read any instructions that come with your bone meal, but typically it’s added at a ratio of 10 pounds per 100 square feet. If you don’t have a 100 foot garden, that’s 1 pound per 10 square feet. Test your soil before application, and don’t use bone meal if you already have an average or above-average amount of phosphorus or calcium in your soil.
Additionally, you should test your soil’s pH first. Bone meal is most effective in soils that are acidic to neutral. In soil that’s alkaline, plants have difficulty absorbing phosphorus. Applying bone meal to alkaline soil can lead to a buildup of phosphorus in the soil.
Are there any drawbacks or downsides?
Aside from needing to use bone meal specifically on acidic or neutral soil, bone meal can also occasionally attract animals. Scavengers may be drawn to the scent. However, this can be mitigated by adding a layer of mulch after mixing in the bone meal, a step that will help dampen the scent and keep out nosy pests.
A downside for some gardeners may be that bone meal is made from animal bones. If you’d prefer something else, you can use banana peels and nuts to add phosphorus to your compost instead. However, these don’t have as much phosphorus as bone meal, nor do they last as long in the soil.
If you’re concerned about the potential mistreatment of the animals whose bones are being used, there are some things you can do. Getting bone meal from a reputable source helps, but since some brands don’t disclose where specifically their bones come from, it can be difficult to be certain. A better option may be looking for local sources of bone meal. You can look for it at your local farmers market, or get in touch with local farmers and butchers. If you buy local, you’ll be able to speak directly with the farmers and ask them about how the animals are cared for.
Bone meal may have an intimidating name, but it can do a lot of good for your garden. It’s easy to use, has a lot of benefits, and only has a few potential drawbacks. Remember not to use too much, and test your soil’s pH and nutrient levels beforehand. Your plants will thank you with healthy, vigorous growth.


