

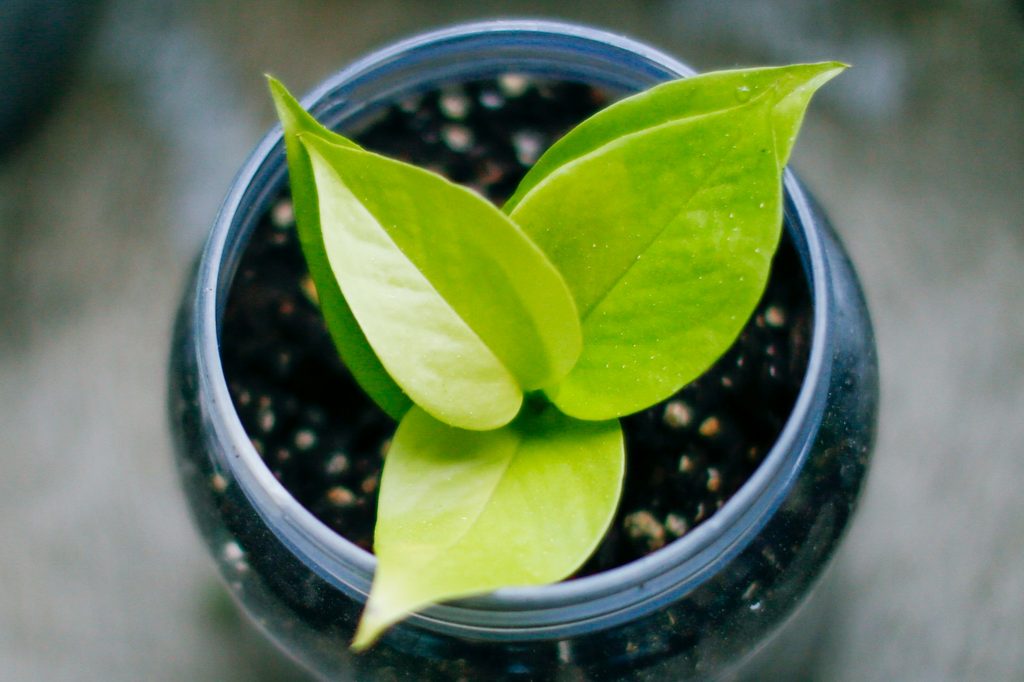
Pothos plants are known for being beginner-friendly and pretty houseplants, but you may not be aware of just how many types of pothos there are to choose from. From the stunning manjula pothos to the classic golden pothos, there are pothos varieties to suit every aesthetic preference. The neon pothos is perfect if you’re looking for a bright color to accent your home to liven up a dark space. True to its name, this pothos features neon green leaves. To keep yours looking its best, here’s how to care for a neon pothos.
Planting a neon pothos
Like most other types of pothos, neon pothos plants are not particularly picky when it comes to soil. You should avoid heavy, slow-draining soils, but otherwise, practically any soil mix will do. Many gardeners find success with standard potting soil. If you want to give your neon pothos a little extra attention, amending the potting soil with perlite, vermiculite, orchid bark, compost, pumice, or a mix of those additives will create a lighter, well-draining soil mix that your pothos will thrive in. You can even start with an orchid or cactus soil mix as your base if you prefer.
Neon pothos thrive in bright, indirect light, but they tolerate some shade as well. Avoid leaving them in direct sunlight for extended periods of time, as the leaves can burn and turn brown in the intense light. Morning sun and afternoon shade is perfect for these plants, but they’ll be just as happy with afternoon sun through a light curtain or a shady spot with supplemental grow lights. If left in the shade for too long, the leaves can begin to darken and lose some of their vibrancy. If you notice this happening, simply readjust your plant so it’s receiving more light.
Neon pothos care
Neon pothos is a hardy plant that can withstand some drought, but regular water will help keep its leaves looking fresh and happy. During hot weather, if your neon pothos is in direct sunlight, water your neon pothos whenever the soil is dry. Avoid getting the leaves wet when possible, as consistently damp leaves encourage fungal infections that can leave your plant vulnerable to pests.
During winter, you can reduce your watering, as your neon pothos will grow more slowly and need less water. If you aren’t sure if your neon pothos needs to be watered, check the soil and the leaves. Dry soil and limp leaves mean it’s time for your neon pothos to be watered.
Neon pothos plants are not heavy feeders and will survive without regular fertilization, but they do appreciate the occasional boost. To avoid overfertilizing your neon pothos, feed it sparingly during spring and summer with a balanced liquid fertilizer. You can also opt for a fertilizer with a higher nitrogen and lower phosphorus and potassium. While all three are essential and fill multiple roles in your plant’s life, nitrogen is primarily associated with leaf and stem growth, while phosphorus and potassium are associated with flowers and fruit.
As your neon pothos grows, it will likely need to be repotted a time or two. Unlike some plants that need to be repotted on a schedule, pothos plants grow at a more variable rate. While you can repot them every year or two on a schedule, you can also wait until you see signs of your neon pothos outgrowing its pot. The clearest sign is roots visible above the surface of the soil or growing out of the drainage holes.
Pruning and propagating neon pothos

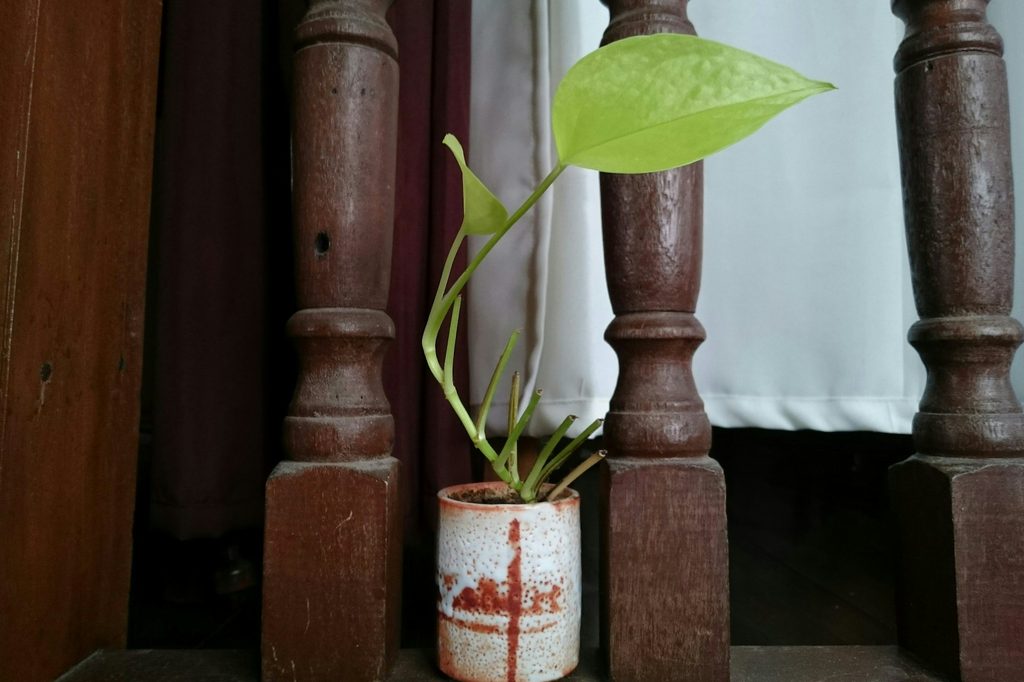
Pothos plants are sometimes called devil’s ivy due to the speed at which the vines can grow. If you need to keep your neon pothos small, the best way to do so is through pruning. The process is simple, and you can use the pruned stems to propagate your neon pothos, turning one plant into several! All you need to prune your neon pothos is a pair of sharp, clean scissors, shears, or a knife. The blades being sharp and clean is important for your plant’s health, as dull blades can crush the stem instead of cutting it, and dirty ones can spread bacteria or fungal spores.
When pruning trees, you start with the damaged or diseased branches first. However, your neon pothos is unlikely to have damaged stems. Instead, focus on stems that have become too long or are growing in a way that you don’t want them to. Cut the stem just above a leaf node in a single cut. Avoid taking more than 2/3 of the stem at once, as this can stress the plant. Then, you can place the cut end of the stem in soil or water to grow a new plant. If you propagate in water, be sure to remove any leaves that would be below the water level.
Neon pothos plants are lovely and easy to grow, making them perfect plants for beginners. Whether this is your first plant or your hundredth, you’ll be sure to enjoy the bright leaves and stress-free care requirements of the neon pothos. You can even propagate them, and propagated neon pothos plants make great gifts!


