When you move with plants, one of the most exciting parts is getting to set them up in a new space! You get to find the perfect window, the perfect arrangement, and the perfect amount of light for all your blooms to live their happiest lives. Before you get to the excitement of setting up your home, though, you have to pack your plants into boxes. Since packing plants is such a delicate task, it’s imperative that it’s done right. No one wants to open a box and discover the a plant has lost leaves or a pot has been broken! This simple guide will help you keep your plants safe and healthy during the move.

How to prepare your plants before the move
Whether you’re driving your plants to your new home yourself or hiring movers to do the job, there are some basic precautions you can take to ensure your plants arrive safe and sound. As you plan, keep in mind that regulations regarding moving plants will vary from state to state and country to country. Follow the U.S. Department of Agriculture guidelines to help limit and prevent the spread of harmful insects and pests attached to foreign plants.
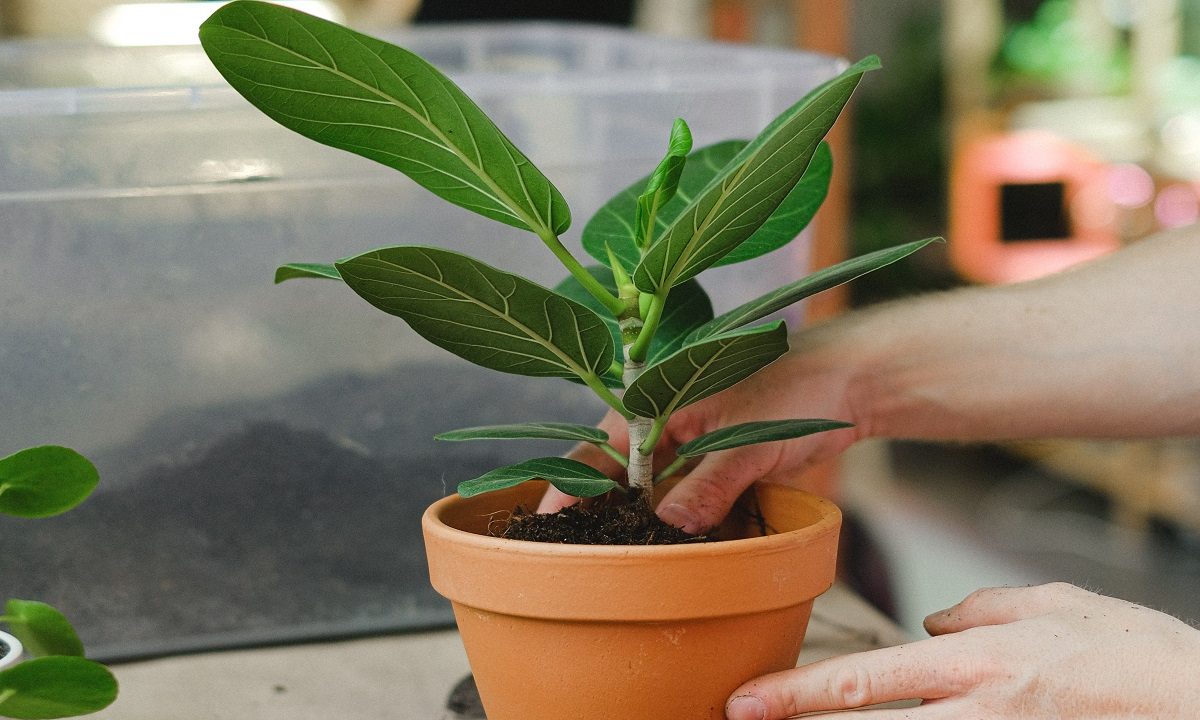
Step 1: Three weeks before the move: Repot into shatterproof containers
This gives your plants time to get acclimated to their new pots before being moved. Shatterproof containers will help ensure that any bumps or sudden movements won’t break anything, slice into the roots of your plant, or harm the soil.
If you’re packing your plants to have movers shuffle them around for you, you’ll want to make sure you repot each of your plants. However, if you’re going to move your plants in your own car, you can decide whether the risk is enough to repot them or if you’re confident that you’ll drive safely enough to protect them.
Step 2: Two weeks before the move: Prune any plants you're worried about
Prune back leafier, bushier plants if you’re worried about how much space they'll take up, or if you're worried about long stems breaking during the move. Repotting and pruning two to three weeks before moving will give your plants some time to settle and decrease the risk of experiencing shock when moved to a new environment.
Step 3: Two days before the move: Cease watering plants
Plants should be watered normally until two days before the move. After the move, wait to water your plants until after they’re in their new environment. If the soil is too wet during the move, it could freeze or provide a good environment for fungus (or fungus gnats), depending on what time of the year you’re moving.

Packing your plants for the big move
When the time comes, how you pack your plants will largely depend on whether you’re transporting them yourself or having movers do the job. If you’re planning to take plants in your own car, you may find that it’s easy enough to just put small ones in an open box, set larger ones upright on the floor, and be on your way; however, if you’re packing the plants for professionals to move, or if you have a lot of plants to move at once, here are some tips you’ll want to consider.
Step 1: Choose a box that can comfortably fit your plants and tape up the bottom so there’s minimal risk of the plants falling through.
Step 2: Secure plastic bags over the pots to help prevent the soil from spilling, and then place the bagged plants into the box.
Step 3: Fill the empty spaces between the pots with packing material like newspaper, extra plastic bags or bubble wrap.
Step 4: Seal the box, put a few holes in it for airflow, and clearly label the outside so anyone who handles the box knows to be careful with the contents.

How to move a cutting from a plant too large to take with you
If a plant is too big to move in a box, taking a cutting might be the happy medium between going without your plant entirely or risking the safety of your plant and your other belongings. Before you decide to go this route, double-check to make sure the plant can be regrown from a cutting.
Step 1: Once you have determined your plant can be regrown from a cutting, use a sterile pair of pruning shears, scissors, or a sharp knife to cut a healthy piece of the plant the morning of your move. Depending on the plant, this might be a root cutting or a leaf cutting.
Step 2: Wrap the cutting in a damp paper towel and secure it in a sandwich bag or clear wrap so that it stays closed through the move. Be sure to keep the paper towel moist throughout the move, and propagate the cutting as soon as possible after arriving at your new home.
Unpacking your plants
With careful planning and a little bit of luck, your plants will arrive safely in your new home. Unpacking them is thankfully much easier, but there are still some special considerations to make. The first thing you should do when unpacking your plants is inspect them and their containers for signs of damage.
If the container is damaged, don't repot it right away. Your plant is likely already stressed by the move, so the additional stress of repotting it could weaken it further. Instead, patch the crack temporarily or set the pot in a bowl or tray that will collect any water that might leak out of the crack. Severely damaged parts of the plant, such as a branch that has been partially torn off, can be trimmed away, but leave minor damage to heal on its own.
Next, arrange your plants however you like, and let them settle in. Avoid making big changes to their set up, such as repotting or moving them between areas with radically different temperatures, for a couple weeks. This will give them time to recover from the stress or shock of the move.
Moving is a massive undertaking that can present many challenges to you and to your plants. By following our tips, you can safely relocate your plants from their old home to their new one without worry.