
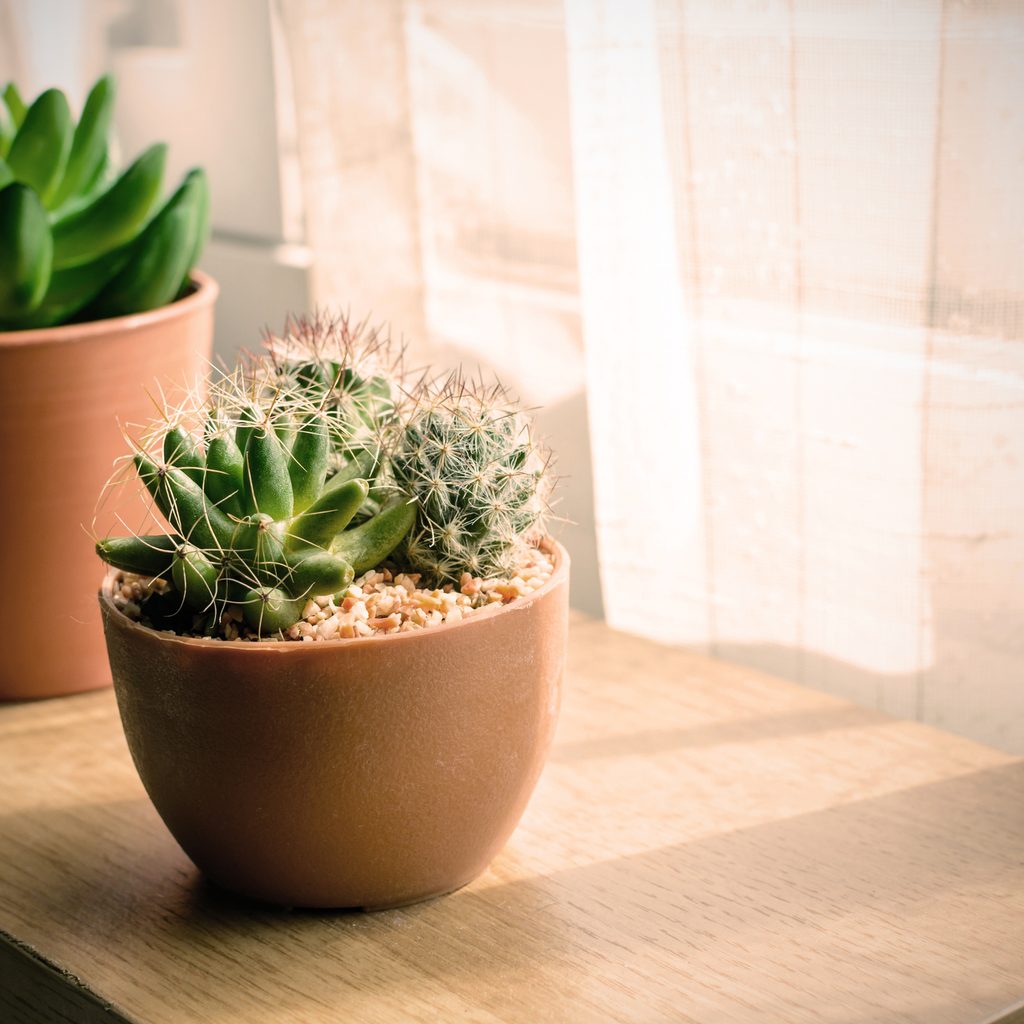
Cacti have a reputation for being nearly indestructible, but “nearly” is the operative word here. A mushy rotting cactus is very much a reality with a generous watering hand, while one kept in direct sunlight for too long will turn brown. If you’ve found yourself with a less than green cactus, we’ve rounded up tips below for troubleshooting your cactus issues and nursing your plant back to good health.
Cactus discoloration issues
Why is my cactus turning yellow?
The biggest culprit behind a cactus turning yellow is root rot. So, what are the signs of a dying cactus? When your soil holds too much water, it’ll become a habitable environment for fungal and bacterial infections that slowly rot the plant from the root up. The stem will become soft and mushy at the same time, and will turn yellow. A yellow cactus can also be due to the opposite problem: too little water. But an overly dry cactus will also be associated with shriveling and wrinkling stem parts.
Why is my cactus turning brown?
A cactus will likely turn brown due to two reasons: sunburn and pests. A sunburned cactus starts out a yellowish color and progresses into brown or black with time, leaving the plant’s surface bumpy and rough. Pests such as scale and spider mites can also feed on your plant and leave brownish spots—usually, scale will feel sticky while spider mites leave behind webs. A cactus can also turn brown from age—this phenomenon is called corking, which starts from the base and works its way up to the top of the cactus.
Techniques for troubleshooting cactus problems
How to treat a rotting cactus
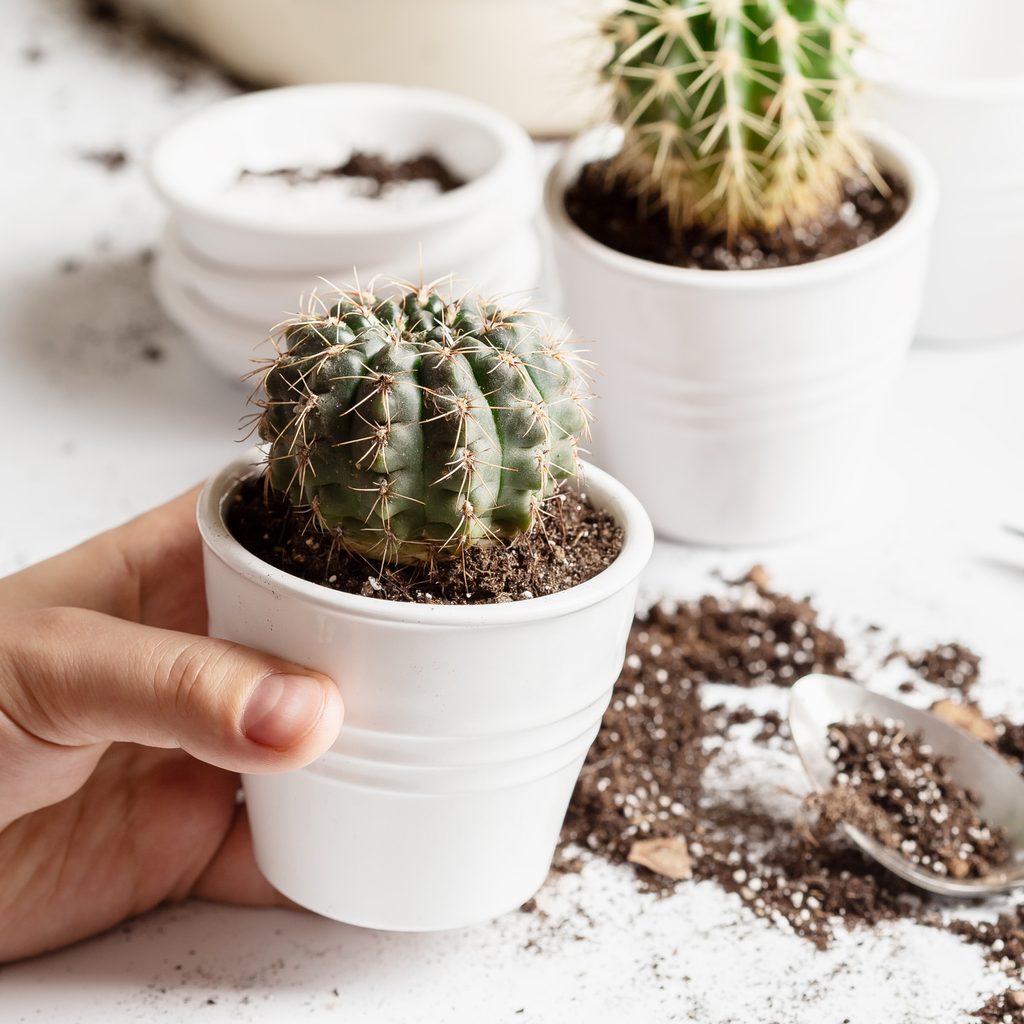
You might be wondering, “How do I save a yellow cactus?” A rotting cactus is unpleasant, but it’s not altogether impossible to treat if you have any remaining green tissue. Start by carefully removing the cactus outside of its soil. Then, cut off any yellow or brown tissue with a sterile knife. Allow the cactus to form a callus over a few days, then place it in fresh cactus soil in a bright, warm spot, watering sparingly when the soil dries out.
How to treat a sunburned cactus
There’s not much you can do about the sunburned part of a cactus—it’s a done deal once it happens. That part of your cactus won’t be able to photosynthesize, but the rest of your plant should be able to if it still has green tissue. You can take cuttings of healthy parts of your cactus or leave it be. When you notice the sunburn, place a shade cloth over your plant and leave it in a shadier spot.
How to treat pests on a cactus
With any pests, spray your plant vigorously with water to remove as many bugs as possible. If you’re so inclined, repot your plant into fresh soil. Then, apply neem oil and insecticidal soap to the foliage—the neem disrupts the pests’ feeding and mating cycle so that they slowly die. You may have to reapply neem oil every week until the pests are permanently gone.
How to treat a corking cactus
If your plant looks roughened and brown but isn’t squishy, it’s likely corking. While sunburn usually moves from the top downwards, corking goes upwards. As cacti age, they become more top heavy, so plants stabilize themselves by hardening fibers to support the plant. Although corking is unsightly, it’s perfectly normal with older plants. That said, consider factors that may contribute to it, such as extreme cold and bright direct light. If you want to remove the corking altogether, you can, again, always take green cuttings.
How to keep a healthy and green cactus
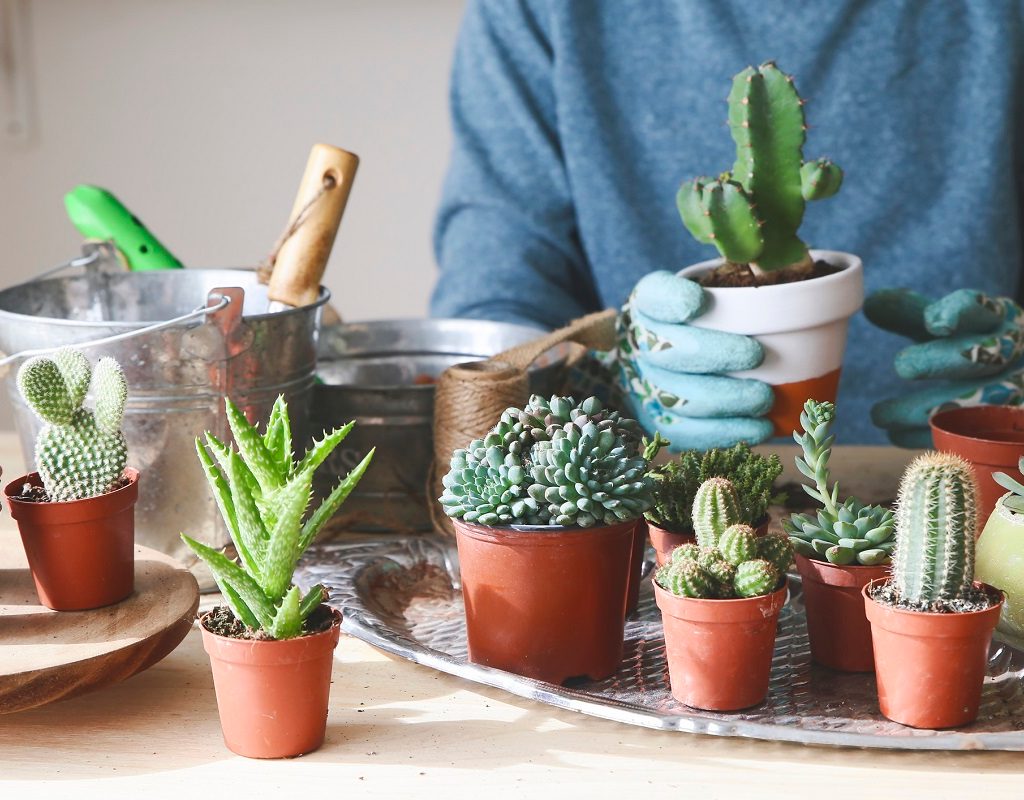
Prevention is key to maintaining a healthy cactus, and luckily, prevention is pretty low maintenance. Simply put, your cactus will appreciate neglect—to a certain degree anyway. In the winter, your cactus will go dormant, which means you can water it even less than you usually would; some people don’t water their cactus at all outside of the growing season.
In colder regions, most cacti will appreciate going inside when the temperatures drop. However, you can protect an outdoor cactus from precipitation and low temperatures with physical structures such as tents and row covers. In addition to keeping your cactus away from cold, wet weather, plant it in well-draining cactus soil. Use a terracotta pot if you’re keeping it inside a container—the clay material will be more forgiving with overwatering.
Cacti will also appreciate bright light, which makes a southwest window ideal. That said, your cactus can also experience foliage burn if it receives too much direct sunlight. Every so often, check your foliage to see if it looks burned or if it has any pests.
A yellowing or browning cactus is never an encouraging sign, but it’s not the end of the world if you notice foliage discoloration. Assess the damage your cactus is going through and then take proactive steps to halt it. Once you have everything under control, decide whether or not you’ll leave the damaged foliage be, remove it, or create fresh cuttings from your plant. With any remaining green tissue, you’re just in luck!


