Plants use a lot of nutrients when they’re growing leaves, putting out flowers, or producing fruit. For many gardeners, the solution is to get a bag or bottle of plant food from the local garden store, but is that really the best option? In this simple guide, we’ll cover everything you need to know about making your own plant food. We’ll break down how to make plant food and go over the pros and cons of creating your own plant food.
What do you need for homemade plant food?
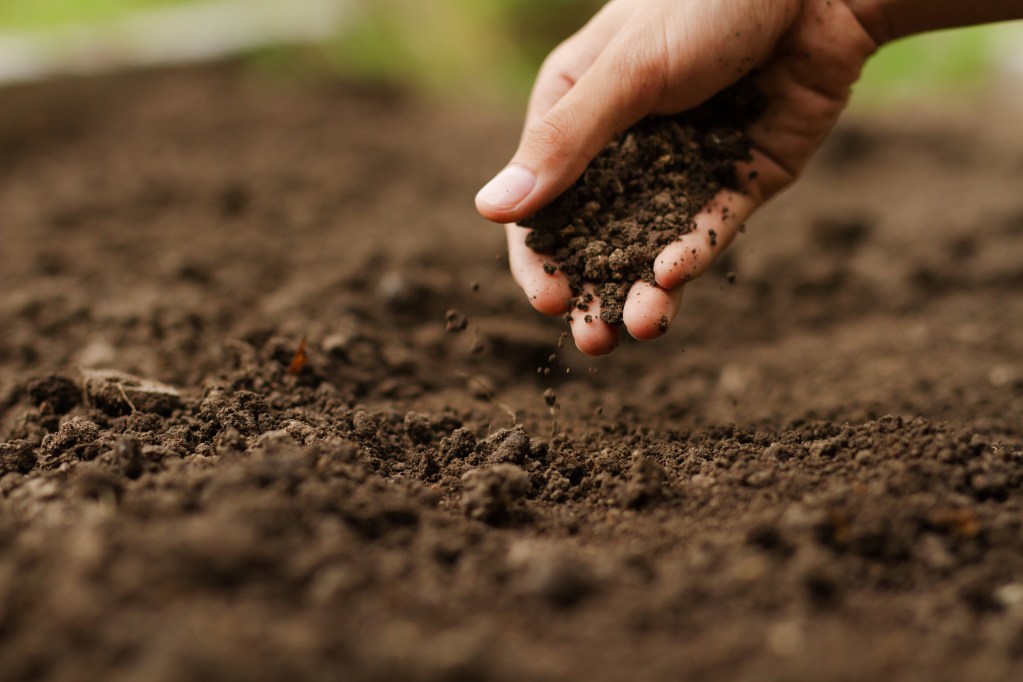
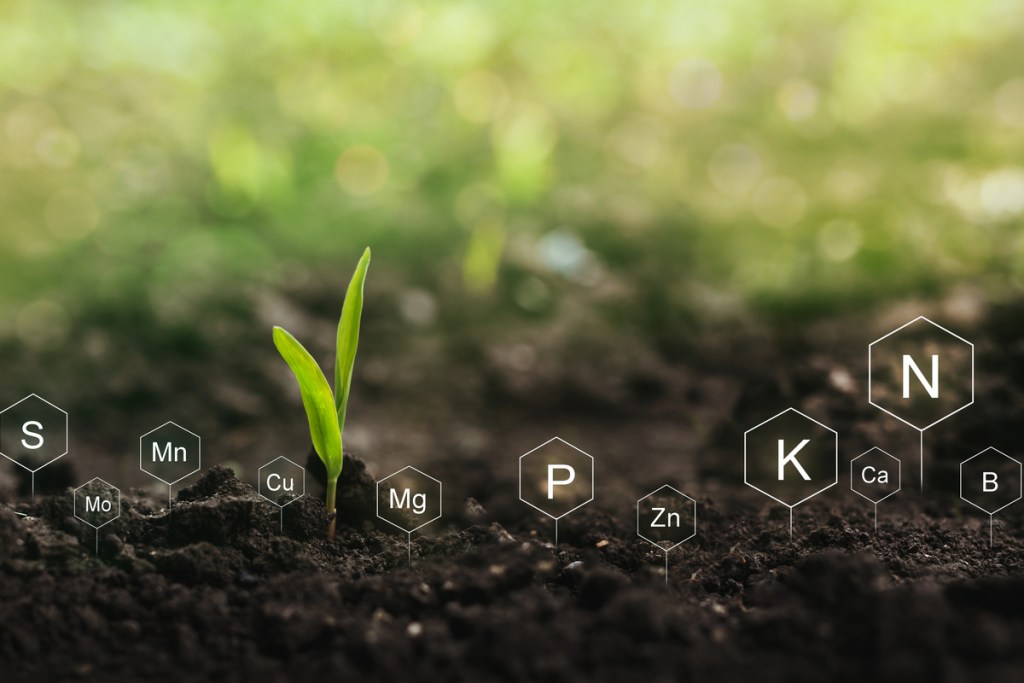
For the best plant food, you’ll need to cover a few key nutritional needs. Plants use a range of nutrients in a myriad of different ways. If you know your soil is deficient in something, or that the plants you’re going to be feeding use a particular nutrient more than others, then this is a good situation to customize your plant food. You may want to test your soil before starting, especially if you plan on adding any micronutrients to your food.
Plant food is typically used to help developing and maturing plants, which means you’ll need nitrogen, magnesium, and sulfur. The easiest way to make plant food is to use sources of these nutrients that are either liquids or water-soluble solids. Solids that can’t be dissolved in water are much harder to dilute, meaning you have to be really careful when using your food. Liquids and water-soluble solids, however, can be mixed with and stored in water for easier and safer use.
The best way to get water-soluble magnesium and sulfur is with plain Epsom salt. Epsom salt sees a fair amount of garden use in fertilizers and pest control home remedies, and it’s useful for making plant food as well. Be sure your Epsom salt is unscented. Although lavender scented Epsom salt is great for soothing baths, your plants will find it less relaxing.
Nitrogen is a little more difficult to find in a water-soluble form. Coffee grounds, grass clippings, and manure are all great sources of nitrogen but don’t dissolve in water very well. One easy way to add nitrogen to your plant food is with unscented household ammonia.
Making sure your food is balanced
There are variations of the same recipe found across the Internet, but here are the key facts. First of all, it takes only a very small amount of each ingredient to make a safe and effective plant food. Second of all, you can always add more, but it’s difficult to remove excess from the soil. This is especially true of ammonia. Having too much of any nutrient is just as bad as having a deficiency, and, in some cases, worse.
To get you started on creating plant food, here’s a basic recipe:
- 1 gallon of water
- 1 1/2 tablespoons Epsom salt
- 1/2 teaspoon ammonia
Some variations of this recipe also include 1 1/2 teaspoons of baking soda, which can help keep fungal infections at bay. Be careful when measuring your ammonia: It’s far better to add slightly less than 1/2 teaspoon than it is to add slightly more. Pay close attention to the difference between tablespoons and teaspoons as well.
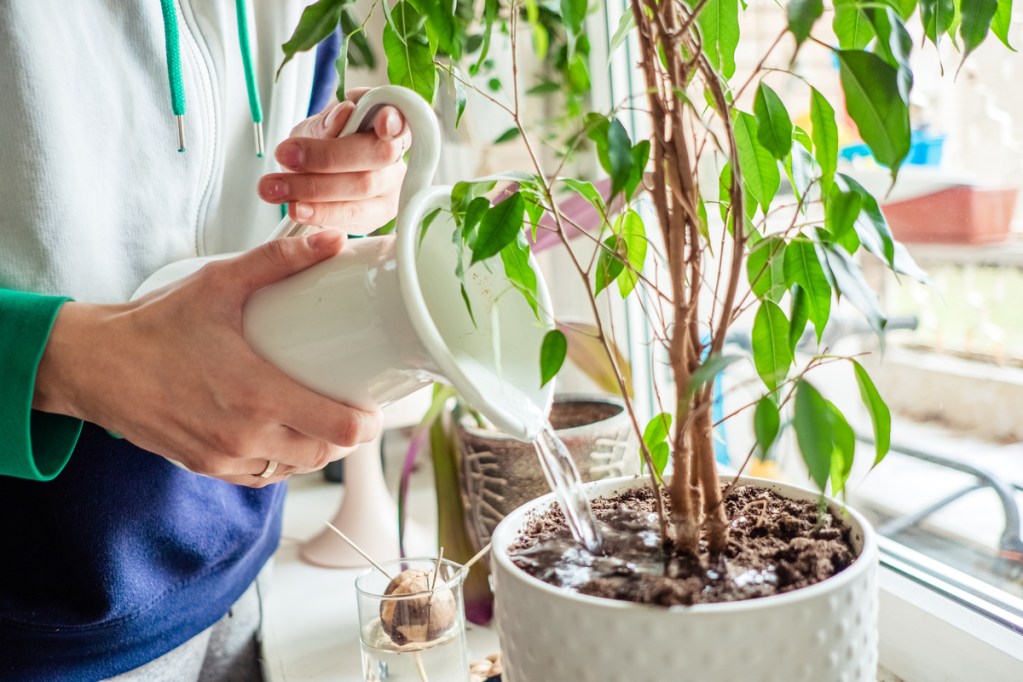
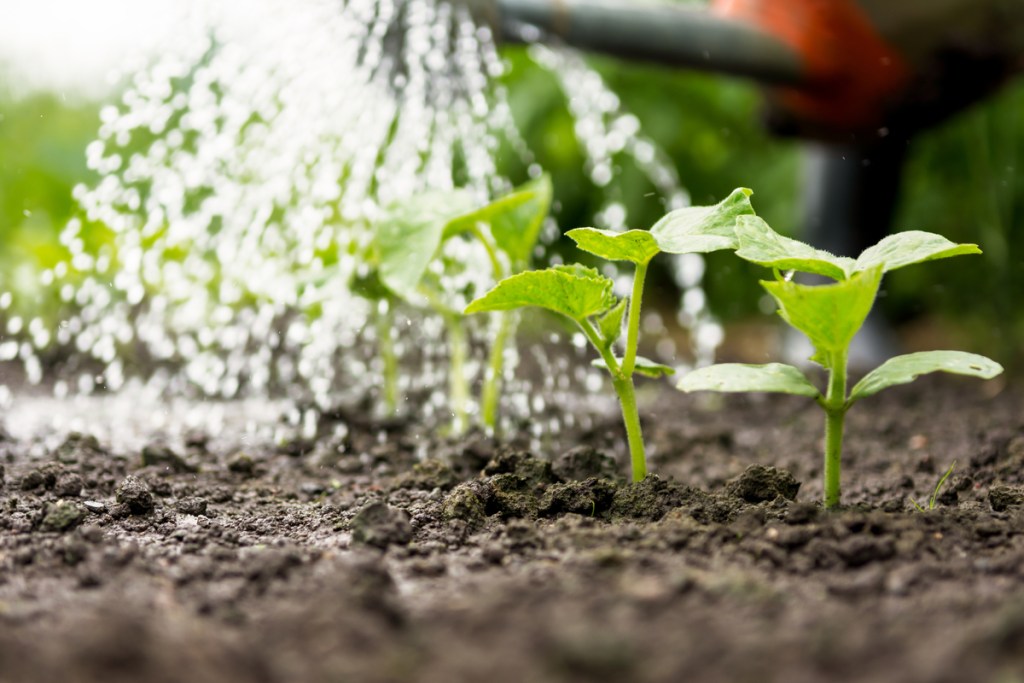
Mix your carefully measured ingredients into a gallon of water and let it sit. Once everything is fully dissolved, it’s ready for use. Simply water your plants with the solution once every two to three weeks or as needed.
Where should you store your homemade fertilizer?
You’ve put in the hard work to DIY your fertilizer, so you want to make it last for as long as possible. Ideally, you want to keep your homemade fertilizer in an airtight container to ensure its longevity — even if it’s sealed, you may want to tape the outer edges as an extra precaution. Since your mixture contains ammonia, you also want to keep it away from little ones and pets for safety reasons.
We recommend clearly labeling your plant food and placing it on a stable shelf. If possible, also keep your plant food in a cool, dry storage area indoors where it can avoid exposure to extreme elements. UV light, heat, and cold can all make your fertilizer less effective, so a garden shed and garage are better than a garden bed or greenhouse.
What are the benefits of homemade plant food?
Homemade plant food contains all the nutrients your plants need, but so do store-bought ones. So what does homemade plant food offer that store-bought doesn’t? In short, control. You can tailor your plant food to your garden’s specific needs. You know with 100 percent certainty what is in it and what isn’t — meaning no harsh chemicals or fillers — and it can be made fully organic if you so choose. Additionally, you control the size, and large portions can be made quickly and inexpensively.

Is store-bought ever better?
Sometimes, yes, store-bought is a better option. If you have plants that are particularly delicate or sensitive to changes in the soil, or plants that are sickly and may need a special food blend, then getting plant food that is professionally made is a good idea. Store-bought plant food has the added bonus of consistency and guaranteed safety. Plant food made at home has a slight risk of user error when measuring ingredients, which can lead to an incorrect ratio of nutrients.
That said, any gardener can make their own plant food at home. You may already have the ingredients you need! If not, they’re fairly easy to find. Remember to use unscented ingredients, measure carefully, and keep your mixture away from children. Then, enjoy the control and peace of mind that comes with knowing exactly what you’re giving your plants!
Editors' Recommendations
- How to plant morning glories for a stunning display in your garden
- What herbs can be planted together? How to plan your herb garden
- Incorporate the hortifuturism trend into your space for an out-of-this-world garden
- Watch out for these signs of root rot in your plants
- What you need to know about deadheading in your garden


