If you’re fond of southern food, there’s a good chance you’re a fan of collard greens, and why wouldn’t you be? Collard greens are a relative of cabbage and kale with a mild, earthier flavor and a slight bitterness when eaten raw. They’re delicious on their own or paired with other vegetables or meat. If you’re looking to add these tasty greens to your vegetable garden, then you’re in luck! It’s easy to grow collard greens, and we’ll break down everything you need to know to get started.
Planting collard greens
If you already have a favorite collard green variety, then that’s great! However, if you aren’t sure which variety to choose from, here are a few good options to start with. One of the more popular collard varieties is Georgia, also called Georgia Southern or Georgia Hybrid, which has a relatively early harvest time and is resistant to some frost. If you’re looking for an even earlier harvest time, try Tiger Hybrid. Champion is another popular variety, with a high yield, long storage time, and relatively compact size.
Once you’ve chosen your variety, choose a spot in your garden that is in full sun. Although collards will grow in partial shade, you’re likely to see smaller plants and reduced harvest. The soil should be rich and well-draining. Collards do best in soil that’s just slightly acidic.
You can start planting collards two to three weeks before the last frost in spring, or in late summer to early fall, two to three months before the first frost. Plant seeds between a quarter of an inch and half an inch deep, and space them 18 to 24 inches apart so they have room to grow. You can plant them closer together, but you’ll need to thin them once they sprout. Luckily, collard sprouts are also edible, so feel free to eat any thinned collard plants.
Caring for collard greens
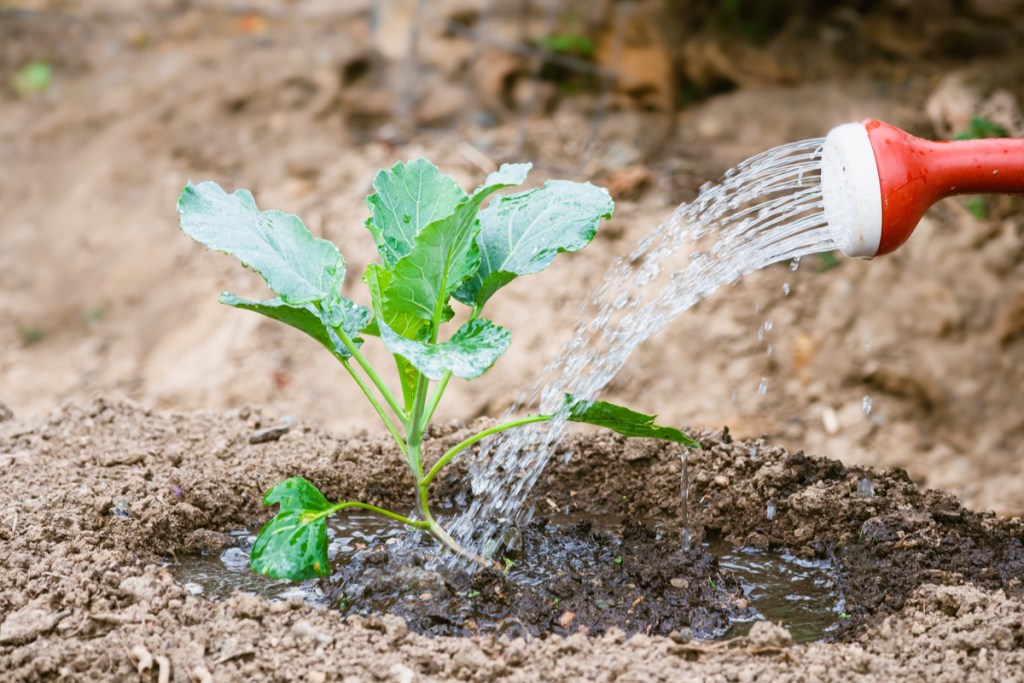
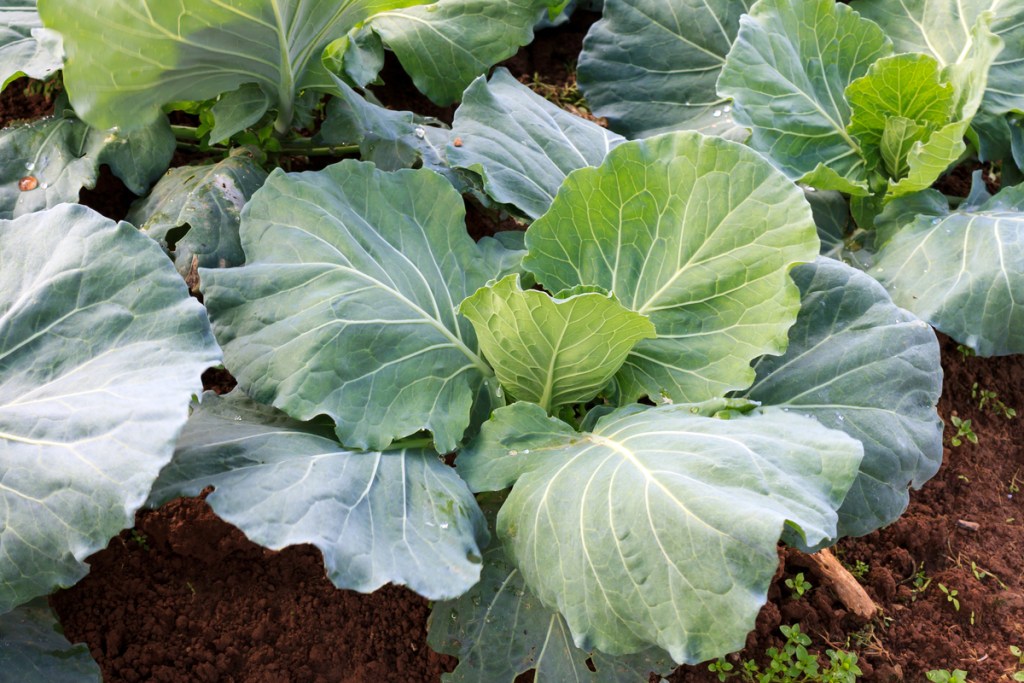
Collard greens require remarkably little care. The majority of care for collards is watering them. They use quite a bit of water when producing leaves, so they need even, consistent moisture. An inch to an inch and a half of water each week is ideal, but a layer of mulch or a drip irrigation system can help you keep your collard greens well watered. Mulch also helps to suppress weeds, which can become difficult to get rid of once the collards begin growing, as their leaves can hide the weeds.
Although collards don’t often need fertilizer initially, it can be helpful if your garden soil lacks nutrients or if you plan on harvesting your collards more than once. The added boost of nutrients every four to six weeks, or roughly once a month, encourages the plants to keep growing.
Collard greens aren’t just popular with people, though, but with pests as well. They are a target for all the same insects that like to snack on cabbage, including slugs, beetles, and cabbage worms. Capsaicin spray and neem oil can help prevent some pest damage, but be sure to wash the leaves thoroughly before eating them if you use a spray. Pest netting and raised garden beds can also help.
Collards can withstand temperatures below freezing, but they do need protection from heavy snow or ice if you want to keep them through the winter. Mulch is great for this, and row coverings can keep the snow and ice off of your plants’ leaves.
When and how to harvest collards
Harvest dates can vary quite a bit between different collard green varieties, so knowing what variety you have is important. The average is between 60 and 80 days, but some varieties can be ready much quicker. Tiger Hybrid collards, for example, are ready for harvest after only 55 days, while Georgia takes between 65 and 70 days. However, this is most important if you plan on harvesting the whole head at once.
To harvest the whole head at once, simply cut the head away from the ground using a sharp, clean knife or pair of scissors. If you want a larger harvest, though, the more effective harvesting method is leaf by leaf. When the leaves reach the size you want, simply cut them away from the plant using a sharp, clean knife or pair of scissors. More leaves will grow to replace it, as long as you continue to care for the plant.
Collards are biennials, meaning they grow for two years, flowering and producing seeds in the second year. However, they’re most often grown as annuals. Growing them as biennials extends your overall harvest of leaves, but there is another benefit. Collard flowers are also edible!
Whether you enjoy them southern-style (with bacon or ham) or like them raw in a salad or wrap, collard greens are delicious, nutritious, and easy to grow. They fit well in just about any vegetable garden, especially if you’re already growing greens. If you’ve never tried collard greens before, then you’ll be in for a delightful surprise if you add these amazing greens to your garden!