
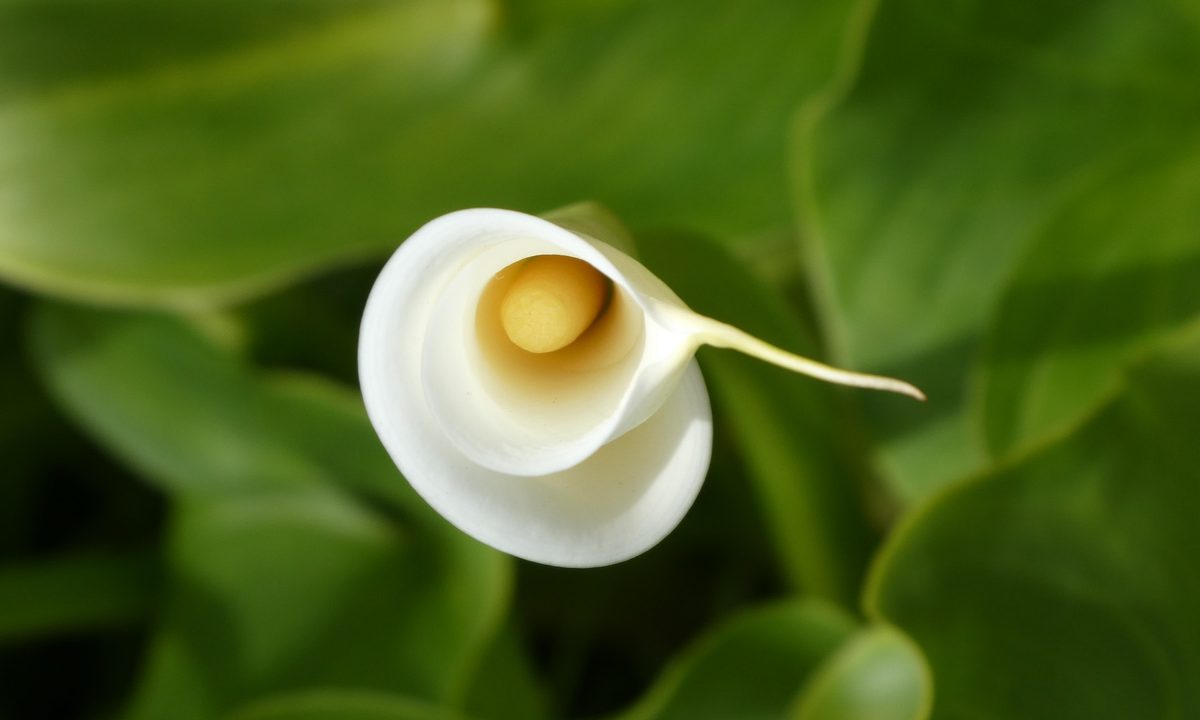
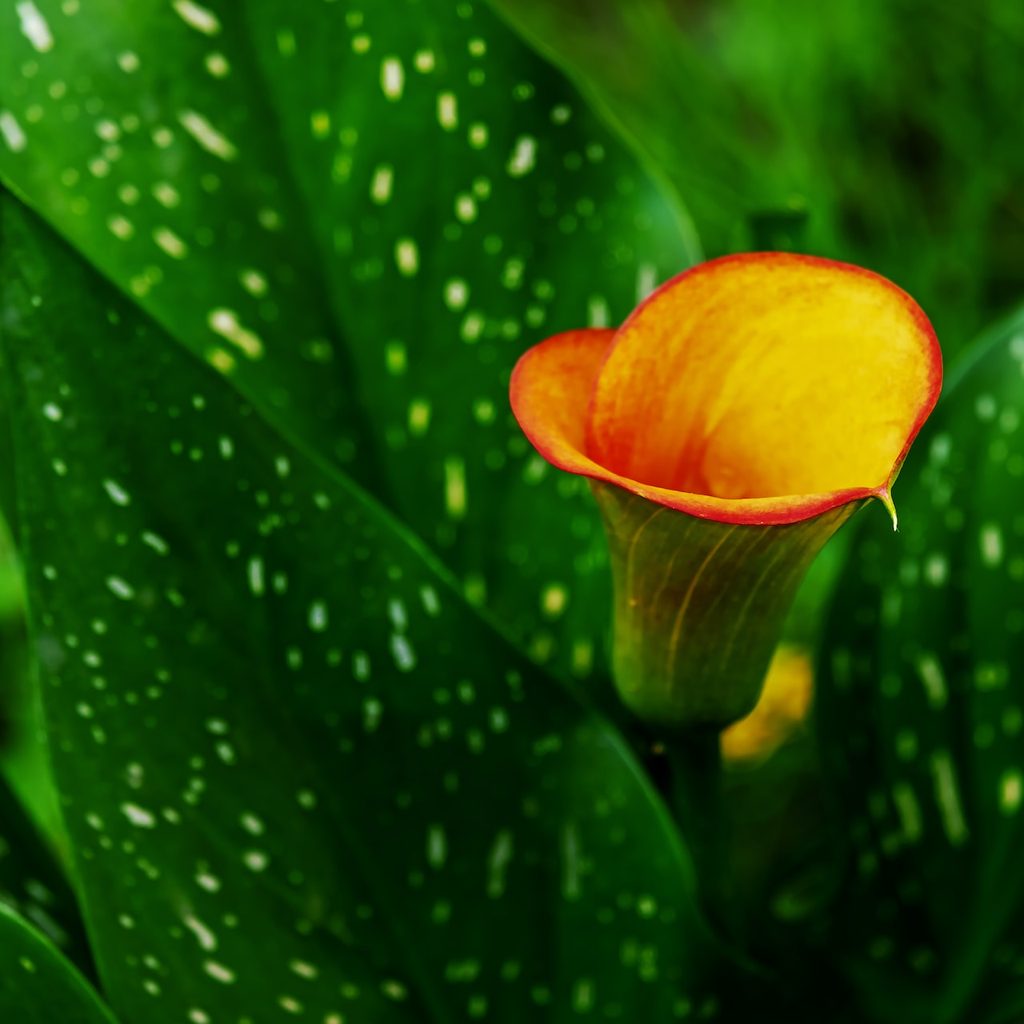
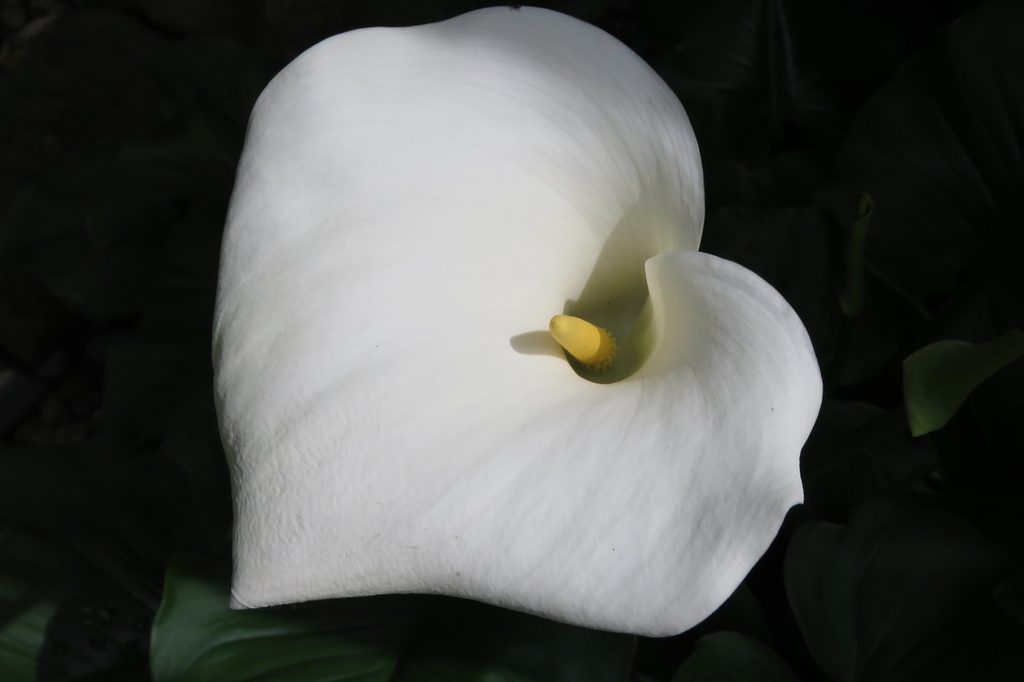
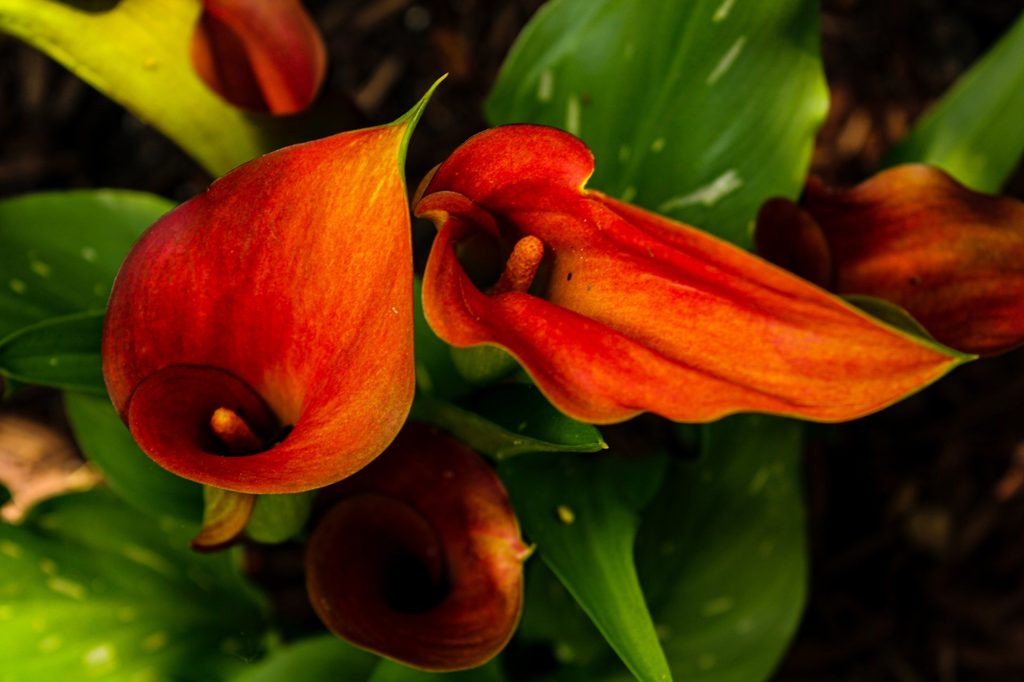
Calla lilies are beautiful flowers that come in a variety of colors, including white, yellow, purple, and pink. The blooms rest on elegant trumpet-shaped stems, and when they’re spent, they leave behind seed pods. However, the seedlings are most often propagated through the bulbs instead of the seeds. Growing calla lilies from bulbs is fairly simple, but what if all you have are calla lily seeds? Luckily, growing calla lilies from seeds isn’t terribly tricky, especially if you know what to do. This calla lily growing guide will explain everything you need to know to get started.
Where to get calla lily seeds
If you’re looking to grow calla lilies from seeds without an existing plant, you can always purchase seed pods from reputable catalogs, nurseries, or other growers. If you already have a calla lily, you can collect a mature seed pod from a spent flower. Calla lily seed pods each contain at least one or two seeds. Keep in mind that the seed pod itself can take a few months to mature, so you should leave it attached to the plant and wait to harvest it until after it’s matured.
The seeds themselves need a dormancy period before planting, roughly around three months. If you’re attempting to grow calla lily seedlings indoors, you can plant the seeds as soon as they’re ready; however, if planting outdoors, you should wait until the next spring to plant your seeds. Most often, you’ll be harvesting your calla lily seeds in the fall anyway, so spring is the perfect time to grow them following the dormancy period.
Planting calla lily seeds
Growing calla lily seedlings from seed takes time, patience, and understanding. A viable seed will sprout; however, it could be up to three years before you finally see a bloom on your calla lily. For the best success, you’ll want to start your seeds before you plant them (whether in gardening planting containers or outdoors). This will also help you figure out which seeds are viable and which aren’t.
- To start your calla lily seeds, spread them on a damp paper towel and lightly cover.
- Keep the paper towel in a cool place away from direct sunlight and check the seeds every few days for growth.
- Once the seedlings start to grow, you can plant them in soil (and discard seeds that haven’t sprouted). Choose pots with drainage holes and fill them with well-draining soil. Plant two seeds per pot (not too far under the soil) and keep the soil moist until the calla lily seeds begin to sprout.
- Once a few weeks have passed and the seedlings have grown a bit, you can separate the two seedlings (or just remove the smaller one) to encourage stronger growth.
If you’re thinking of planting the viable seeds directly outdoors, there are a couple of things to ask yourself. Do you live in an area where the “colder season” is still warm enough for plants? Are you prepared to overwinter them, or will you treat them like annual flowers? Because there’s no guarantee your calla lily will bloom the first year, it may make more sense for you to purchase new calla lilies each season as opposed to growing them from seed if you only want annual flowers.
Caring for your growing calla lily sprouts
Caring for your calla lily seedlings will be a bit different from caring for fully grown plants. Once you plant them, you’ll want to fill the drip tray for your pots with about an inch of water, wait an hour, and then drain the excess water from the tray once the soil feels moist. After the initial watering, make sure to only water the seedlings when the surface of the soil is dry.
The growing seedlings should be kept in an area that gets around six to eight hours of direct sunlight per day. If you don’t have a space like this in your home, you can always supplement natural lighting with artificial grow lights. If you live in a drier place, you can also opt to keep a clear plastic bag over the pot (prior to sprouting) to help the soil retain moisture and humidity, but the plastic bag should be removed as soon as the seedlings start to grow.
What to do when it’s time to transplant your calla lilies
Whether it’s transplanting to a new pot or outdoors, you should wait until your seedlings at least have their second set of “true leaves” (or seeds that can perform photosynthesis). It’s important to note that the first few pairs of leaves that grow on your calla lily seedlings are not true leaves, but seed leaves. Once they’re big enough, you can transplant the seedlings into a 6-inch deep pot (with good drainage!) at the same depth it was growing in the first pot. The ideal potting mix to use will be one that drains well. Many people will use a mix that is formulated for azaleas.
If you’re moving the seedlings outside, you should wait until the early summer to do so. At that point, plant them at the same depth in the ground as they were growing in the pots and make sure that the location receives the needed six to eight hours of direct sunlight. Calla lilies planted outdoors need around one to two inches of water a week.
Are calla lilies toxic?
Calla lilies are common garden plants, but they are toxic to people and pets (particularly dogs and cats). You want to be careful when you handle the roots to transplant your flowers. The calla lily specifically contains insoluble calcium oxalate crystals, which can trigger pain and irritation, especially in the mouth and GI tract.
Be cautious when working with the plant, using gloves when touching it and washing your hands after working in the garden — you certainly don’t want the sap to come into contact with your mouth or eyes. It’s also a good idea to plant your flowers in an area that kids and pets can’t reach easily.
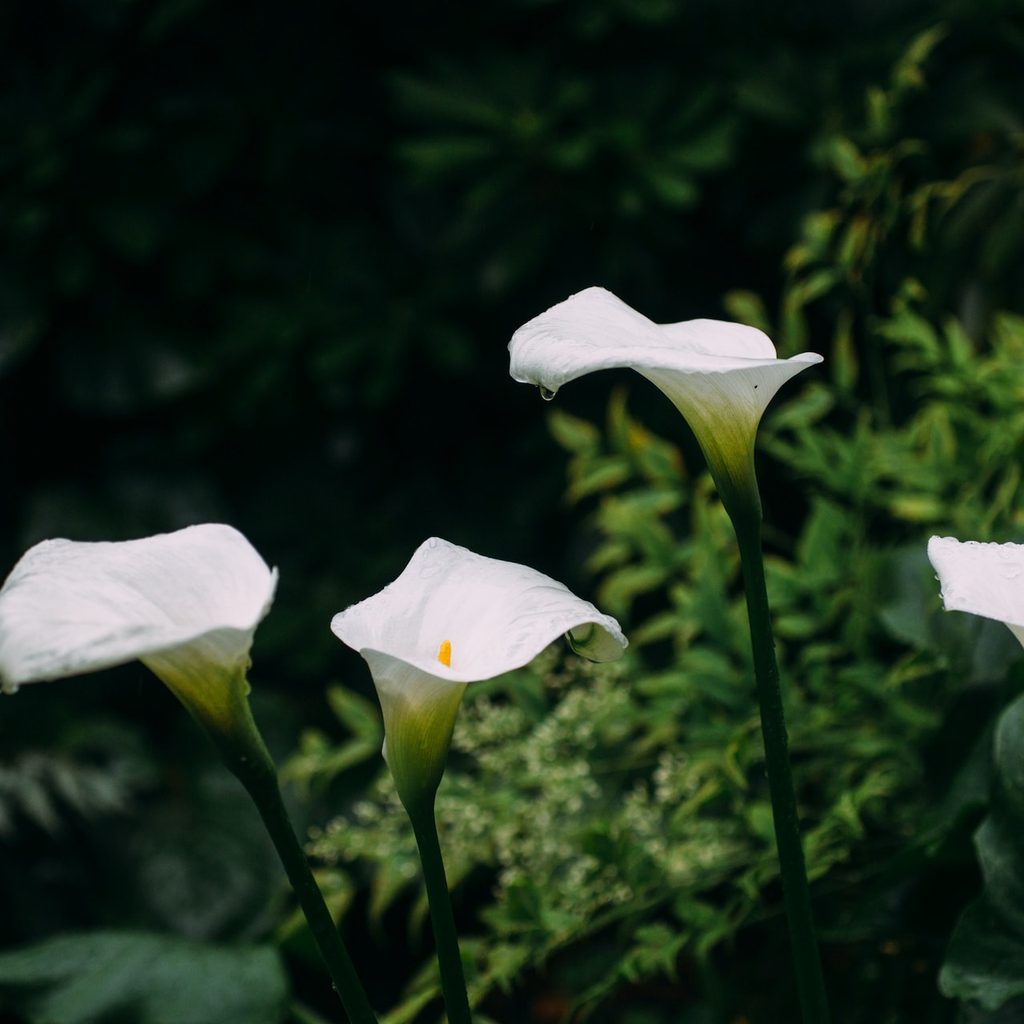
The best place to grow calla lilies outdoors
Calla lilies will thrive best when planted outdoors if you live in zones 8 through 10. In these zones, the calla lily rhizomes (the underground stems) can survive during the off-season and sprout again when it’s time; however, any zone colder than this range should have calla lilies grown as annual flowers. If you aren’t interested in buying new ones each year, it is possible to overwinter your calla lilies and rhizomes so that you won’t have to start from scratch the following season.
To overwinter your calla lilies, you’ll want to dig up the rhizomes after the calla lily growing season (but before the first frost of fall) and prune the leaves so that about an inch of the stem is left. For the first three days, keep your rhizomes in a dry, warm spot in your home, then put some damp peat moss in a box with the rhizomes and store them for the rest of the winter. Calla lily rhizomes should be replanted 4 inches deep, following the last frost of the spring.
How long do calla lilies last?
While each calla lily flower lasts only a few weeks before fading, calla lily plants are perennials that can live for several years. Some have been reported to live for up to 10 years, although the exact lifespan of your plant will vary. With consistent, attentive care and a bit of luck, your calla lily can return year after year to keep providing you with beautiful flowers every spring and summer. When the plant begins to slow down and reach the end of its lifespan, you can propagate it to grow a new lovely calla lily plant!
Follow these tips, and you should find yourself growing calla lilies from seeds in no time! Don’t worry if the first batch doesn’t work out. There is always a learning curve to growing plants from seeds, and there will always be seeds that aren’t viable. But with time and patience, you’ll have a new calla lily plant to show for all your hard work.


