If you’re new to gardening or have mostly spent time tending to gorgeous flowers, growing an edible garden can be a bit of a daunting task. Most vegetables and herbs require more space, sun, and care than your average flower garden. It isn’t as simple as picking a nice spot on the side of your house and choosing which flowers look best along the fence, but it also isn’t as hard as it seems. Starting an edible garden can look different depending on your space, and though it may take some trouble-shooting at first, you’ll be reaping the benefits in no time.
The benefits of an edible garden
Growing an edible garden has more benefits than just saving money on groceries. Vegetables and herbs at the store can get a bit pricey, and sometimes you can’t even use them all before they go bad. Having herb boxes means when you want a fresh sprig of rosemary, you can just harvest it from your garden. When you want a couple basil leaves for a homemade pasta sauce, they’re right there growing in your backyard. You save money on produce, and even a bit on gas!
But that’s just the beginning. Herbs and vegetables grown at home often have a better taste than ones sold in the store because, for the most part, they haven’t been treated with anything (except standard fertilizer) to make them bigger and more appealing. Foods grown in an edible garden are free of toxic chemicals and usually have more vitamins and minerals, too! The higher the quality, the better you’ll feel.
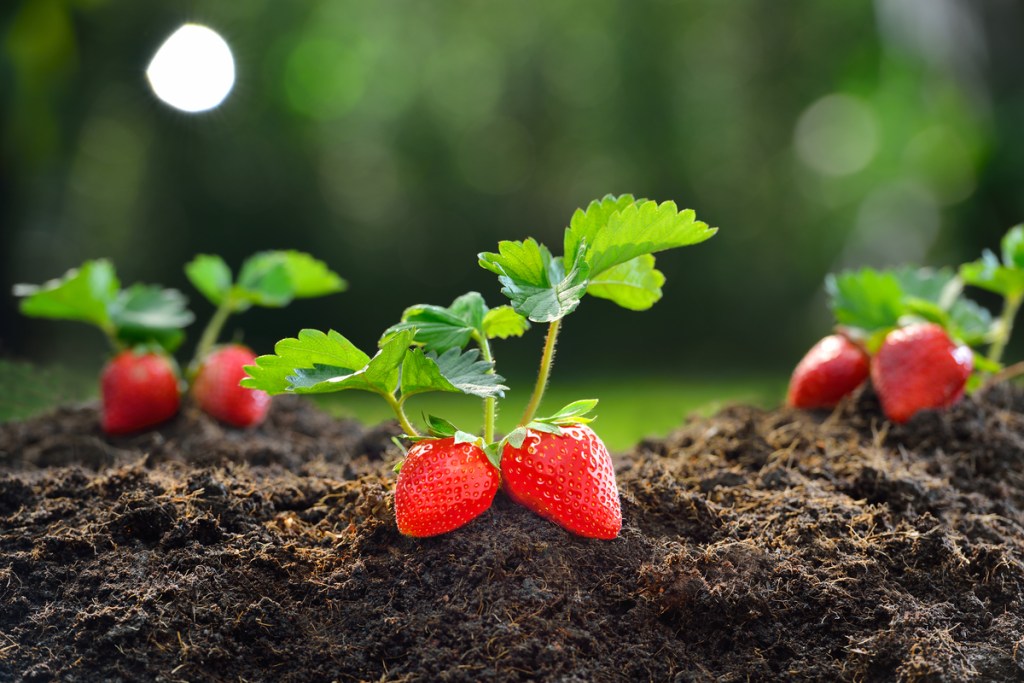
And the health benefits are vast. Gardening makes for good exercise, gets you outside in the sunshine and fresh air, and makes it more likely that your family will have fresh fruits and veggies for lunch and dinner. After all, if they’re growing in your own backyard, why not make a nice, fresh side salad? Especially with lettuce, you can harvest what you need, when you need it, and leave the rest on the plant to extend its life.
Step-by-step guide to starting your own
Starting an edible garden is fairly simple once you know what you’re working with. Each of these steps may vary depending on how big your yard is, what crops you’re going, and how much time you have to dedicate to your garden, but it’s a good outline to get your creative gardening ideas flowing.
- Pick out the crops you’d like to grow and research how much space they’ll need. Different crops may need more or less space for their leaves and root systems.
- Choose a spot for your garden. This should be away from buildings, in a spot without too much shade.
- Till the soil and mix in organic matter like compost.
- Set up raised beds (if desired).
- Plot out where you want each crop to go. This can be done by setting the container on the soil to see how things look.
- Purchase any trellises necessary for helping your plants grow (for example, tomatoes prefer to have a trellis around them to help keep them nice and sturdy).
- Once you’re satisfied, begin planting!
- Water and fertilize as needed. Most plants prefer at least one inch of water per week; however, this may be more or less depending on the level of heat and the amount of rain.
Things to keep in mind when starting your garden
No two gardens are the same. Each gardener, whether beginner or expert, will face challenges when setting up their garden for the first time in a new space. There are some general things you can keep in mind to help you along the way, in addition to the eight steps above.
It’s best to start small, then expand
Make sure the space you choose has room to expand in case you need it, which is to say it’s best not to shove your garden in a corner where it can’t grow if you find you need more room. Starting small allows you to use only the amount of space that you need and helps you get a feel for what caring for an edible garden is like. The last thing you want is to plant a huge garden and feel too overwhelmed to keep up with the maintenance. (We’ve all been there; it happens to the best of us.)
Consider the needs of your crops
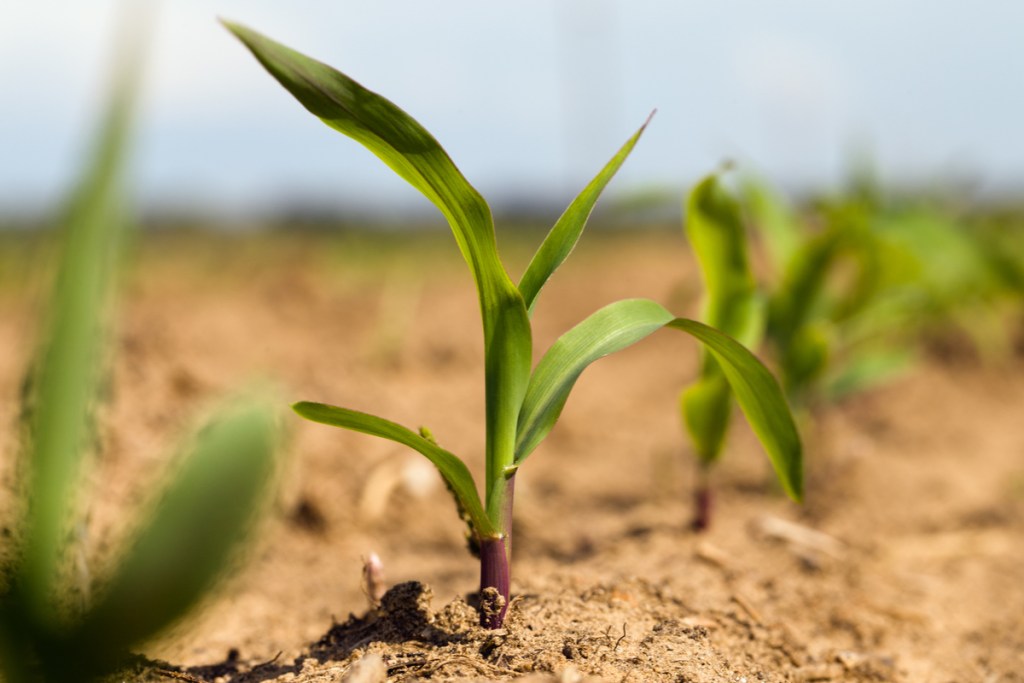
The amount of lighting and space each crop needs can vary, so it’s important to research your plants before buying (and especially before planting). Corn likes to have a couple feet between each stalk so it can get up to a mature size and expand its roots, but you could fit quite a few pepper plants in the same amount of space. It’s all about what you want to grow and prioritize.
Most vegetable plants need around six to eight hours of sunlight a day, so the garden bed location you choose should be away from tall trees, your shed, and your house (really anything that can cast large shadows). If you find the only space you have that accomplishes this is your patio or deck, make your edible garden a container garden! Container gardening has different care requirements than a garden bed, but it’s still possible to grow delicious, fresh food from deck boxes and pots.
Be mindful of your own space
Perhaps the most important aspect of starting an edible garden is being aware of how much space you have, and that’s why it can be so important to pick out your favorite vegetables first and go from there. If you love bell peppers, pick those out first so you can accommodate the space they need before it all gets taken up. If you love corn, make sure you have several feet of space to dedicate to growing healthy, thriving stalks.
And of course, try not to overdo it! Setting up an edible garden in a new space (whether in a small garden bed or in containers) can take a bit of finesse. You may find that what you did the first year didn’t work as well as it could have, and you’re brimming with ideas for next season! That’s the beauty of edible gardening. Each growing season is a learning curve, and the more you practice and plant, the more you’ll know what works for you, your space, and your plants.