
If you’ve invested a lot of time and effort in your flower garden, it may upset you to think about leaving it all behind when you move to a new house. But what other option do you have, though?
Well, under certain circumstances, you can dig up some of your plants and take them with you. It takes careful planning and consideration, but it is doable. Here’s what you need to know, and all the steps you need to take, if you want to take a bit of your flower garden with you.
Which plants should make the move?
There are a few factors to consider when deciding which of your plants you’re going to take and which would be better left behind. Some factors may seem obvious, such as how much room you have available and what the climate is like where you are moving. However, there are some not so obvious things, as well.
If you’re crossing state or country lines, you need to check carefully to make sure none of the plants you’re bringing are invasive. While most states and countries allow invasive species if they are indoor houseplants, they are generally forbidden for outdoor gardens.
Additionally, many states and countries require you to have your plants inspected by their department of agriculture or equivalent group. This is to ensure that your plants are noninvasive, not carrying any diseases that could spread through the soil, and are not host to any invasive pests or their eggs.
The exact location of this information varies between different states and countries, but you should be able to find it on the website for their department of agriculture or an equivalent group. For moves within the United States, you can visit the National Plant Board website and click on the state you’re moving to for contact information.
Potting your plants
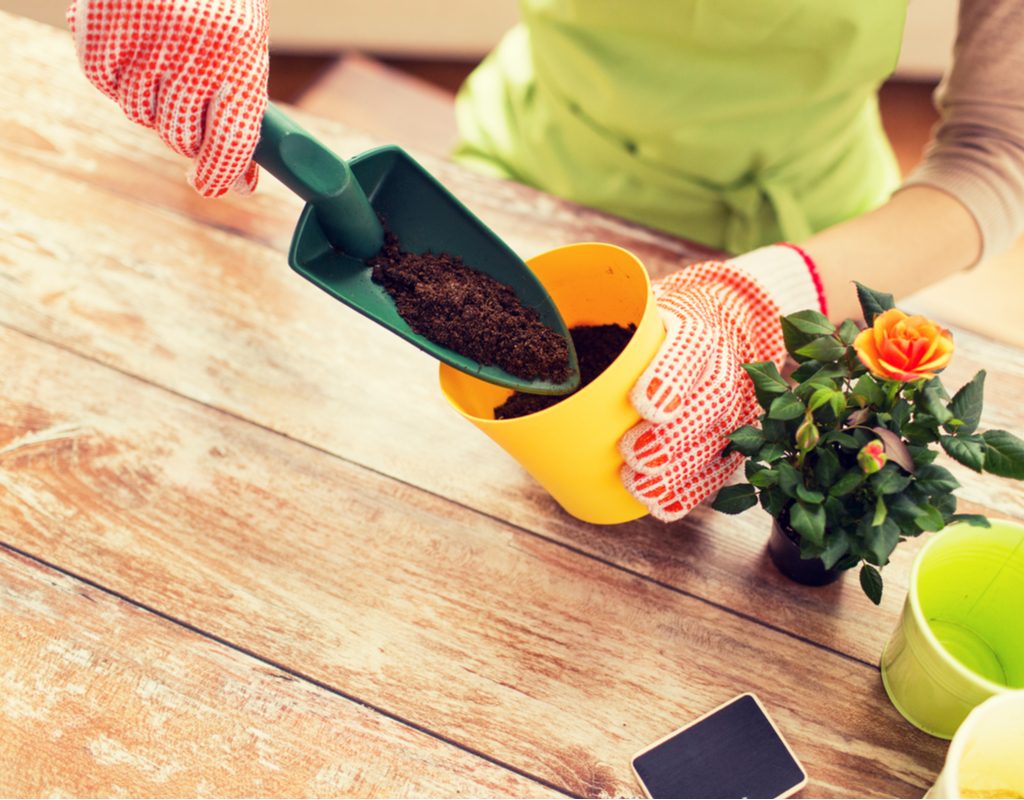
Once you’ve determined whether or not your plants are legal to transport, you’ll need to get them out of the ground. Pot your plants roughly one week before your moving day so that the stress to the plant is spread out and easier to cope with. Pot them early in the morning, before you water them; if you can’t pot them in the morning, wait until the early afternoon after the hottest part of the day has passed.
Use cheap plastic pots to transport your plants to their new home. These pots are just a temporary solution, so there’s no need to focus on aesthetics or comfort. Instead, it’s much more important that the pots are not breakable.
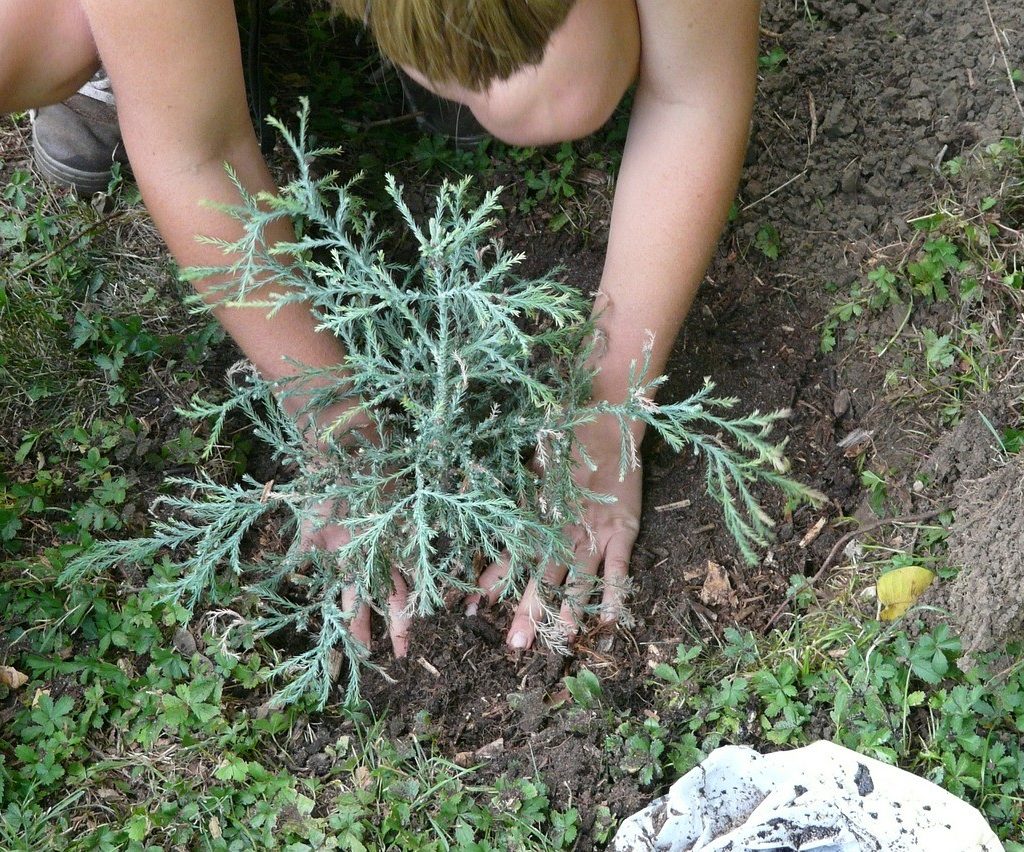
Dig your plants up as slowly and gently as you can manage. If your plants have been growing there for a while and are deeply rooted, you may not be able to completely avoid damaging the roots, but try to keep as many intact and unharmed as you can. Be especially careful of larger roots, as those are more vital to the plant’s health.
Transporting your plants
Your plants are potted and now it’s time to go. So, how are you going to get them to your new home? No matter the method, it’s important to prepare your plants to prevent spilled soil. Wedging your plants tightly into a cardboard box can help contain any spills and keep them from tipping over. You can also put a trash bag around the base of the plant to help keep soil from spilling over the sides. For top-heavy plants, weight the bottom of the pot with a few rocks to keep it upright.
Drive them yourself
The easiest plant transportation option is to take them with you in your truck, car, or other personal vehicle. However, this is only an option if you have space available and are driving to your new home in your own vehicle, rather than in a moving van. If you’re towing your car behind a moving van, you can wedge the plants in amongst your other valuable items.
Ship them ahead
If you’re sending some of your belongings ahead to your new home in a moving van or truck, you may be able to put your plants in there as well. Not all companies allow the shipping of plants, so be sure to read up on the company’s policies or call and ask ahead of time. If you’ve hired movers, they should do most of the work for you, but preparing your plants correctly can make it a lot easier on them.
Mail them home
If your plants are small and hardy, you may be able to mail them. Package delivery companies often have strict policies about what kinds of plants can be shipped and how, so read their instructions thoroughly. If you do intend to mail your plants, be sure you transplant them into plastic or rubber containers so the planters don’t shatter when being handled by delivery workers.
Replanting your plants
If your new home has a different climate than your old one, you may need to give your plants time to acclimate before you replant them. Before introducing them to new soil, set them outside in the area where they will be planted. Start off by doing this for a few hours at a time, gradually increasing the length of their stay and monitoring the leaves, soil and stems for any sign of distress. Once the plants can make it outside all day for at least three days in a row, they’re ready to be planted.
When planting your plants, loosen the soil around them in all directions, but try to leave the soil they came in remaining in the pot. If there is a difference in the potted soil and the new soil — and the plants are planted with the old soil surrounding them — they will sometimes struggle to grow roots past the border between the two soil types.
Once they’re in the ground, water your plants deeply and watch closely for any signs of disease, pests, or fungal infections. Stressed plants are particularly vulnerable to these things, and they can be debilitating to even the healthiest plants.
Now you’re ready to take your favorite plants and flowers with you to your new home. Remember to read through any rules and regulations for the state or country you’re moving to, be gentle with your plants, and pack everything tightly to avoid spilling soil. Moving can be stressful, for plants and people, but hopefully now your moving day can be just a little bit easier.


