Veteran and newbie gardeners know that soil is vital to the success of their gardens. So how do you know if you have healthy soil, and what do you do if it needs some help? Below we’re going to walk through how to test and amend your soil to prepare it for the next growing season – even if it’s just around the corner!
How to know if your soil needs help
Before adding anything to your soil, it’s best to start by observing what is already going on beneath the surface. Without the need for a test, you can learn a lot about the health of your soil with these five at-home tests.
Soil organisms
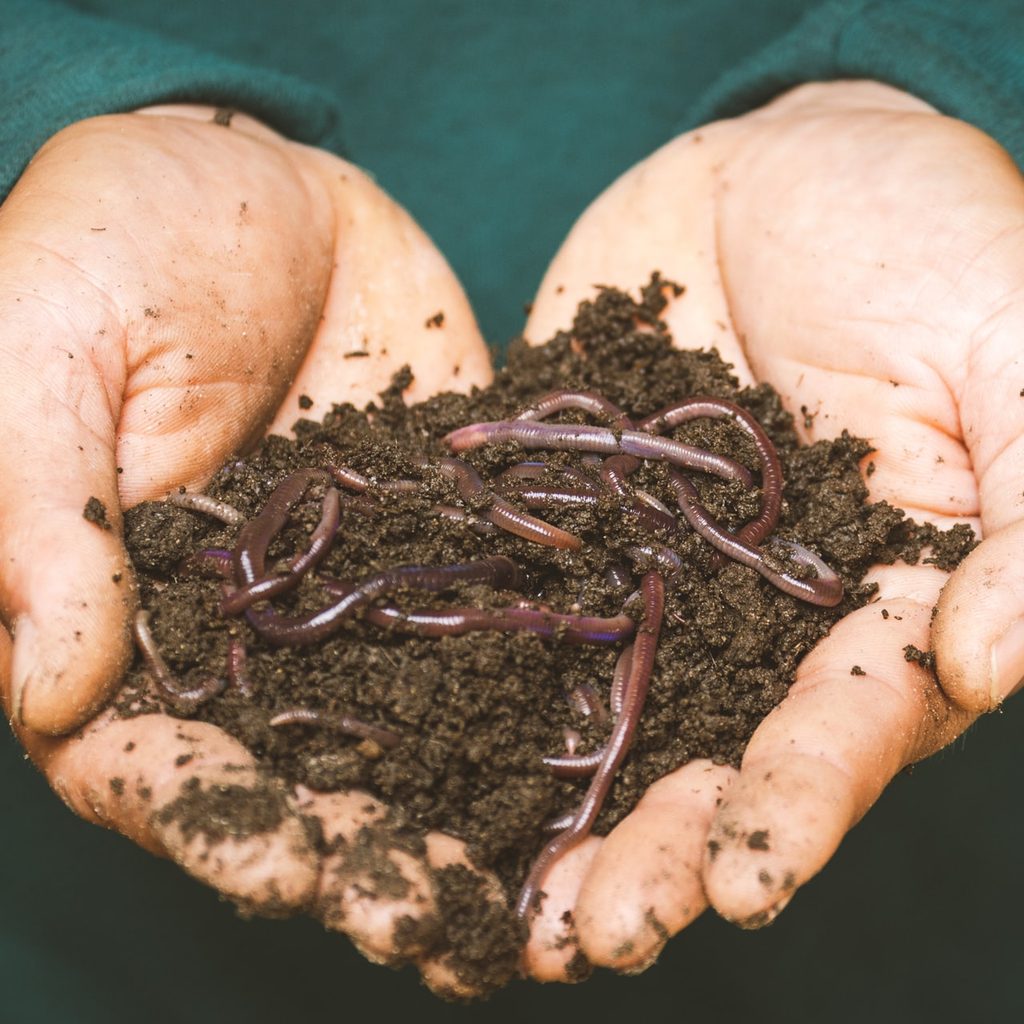
Dig a hole in your garden to watch what crawls around. See how many varieties of insects live there and how active they are. If you don’t see more than five after 10 minutes, your soil might need some help with nutrients.
Soil structure
While digging that hole for the bug test, what did you notice about the soil’s structure? Was it clumpy, compacted, or really loose? Did you see a lot of sand or gravel? Was it a dark brown or light and tan? Depending on what you’re growing, these can be signs that your soil needs some help. Hard and compacted soil usually means your soil needs more aeration, and things like earthworms and bugs won’t be able to crawl around and leave beneficial deposits.
Root development
When pulling up plants that you’re harvesting, take a moment to check the roots’ structure. How did they develop as they grew within your soil? Loose and neatly spread out roots mean your soil has a healthy amount of aeration and nutrients throughout. A plant with roots that grew in one direction or compacted might mean you have hard ground that doesn’t have much plant food.
pH levels
This test is easiest with a kit from a store, but there are plenty of home and DIY tests you can use to find out your soil’s pH level. Some plants prefer more acidic or alkaline soil; however, either extreme can damage plants and could even kill them. Find out where your soil stands and add it to the list of notes.
How to refresh soil in the offseason
The tests mentioned above are great ways to check in with your soil after years of planting, but the best way to care for your garden’s soil is prevention and proactive care. To heal the ground over winter and prepare it for next year, try using these three soil-amending techniques.
Add compost
It doesn’t matter if it’s store-bought or homegrown; compost provides your soil with all the essential vitamins and minerals it needs to grow happy and healthy plants. At the end of each season, cut your leftover crops down to the ground. Do not pull them up from the roots unless they are diseased. Leaving in the roots provides food and aeration for the soil. Once you’ve removed excess plant matter, dump your compost on top of the soil without tilling. Tilling can kill and damage important micro-ecosystems within the earth that will help break down the compost to enrich the soil for the next season.
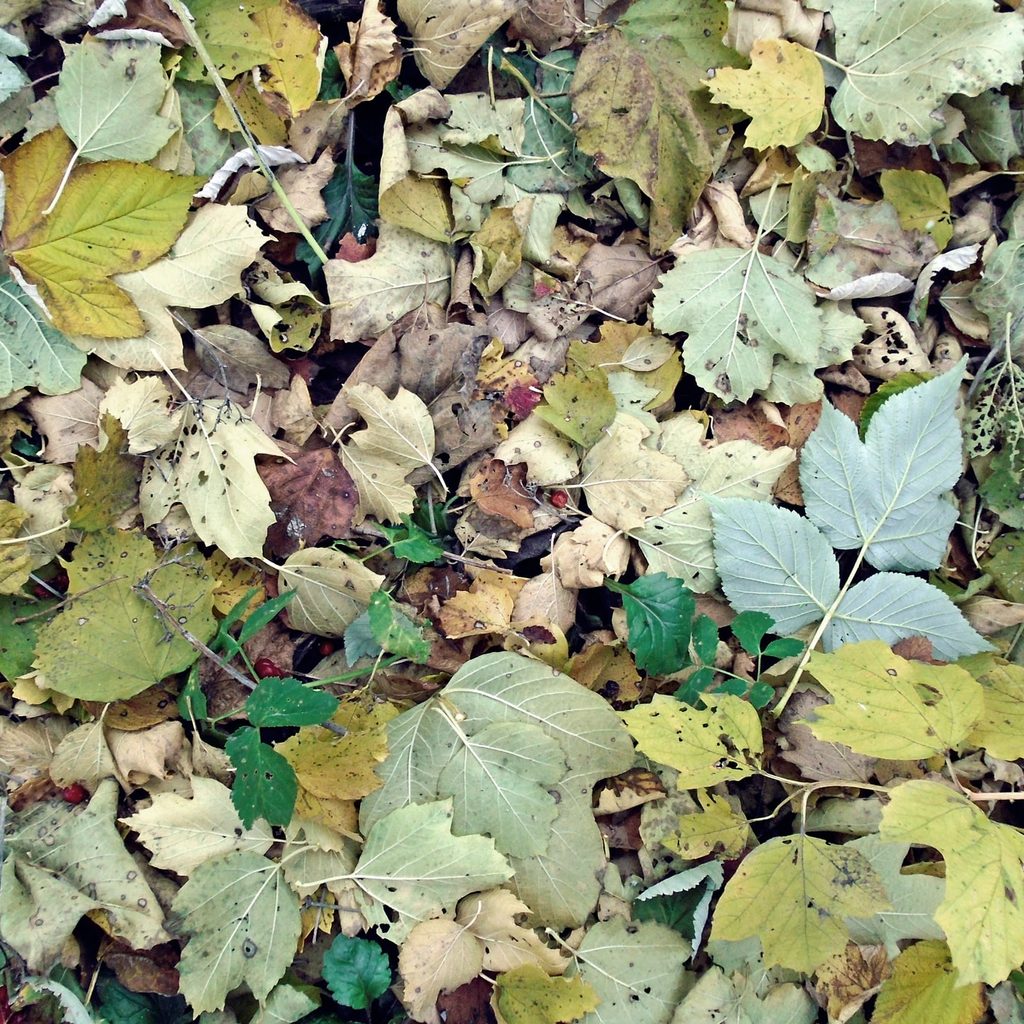
Pile on leaves
Now that you have a bed tucked in with healthy compost, you can cover it up with a layer of mulched leaves. This layer of insulation will keep the soil warmer during the winter and encourage insects such as earthworms to come closer to the surface. Earthworms eat, digest, and poop out nutrient-rich material that will feed your plants all spring and summer long.
Plant cover crops
If you live in a climate that doesn’t have harsh winters and you’re looking for a way to amend your soil while still growing a crop, planting cover crops might be an excellent option for you. These can be tasty ways to improve your soil while still having a productive garden bed.
Some popular cold hardy cover crops are winter rye, winter wheat, crimson clover, and winter peas.
Without going to the store for a test kit, you can find out what might be wrong with your soil just by spending a little quality time with it. Take notes all year long of what you’re noticing about your soil, and you’ll be equipped with the knowledge you’ll need to amend your soil correctly before the next growing season.