
Spring cleaning isn’t just for your home! Winter can make a mess of your garden, whether it’s ice turning your soil to mush or the wind breaking branches off of your shrubs. Spring is a fresh start for your garden, so it’s a perfect time to do a little cleaning and reorganizing. We’ve gathered some of the best tips for cleaning up your garden, including what tools you’ll need for each stage. Take stock of your garden and keep reading to see how you can get it back in tip-top shape.
Debris
Before you start removing plants and planting new ones, give your garden a once-over. Start with any large debris, like fallen tree branches. Try to carry them instead of dragging them, as dragging debris could potentially damage the remaining plants. In many cities, you can set branches by the edge of the road or sidewalk for leaf and limb pickup. If you aren’t sure if your city offers this service, it’s a good idea to check the official website or contact a local official to find out.
After the large debris is cleared out, it’ll be much easier to see smaller ones. Not every twig or pebble needs to be removed, but try to get any that are the size of your hand or larger. Although small obstructions won’t cause as many problems as large ones, they can still become an annoyance. Cleaning them out early in the year will save you some trouble down the road. Pay special attention to any non-natural debris. Snow and wind can carry trash into your garbage, so any plastic bags or bits of metal need to be dealt with.
Mulch
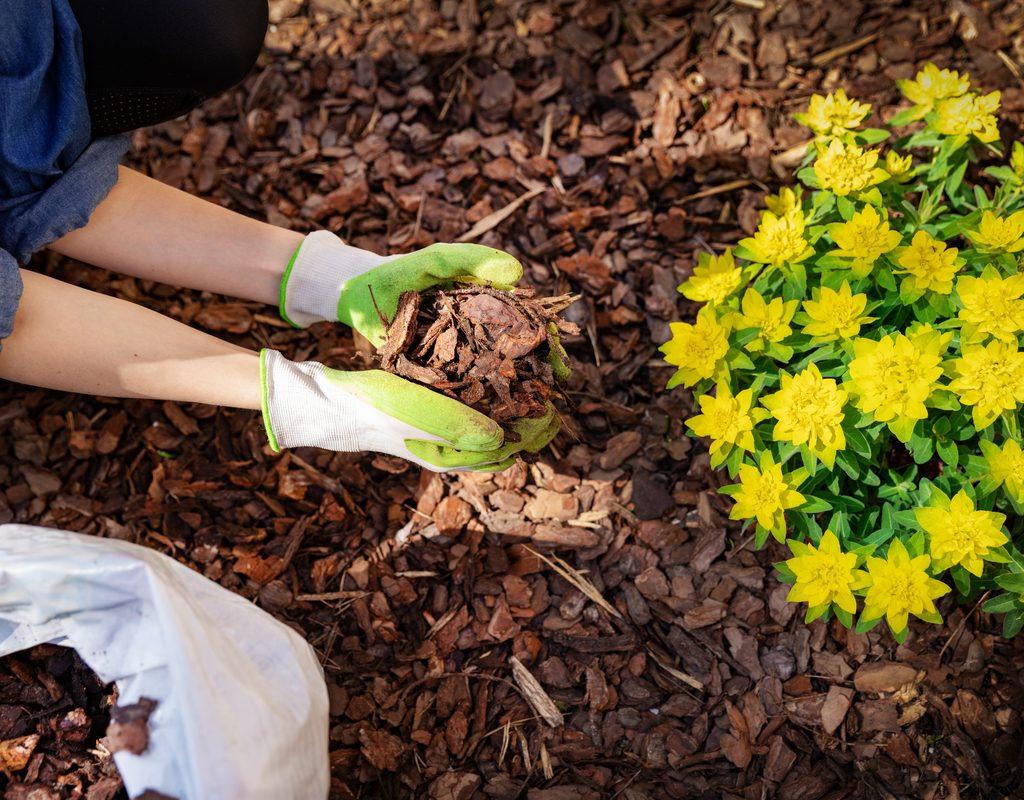
Mulch is useful for gardeners, but it’s especially useful during winter. It insulates the soil, helping to protect your plant’s roots from the cold. However, depending on the type of mulch you used, it may be time to replace it. Start by inspecting your mulch to see what kind of shape it’s in. If you used a natural mulch like leaves or compost, and it’s depleted or decomposing, then you can mix it into your soil and set a new layer down. If you used an inorganic mulch, such as gravel, plastic, or rubber, then it cannot be mixed into your soil. If it’s still in good shape, then you can reuse it. However, if it has sustained heavy damage or wear, then you’ll need to replace it.
No matter what type you’re using, if you’re reusing your mulch, then you’ll need to move some of it to plant your next round of plants. You can gently scoop it off the top and set it to the side just before planting or put it in a bag to store for reuse if you don’t intend to replace it right after planting. If you’re only planting a few small plants, then you may want to clear away just a few small patches rather than the entire garden.
Dead and dying plants
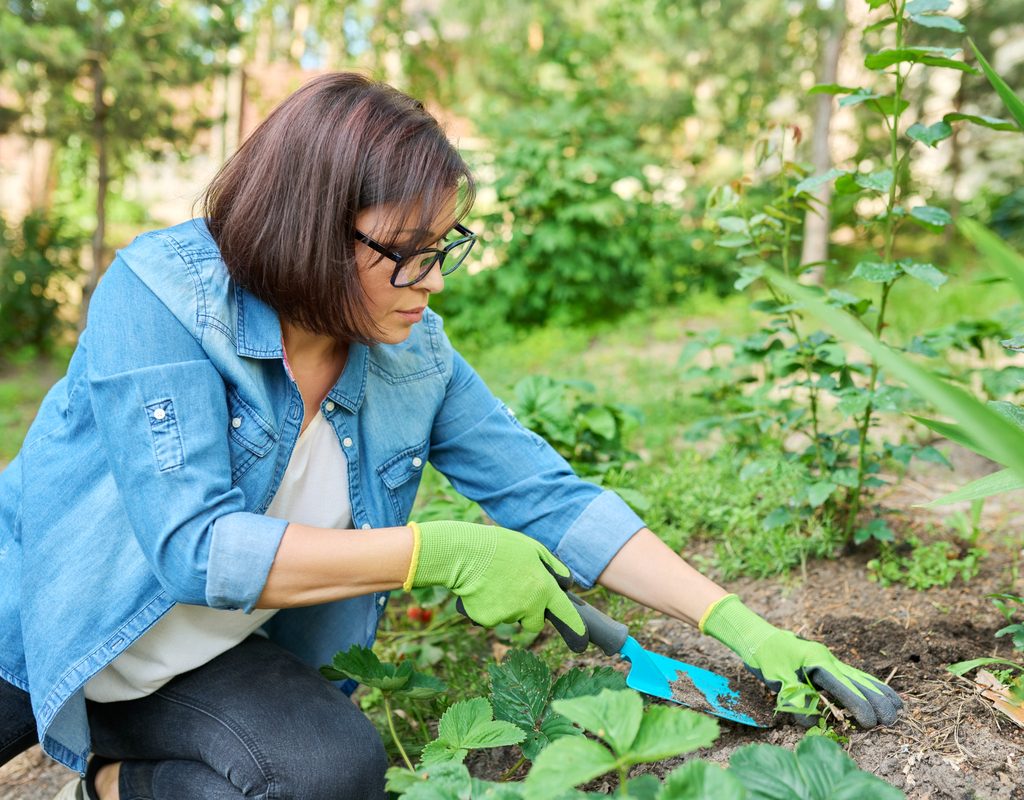
If you had annuals or any particularly cold-sensitive plants in your garden over winter, then it’s likely that not all of them survived. Dead plants make great habitats for pests, and, when they begin to rot, they become fuel for fungi. It’s best to remove them before they become an issue. Additionally, removing dead and dying plants frees up room in your garden for new flowers, fruits, or vegetables.
The best way to remove plants is to carefully dig them up. Leave as much soil behind as you can, while removing as many roots as possible. If there are other, living plants nearby, then take your time and go slowly to avoid damaging them. Any roots that you cannot get out can be cut into smaller pieces using a knife or spade.
If the plants are already rotting, don’t compost them. This could introduce fungi or pests into your compost bin. Instead, throw them away in a garbage bin or set them by the road for leaf and limb pick up, depending on their size.
Pruning dormant plants
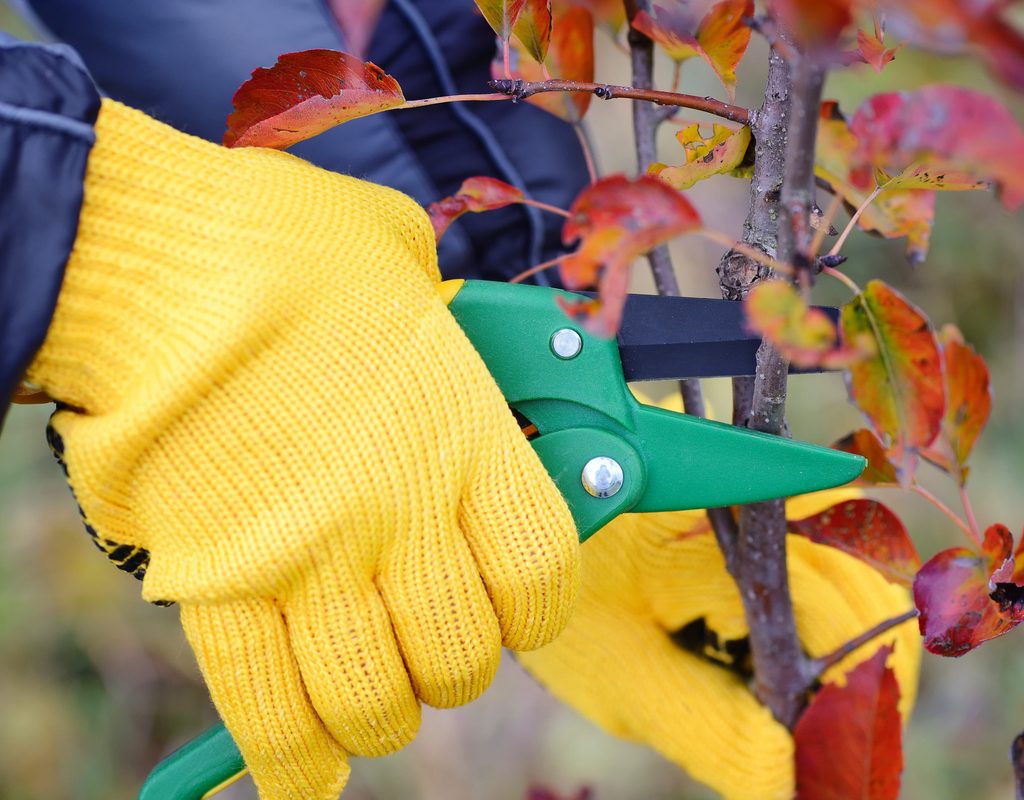
Early spring, when shrubs and trees begin to wake from dormancy, is the ideal time to prune them, for the most part. Some shrubs are better pruned after they bloom, especially those that bloom or fruit on old growth. Pruning encourages new growth and helps maintain the overall health of the plant. Use a clean, sharp pair of bypass garden shears for the best results. Smaller plants can be pruned with scissors.
Starting at the base of the plant and fanning outwards from there, look for branches that are dead, damaged, or diseased. Cutting these away stops the plant from focusing energy on them and keeps any diseases from spreading to the rest of the plant. Next, look for branches that touch or cross and prune one of them. Branches that touch will rub against each other, causing scrapes that can become infected. Then, you can trim the top and sides to shape it how you like.
With your garden clean, you’re ready to start the year off right! What plants will you grow this year? There are always new plants to try out, so why not go out on a limb and plant something you normally wouldn’t? Whether you plan on growing your old favorites or want to strike out and try new ones, you can set out knowing your garden is clean and ready.


