Broccoli is an incredibly nutritious vegetable. You can use it raw or cooked in lots of different ways. Unfortunately, the fresh and frozen selections at the grocery store do nothing to boost its reputation. Adding to its poor reputation, many people's first (and sometimes only) experience with broccoli is as children. Since children are more sensitive to bitter flavors, vegetables often taste more bitter to kids than adults, leading to a strong disliking of them. If you're curious about giving broccoli a second try, garden fresh broccoli is the way to go!
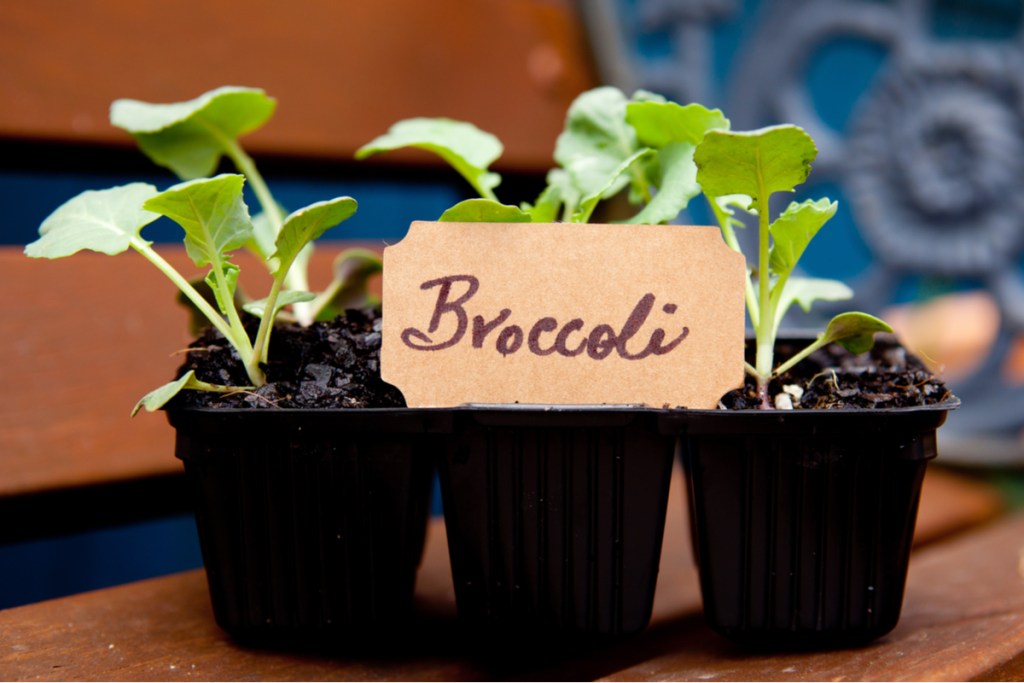
Broccoli prefers sunshine and cool weather
The first step to caring for broccoli is to choose the right planting site and time. Here's how:
Step 1: Plant your broccoli where it will receive full sun in the morning and light shade during the afternoon.
Broccoli can be grown in traditional gardens or containers, as long as it gets enough sun.
Step 2: Start planting broccoli outdoors either two weeks before the last frost date (for a spring harvest), or three months before the first frost date (for a fall harvest).
Broccoli prefers cool weather, so avoid planting it during the hot summer months.
Step 3: Start broccoli as seeds indoors, about eight weeks before the last frost date, then transplant them into your garden.
This allows you to make the most of the growing season, especially if you live in an area with short springs and long summers.
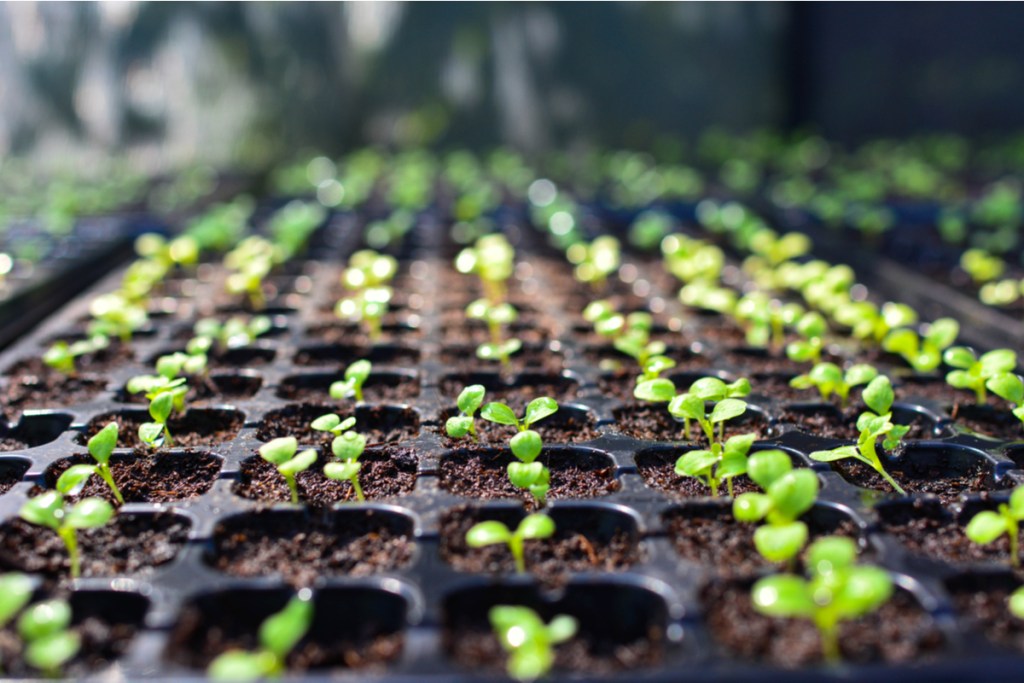
How to start broccoli from seed
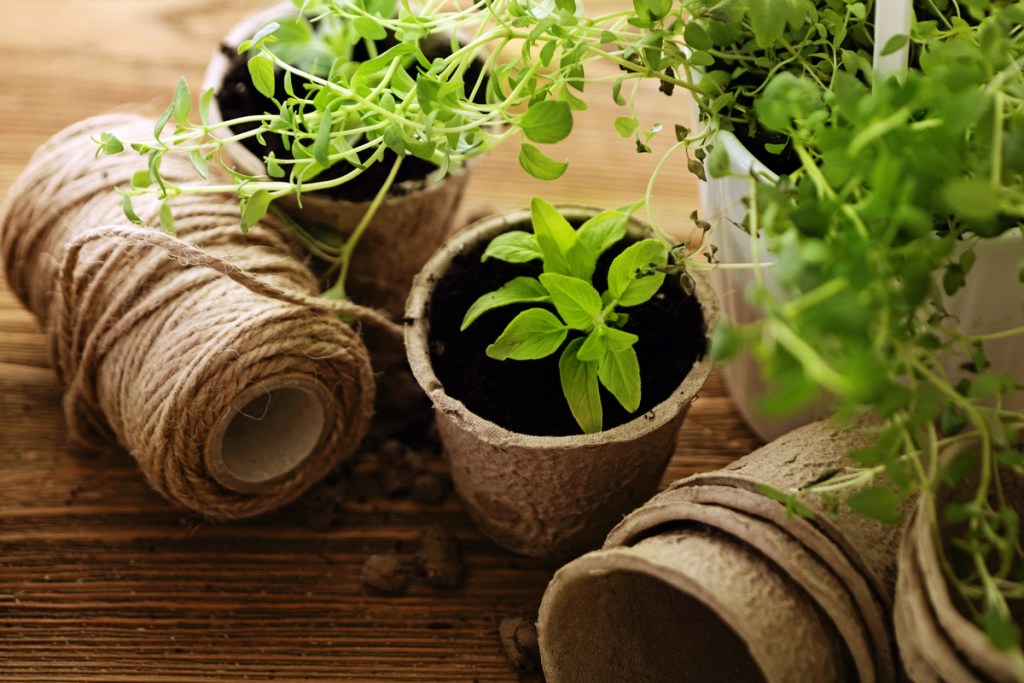
Broccoli is easy to grow from seed. Here's what to do:
Step 1: Plant seeds at a depth of a quarter-inch.
Step 2: Use a seed-starting soil mix when growing them indoors.
Step 3: Soak the seeds in water before planting to speed up germination. Broccoli typically takes 7 to 14 days to germinate.
Step 4: Water the seeds after planting so the trays or garden are moist.
Step 5: Cover the seedlings with a clear plastic humidity dome to keep them warm.
How to grow broccoli
Everything you need to know about broccoli care.
Step 1: Mix compost into the soil before planting. Broccoli thrives in rich, moist soil. Compost helps improve the quality of garden soil, and can even be used in container gardens.
Step 2: Space broccoli plants 18 to 24 inches apart in rows that are 36 inches apart. Broccoli can get pretty big when mature, so it's important to give them enough room.
Step 3: Add 2 tablespoons of organic fertilizer at planting time.
Step 4: Water them thoroughly directly after planting, then once a day for the first week. After the first week, water two or three times a week.
Step 5: Add a layer of mulch around the seedlings, to inhibit weed growth and retain moisture.
Step 6: Feed the broccoli again once they're roughly a foot tall.
Broccoli plant pests
When broccoli plants are healthy and well cared for they don’t have many problems, but there are a few insect pests to watch out for.
Cabbage worms feed on broccoli leaves. If you notice leaf sections that’ve been chewed, inspect the leaf surfaces and undersides and pick off any caterpillars you find. Use Bacillus thuringiensis (Bt) to knock out advanced infestations.
Aphids suck the sap out of broccoli foliage, so they wrinkle and turn a splotchy yellow color. Be on the lookout for these tiny, soft-bodied insects clustered on the undersides of leaves. Blast them with a jet from the hose. Spray large infestations with insecticidal soap. *Flea beetles chew thousands of tiny holes in the leaves, giving them a skeleton-like appearance. Spray these tiny black beetles with pyrethrin-based insecticide if damage advances.
Cutworms chew through the stems of young seedlings. Often the damage happens at night and the plant is dead before you know there’s a problem. Only plant strong, healthy seedlings. In gardens with a history of cutworm damage, treat seedlings with Bt or spinosad as a protection at planting time.
Harvesting broccoli
Harvesting broccoli is a simple process. This is how to do it:
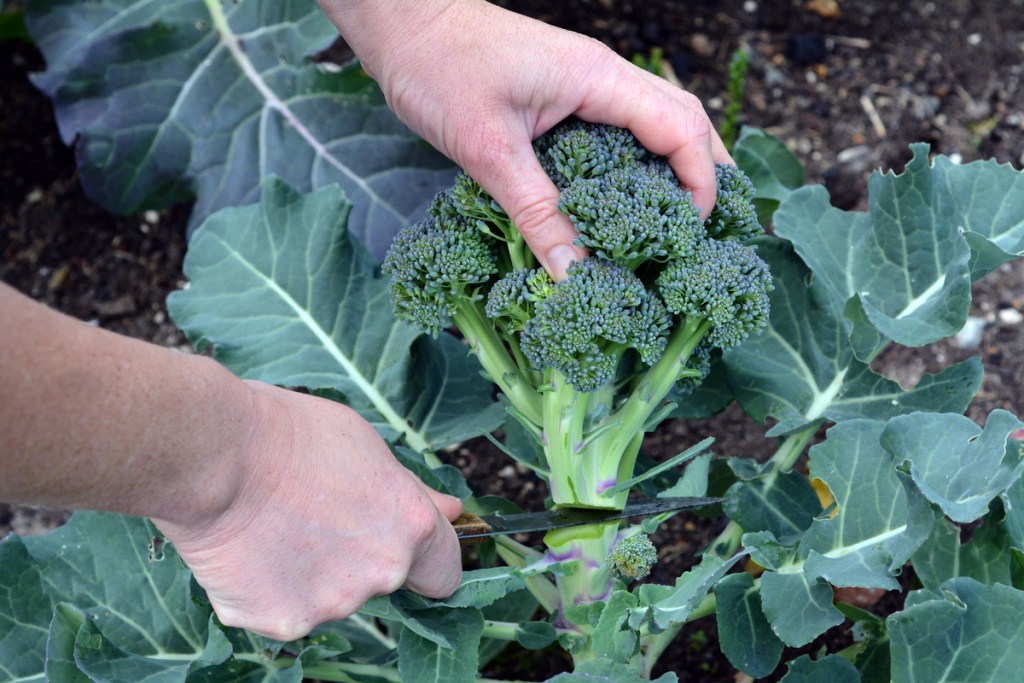
Step 1: Harvest broccoli heads when they are full of tightly packed, dark green buds. If left too long, the buds can bloom into tiny yellow flowers. However, these are also edible.
Step 2: Cut the head and part of them stem off the plant using a sharp knife.
Step 3: Leave the rest of the plant in the ground. It will continue to grow, putting out smaller side shoots for an additional harvest.


