
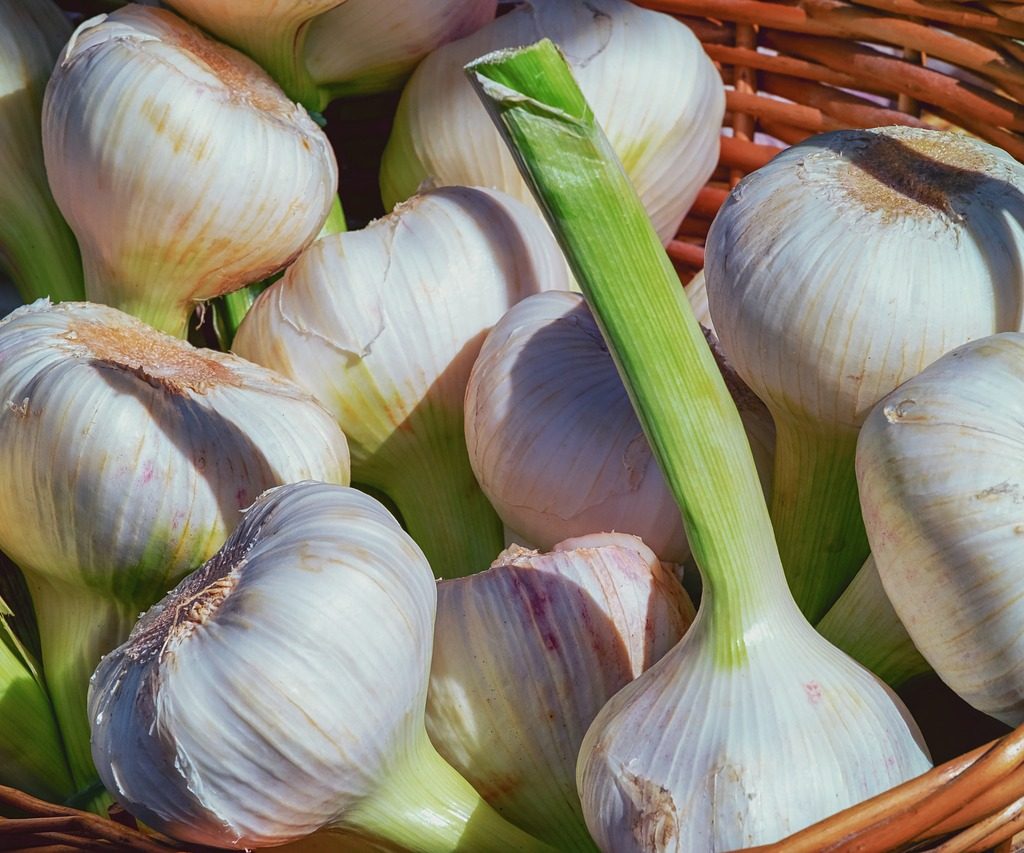
Garlic is a great addition to any dish, making it a popular plant to grow. It doesn’t take up much room, is resistant to many pests and diseases, and is easy to care for, making it a great plant for beginners as well. If you’re a fan of garlic and want to extend your harvest, then you might be interested in learning how to grow garlic in winter. Growing vegetables in winter can be tricky due to the weather, but luckily, garlic is easy to grow in any season! This handy guide will explain everything you need to know about how to grow garlic in winter.
When should you start your winter garlic?
Garlic needs several weeks of temperatures that are at or below 40 degrees Fahrenheit to develop properly. However, they also need enough time to grow roots before the ground freezes. Plant your garlic a little before the first frosts of the year, but avoid planting them right before a big freeze. Garlic doesn’t do well in heat, so plant your garlic once the weather has begun to cool.
In most cases, September through November is the typical time frame for planting garlic. Colder regions (USDA hardiness zones 3 and 4, for example) should plant garlic closer to September, while more mild regions (such as USDA hardiness zones 7 and 8) can wait until November.
What are the benefits of growing garlic during winter?
Garlic can be planted in fall or spring. However, garlic planted during spring or summer tends to be smaller and slower growing than garlic planted in fall. This is because garlic needs cool weather to stimulate growth at the beginning of its life, but cold weather can also damage mature garlic’s foliage. Spring garlic has to be harvested before winter, resulting in a shorter growing season.
Additionally, planting in the fall means less overall work for you. Since most of the root growth is done throughout winter, they need remarkably little care. On the other hand, growing garlic during summer can sometimes require more maintenance since, to achieve the ideal size, you’d need to simulate cold weather for the clove before planting. Garlic also tends to be heat sensitive, and the higher temperatures in summer mean more work for you as you try to keep them cool.
How to plant and care for winter garlic
Garlic does best in soil that’s loamy, well-draining, and slightly acidic. You can add compost to your soil before planting to help with overall soil quality. Choose a planting location that gets a decent amount of sun. Garlic does best with between 6 and 8 hours of sun a day. Clear out any weeds in the area before you start planting. If your natural garden soil is poor draining and you don’t want to spend time and effort modifying it with soil amendments, try growing your garlic in a raised garden bed instead.
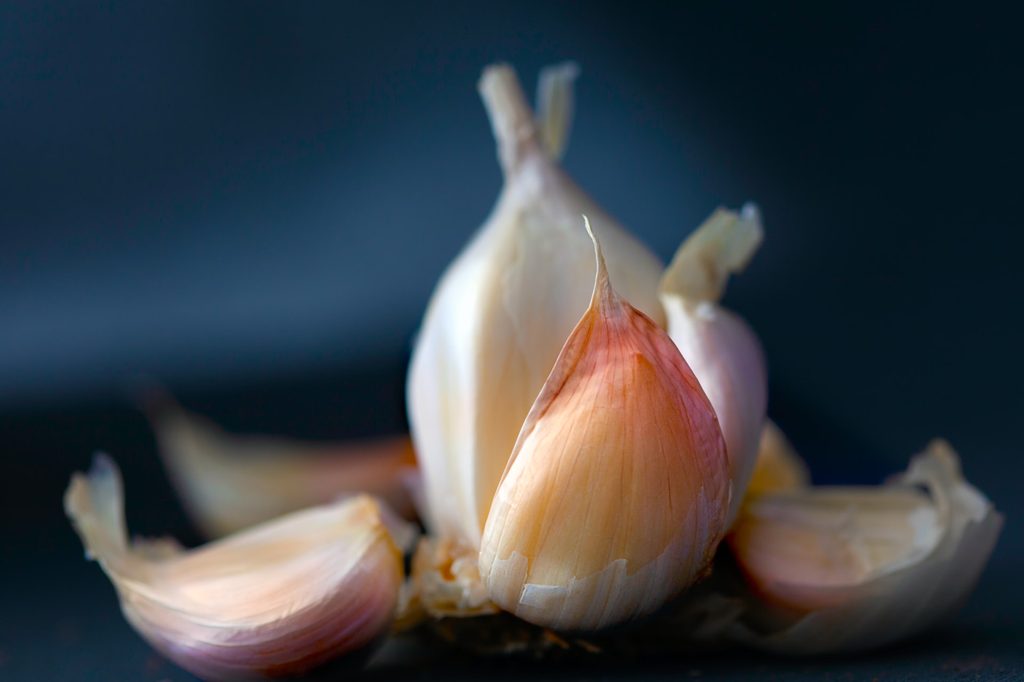
Use the largest, healthiest cloves you can, and inspect them carefully for disease, discoloration, or damage. Place each clove about two inches deep, with the root side facing down, and space them a few inches apart. Cover them with soil and a layer of mulch. Any mulch will work, but straw tends to see the best results, especially in colder climates. Then, leave them until spring.
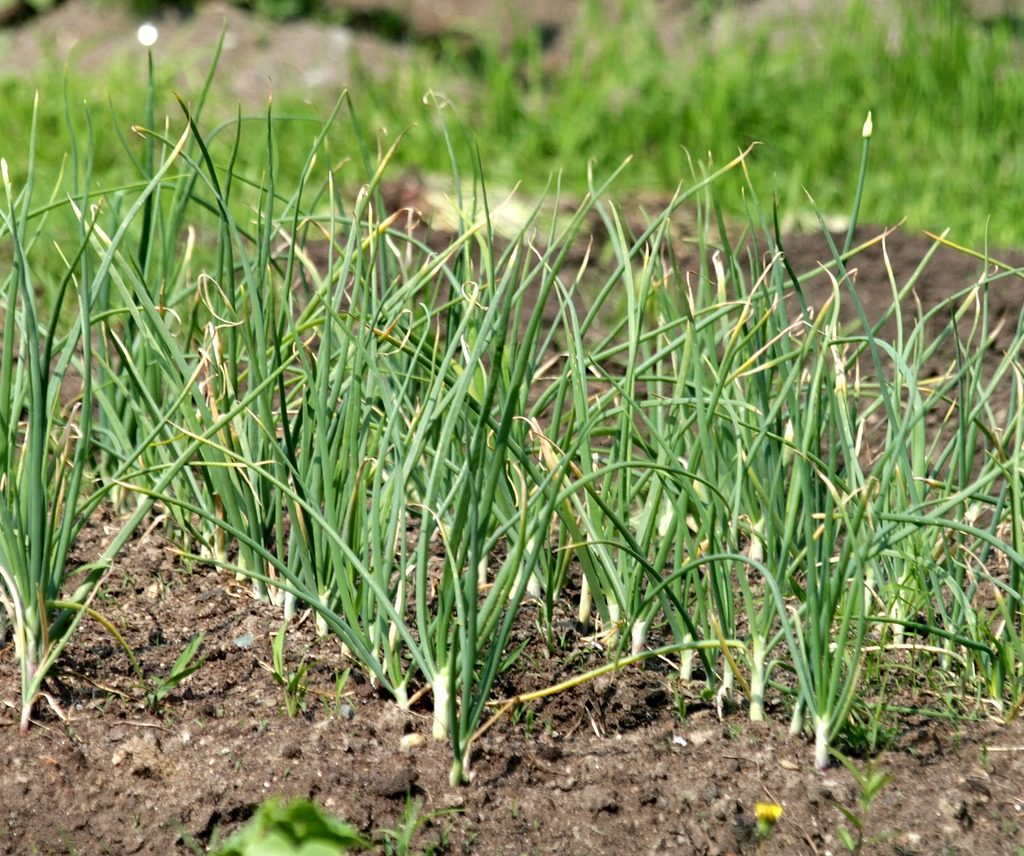
After the last frost of the year, remove your mulch so the young leaves can begin to push through. Garlic uses a lot of nitrogen, so you may need to fertilize them with a high-nitrogen fertilizer. Fertilize them once in early spring and once in late spring or early summer.
Garlic needs most of its water during late spring and early summer, when the bulbs are growing. Water them every few days or twice a week. However, you can stop watering as frequently in the weeks leading up to the harvest. Leaves should be left alone, but any flower stalks that form should be clipped. This stops the plant from putting energy into blooming, which results in a smaller bulb.
When is it ready to harvest?
In most cases, garlic is ready to harvest between June and July, but a later planting means a later harvest. The ends of the leaves should begin to turn yellow and wilt, which is a sign to begin harvesting. If they turn yellow before June, it likely means they need more nitrogen.
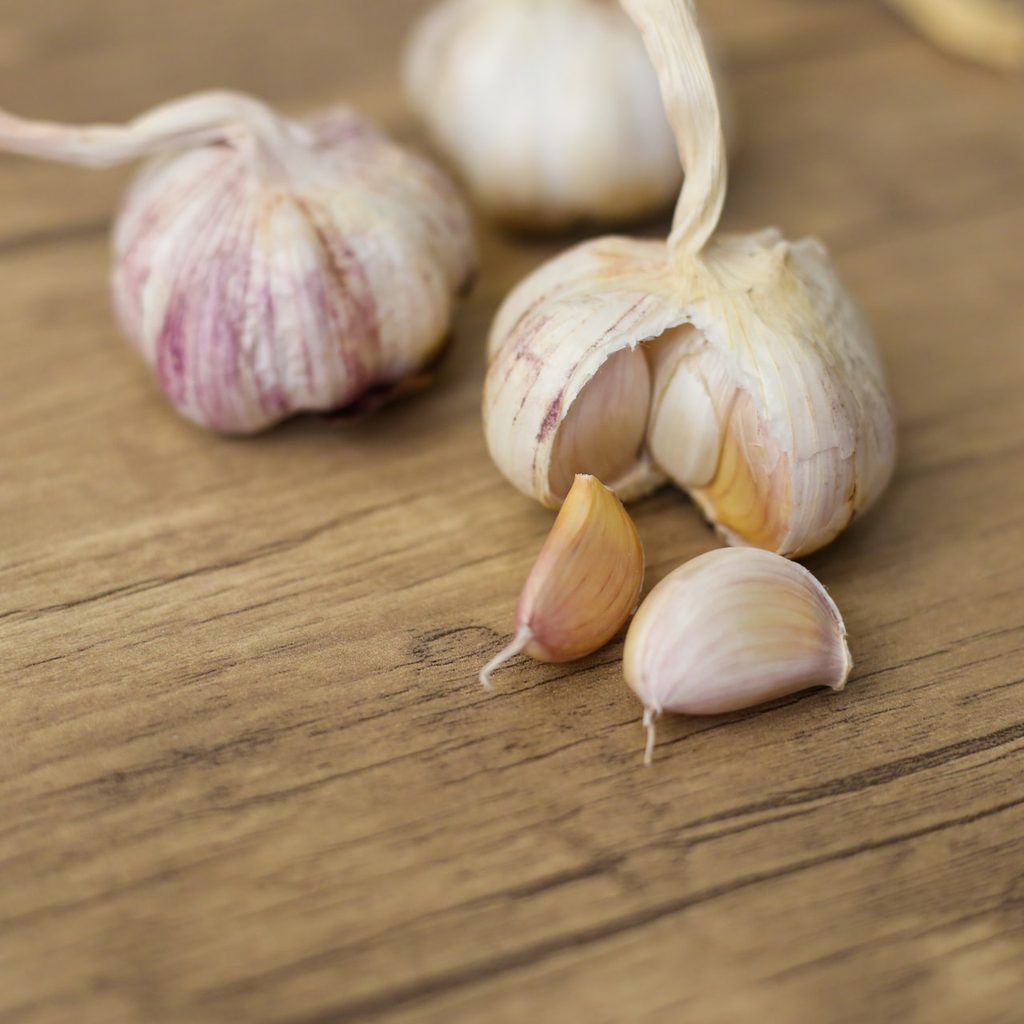
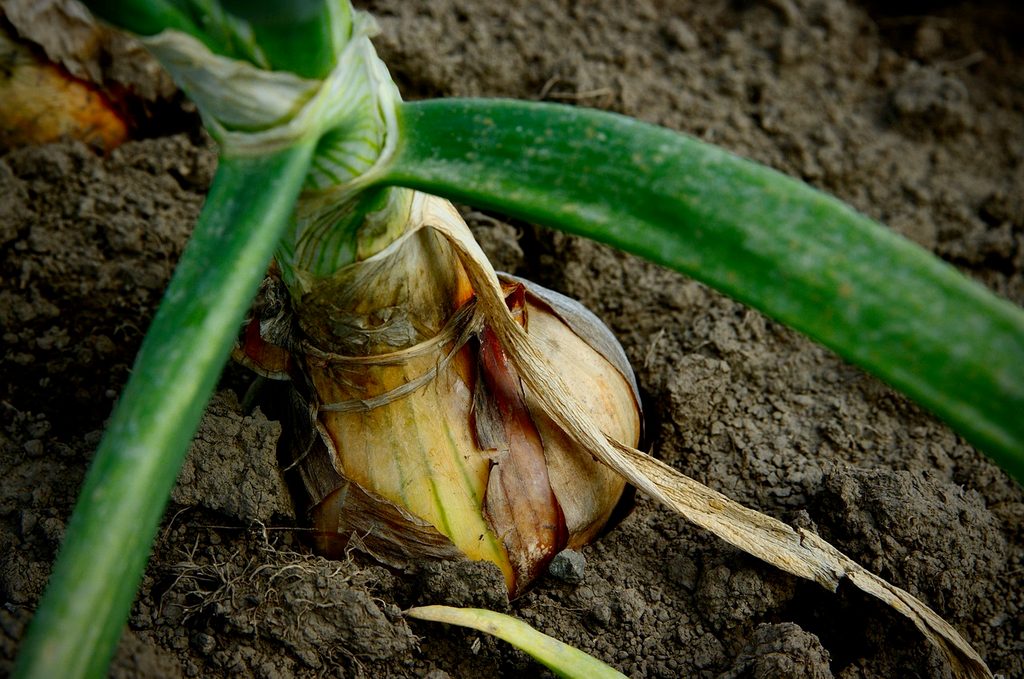
Dig one garlic bulb up first to gauge if they’re ready to harvest. Be careful, and use as few tools as possible to avoid damaging the garlic. The bulb should be intact, without any splitting, and have skin that’s thick enough that gentle handling doesn’t hurt it. A split bulb is an overripe bulb, while a thin, easily damaged skin signals an unripe bulb. If the test garlic is ripe, then it’s time to harvest the rest of your garlic.
Storing your excess garlic
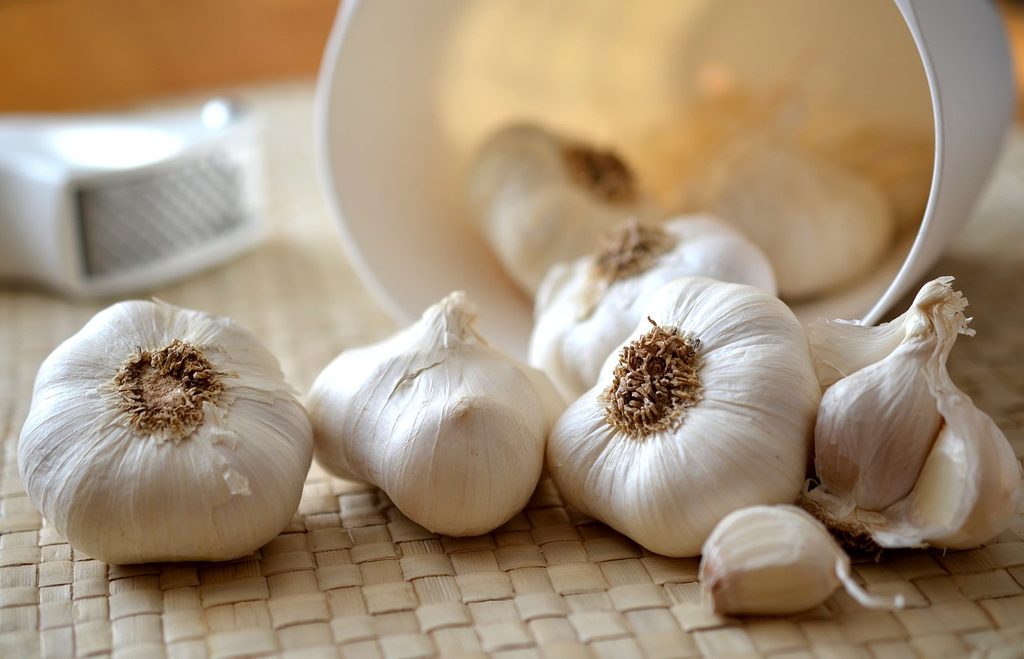
Now that you know how to grow garlic in winter, you may end up with too much garlic to use at once. Luckily, garlic is easy to store. If you plan on using it relatively quickly, you can store it like any other vegetable. Keep it in a cool, dry place with good air circulation. Garlic doesn’t need to be stored in a container, but if you choose to keep it in one, make sure to choose a container with air holes. Otherwise, moisture can build up in the container, leading to rot. For longer-term storage, consider drying or pickling your garlic. You can even turn your garlic into homemade garlic powder, which can be stored for much longer, by drying and then grinding your garlic cloves.
Growing garlic over winter is an excellent way to supply all your favorite dishes with delicious, homegrown garlic. It’s a simple, straightforward process that cuts down on effort and results in larger garlic bulbs. Planting your garlic in fall and growing it throughout winter is also a great way to make use of any garden space that would usually be left empty over winter. No matter what you like to use your garlic for, hopefully, this handy guide has helped you start planting and caring for your winter garlic.


