
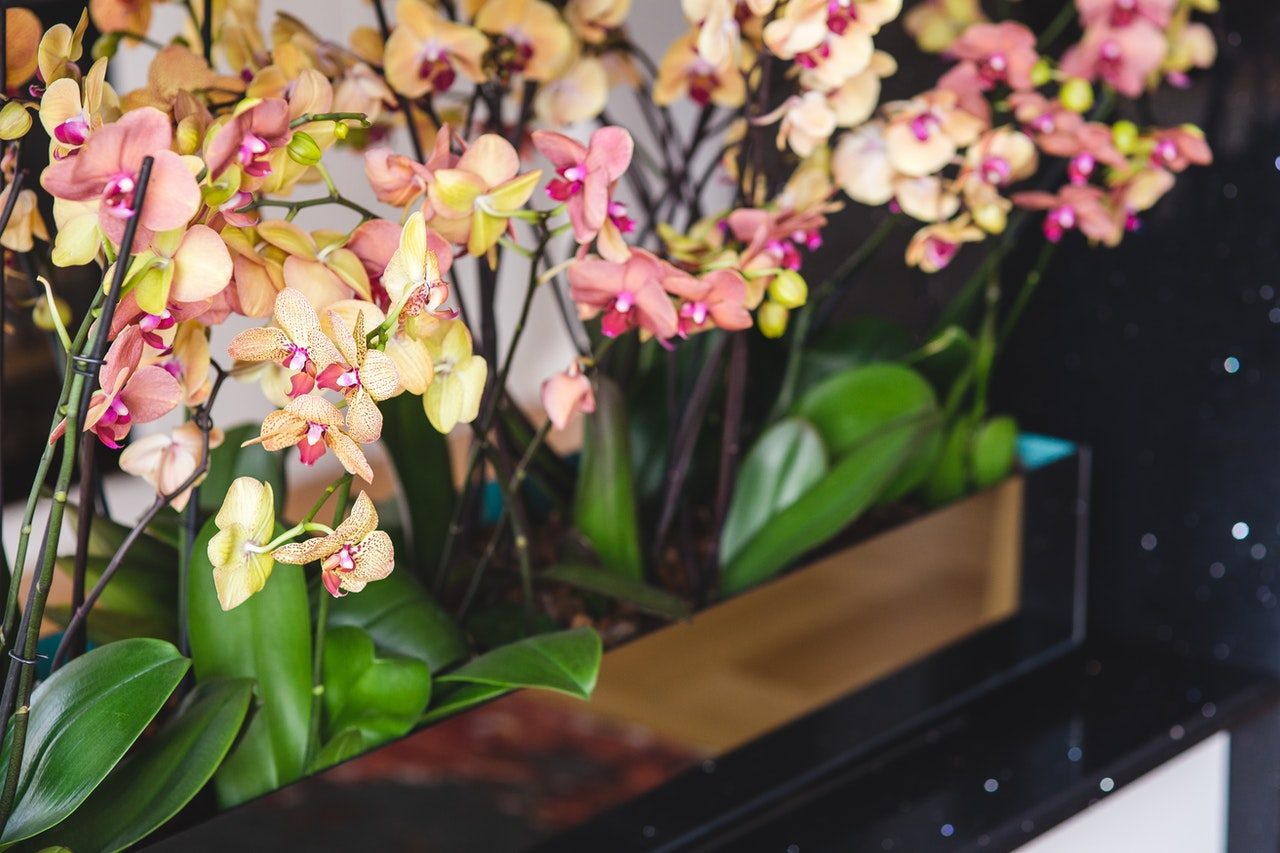
Orchids are wildly popular in florist shops, garden centers, and grocery stores because of their striking beauty. They make a gorgeous gift for any special occasion, and brighten offices with their cheerful and vivid color palettes. But the excitement often fades as new orchid owners discover that keeping these beauties alive presents a unique set of challenges. When the long-lasting blooms fade, the end is often near for these beauties. But it doesn’t have to be that way.
Orchids require unique growing conditions in order to thrive, but they are no more difficult to keep than other common houseplants. Here are a few simple ways to keep orchids alive and thriving.
Get to know your orchid
What kind of orchid do you have? An orchid is any flowering plant that has the male and female reproductive parts fused into a single structure, called a column. The flowers are symmetrical, with three petals and three sepals. Orchids are the largest family of flowering plants in the world, with more than 25,000 species growing in such diverse habitats as bogs, temperate woodlands, tropical rainforests, and more.
They are divided into two groups based on where they grow. Terrestrial orchids grow in soil. Epiphytic orchids grow in the canopies of trees. The most popular orchids come from the epiphytic group, including Cattleya, Cymbidium, Dendrobium, Oncidium, and Phalaenopsis. Terrestrial orchids such as Ludisia, Paphiopedilum, Phaius, Phragmipedium, and Zygopetalum are steadily increasing in availability and popularity. Getting to know your orchid’s family will give greater insight into its native growing conditions, which you can replicate at home.
Give them good light
Orchids prefer bright, indirect light in a room that receives lots of morning sunlight. In this environment they will receive enough sun energy to bloom regularly but not so much that the foliage will be damaged. In rooms that get more severe midday or afternoon sun, filter the rays with a sheer curtain or place the orchid on the side of the room opposite the windows. If you only have a poorly lit location, you can supplement the natural light with fluorescent or LED grow lights.
Maintain the right temperature
Orchids commonly kept as houseplants grow best in the temperatures that people generally find comfortable. Temperatures in the 70s or low 80s during the day, and in the 60s overnight are ideal for many tropical, epiphytic species. The temperature on a windowsill tends to fluctuate more than the interior of a room, which can be beneficial.
Some orchids, especially terrestrials, require a dormancy period between bloom cycles that may include a certain amount of chilling. This is why getting to know your orchid is one of the first keys to success.
Provide food and moisture
Epiphytic orchids thrive in humid locations on the rain that gets trapped in tree bark where they grow along with decomposing organic matter. The humidity in a bathroom or over a kitchen sink is ideal for growing orchids. In arid parts of the home, they benefit from daily misting. Water orchids about once a week. Place the plant in a sink and apply room temperature water beneath the foliage, over the whole root zone for 15 to 20 seconds. Then let it drain. Use rainwater or day-old tap water, not distilled or salt-softened water.
Feed orchids weakly, weekly during the growing season. Mix a liquid 20-20-20 complete fertilizer that contains all trace elements at one-quarter strength. Apply this dilution during the regular watering schedule from spring through fall. Every fourth week, skip the fertilizer and just use plain water to flush away salt buildup. Do not feed orchids while they are blooming, and do not feed them if they are stressed or otherwise unhealthy.
You can also consider growing orchids hydroponically, a unique option if your current orchid has been running into issues.
To prune … or not
Orchids bloom on long stalks that grow from the base of the plant. When the flowers fade, the stalk may turn brown and die back. If so, go ahead and cut off the stalk where it grows out of the main plant. If it remains green, there is a chance that it will produce another round of blooms in two or three months. In this case, you can either leave it alone, or cut the top back to just above the first node (the swollen area on the flower stalk that looks like a bud is swollen beneath the surface).
Repot when necessary
Many orchids prefer to remain pot bound, so there’s no need to worry when aerial roots emerge above the pot rim. Use the condition of the bark-based potting mix as the indication that it’s time to repot. When the mix is worn out, broken down, and turning to dust (normally every one to three years), it’s time.
Epiphytes prefer a very coarse orchid potting mix, or chunky orchid bark, because it retains some moisture and nutrients but freely drains excess water. Terrestrials prefer a fine textured orchid potting mix with high organic content and excellent drainage. An ideal mix includes fir bark, perlite, and chopped sphagnum moss, with the optional addition of charcoacl.
Water the plant. Remove it from the container and gently remove remnants of the old orchid mix. Prune away dead, withered roots. Replant with new moistened orchid mix so that the bottom leaves are above the bark and the bark surface is ½ inch below the pot rim.
Give your orchids the easy care that they need and they will reward you with beautiful blooms for many years to come. If you’re looking for where to start, check out any of these seven easy orchid varieties.


