
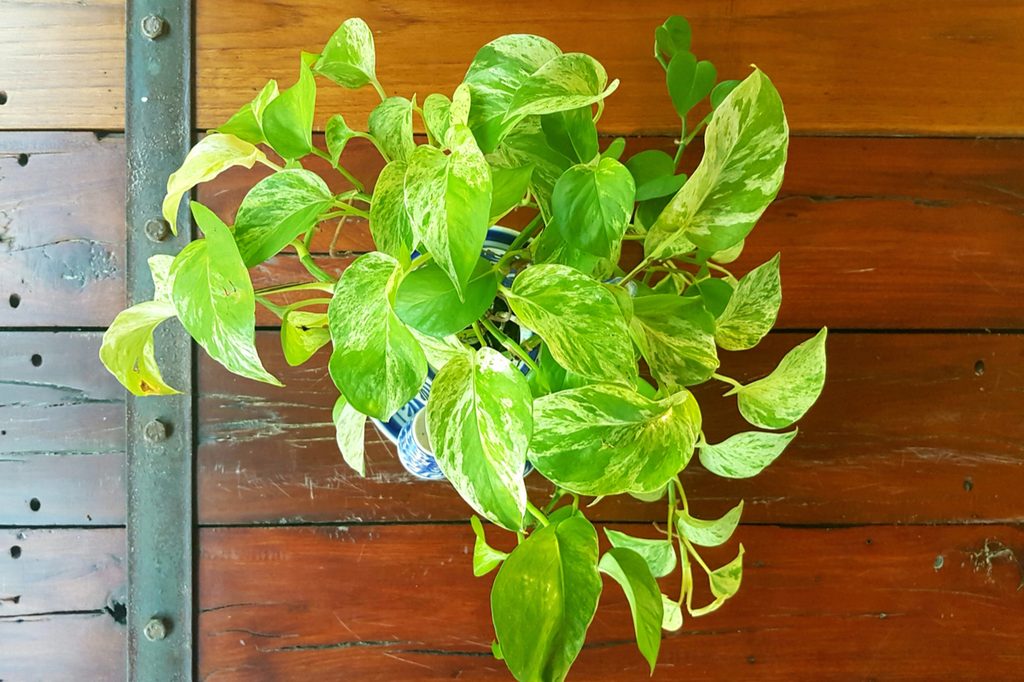
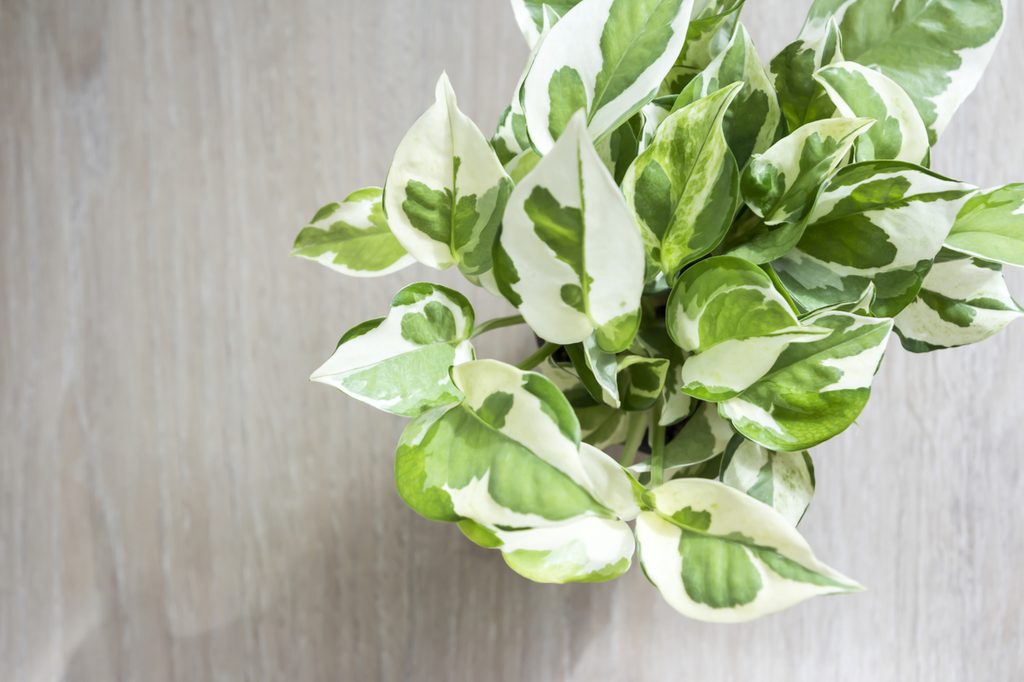
Pothos plants are incredibly hardy and easy to care for, which is arguably why they’re one of the most popular houseplants. They’re not only great for beginners — they’re also great for seasoned foliage enthusiasts who love plants but are sometimes a bit forgetful when it comes to watering them. Pothos plants range from bright green to variegated in color, depending on the variety. That said, you can easily propagate and shape any type as long as you know how to prune pothos in general. Just like with any houseplant, pruning can help keep your pothos happy and thriving.

Why it’s a good idea to prune your pothos
Pruning a pothos can help it grow fuller and healthier. Sometimes pruning is just for giving the plant a little touch-up; other times, it can help reinvigorate it and bring it back to life if a lot of leaves have been lost as the vines grow. Not only that, but because the non-variegated varieties grow fairly quickly, it’s a good way to make sure your pothos still fits well in your home. If you have it in a hanging basket — but also have kids and pets — chances are you don’t want it reaching the ground. By pruning it, you can make sure it stays well out of reach from tiny hands and paws.
When should I prune my pothos?
Even though pothos plants are hardier than a lot of other houseplants, you should still wait to prune until the active growing season to avoid stressing your plant (unless absolutely necessary). Since the plant will be actively growing, it will be able to recover quicker from the stress of being pruned, as well as start establishing new growth. Most pothos varieties actively grow between the spring and early fall, so you’ll have plenty of time to give it a trim (or two!) before it goes dormant.

How to properly prune a pothos plant
Before you start pruning, make sure that the pair of shears you’re using is clean and has been sterilized. This helps minimize the risk of infection or disease spread to your plant from any contaminants that may have been on the tool.
Once your tools are clean and you’re ready to start cutting, decide first how much you’ll be taking off. You can do a little trim just to tidy up your pothos — or for more drastic situations, you can cut it back to about two inches above the soil line. This should really only be done if you have bare vines or diseased sections that you’re looking to reinvigorate or remove (respectively). However much you decide to take off, the process will be the same.
Do you cut above or below the node?
To prune your pothos, pick out a vine and figure out where you’d like to make the cut. Once you’ve picked a spot, you want to cut about a quarter-inch above a leaf, or growth node. For example, you’ve chosen a place on the vine between two sets of leaves — this will be between two growth nodes. You’ll make the cut a quarter-inch above the growth node of what, after the cut, will be the first leaf on the vine.
Repeat the process on each vine you want to cut for however much you want to take off. If there are any vines without leaves or with bare spots, you may want to consider pruning those off to allow your pothos room and energy to grow newer, healthier vines.
Should I cut off damaged pothos leaves?
As unfortunate as it is, leaves that are more than 50 percent damaged, are diseased, or are dead should be removed from your plant. They won’t be able to bounce back, and cutting them will allow your pothos plant to direct nutrients and energy towards new growth. Removing diseased leaves as soon as possible is especially important to minimize the amount that the disease spreads to the rest of your plant.

Do I have to throw the cuttings away?
No! If you want, you can use the cuttings you took (so long as they’re healthy) to propagate new pothos plants, either for yourself or for friends and family. Remove the bottom leaf of the cutting to expose the growth node, then place it in a jar or propagation station filled with enough water to cover the node, but not so much that the cutting drowns.
If you have larger cuttings, you’ll want to split them up into smaller sections, making sure that each piece has one or two leaves on it. Cuttings without leaves won’t be viable, as the new roots will come from the growth nodes.
How long does it take to propagate pothos?
Generally, it only takes a few weeks or a little over a month to grow roots from a pothos propagation. You can add rooting hormone to your exposed nodes, but pothos cuttings root well on their own. Ideally, you should leave your cuttings in a warm, brightly lit area to ensure the healthiest plant possible. After getting two to three inches of root, you can transplant your cuttings into a houseplant potting mix. That said, some people also leave their pothos plants in water forever without a problem (with the occasional fertilizing), so you can also push back your transplanting schedule without experiencing any hitches.
Will pothos grow back after you cut them?
By cutting above the growth node, your pothos will be able to start growing a new vine from the spot where the cut was made! Pruning pothos plants is one of the best ways to encourage new, healthy growth on the plant, so trimming won’t mean that your plant is stunted forever. Just make sure that you prune properly, cutting above a growth node to give it the best chance possible.
When neat and tidy, pothos plants make beautiful trailing vines to hang in baskets, off of shelves, or guide around an indoor trellis. They’re great for beginner and experienced gardeners alike and make great accents in almost every home.


