It can be fun to add new plants to your garden, and sometimes we gardeners love to propagate and share those wonderful plants with family and friends. Propagation is an exciting and unique way to grow “free” baby plants for yourself or give as gifts to others. Before we dive into propagating a butterfly bush successfully, let’s go over some quick facts about this pretty plant.
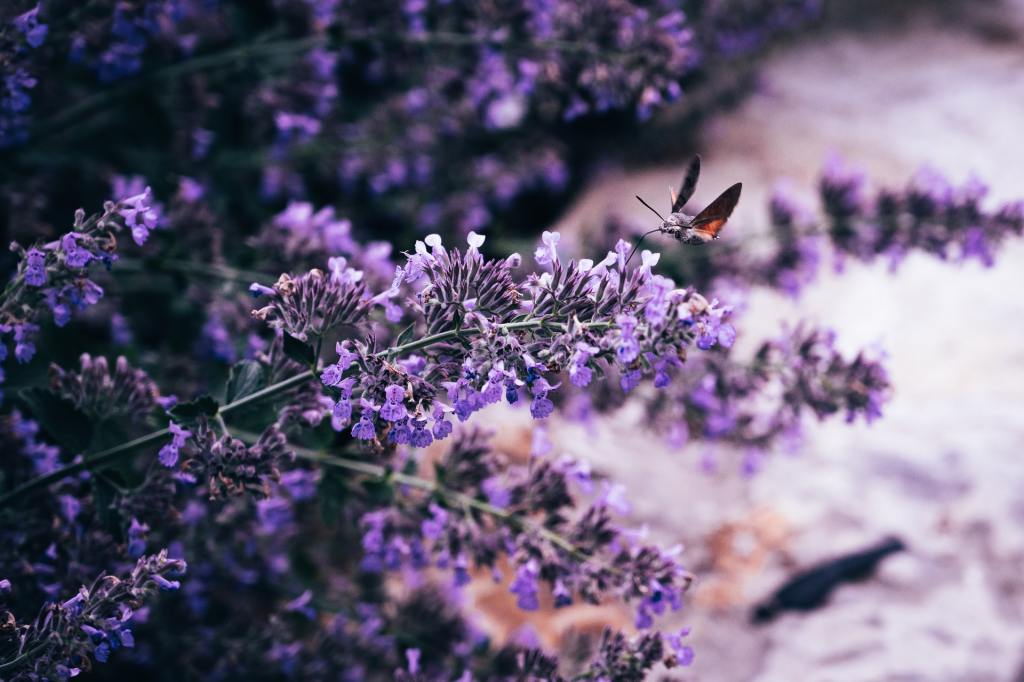
The butterfly bush is a blooming plant that produces gorgeous, long, spiked trusses with colors ranging from white, pink, purple, and dark purple. They bloom from summer to autumn and are fast-growing plants. Some varieties of butterfly bush are considered “invasive” and are illegal to plant in certain places within the United States. Be sure to check with your local laws before planting a butterfly bush in your garden.
Lastly, while butterfly bushes are an excellent food source for adult butterflies, they don’t support butterfly reproduction or lifecycle. To cultivate a better ecosystem for monarch butterflies and other essential pollinators, consider growing flowers such as milkweed, aster, or dill.
How to propagate a butterfly bush with seeds
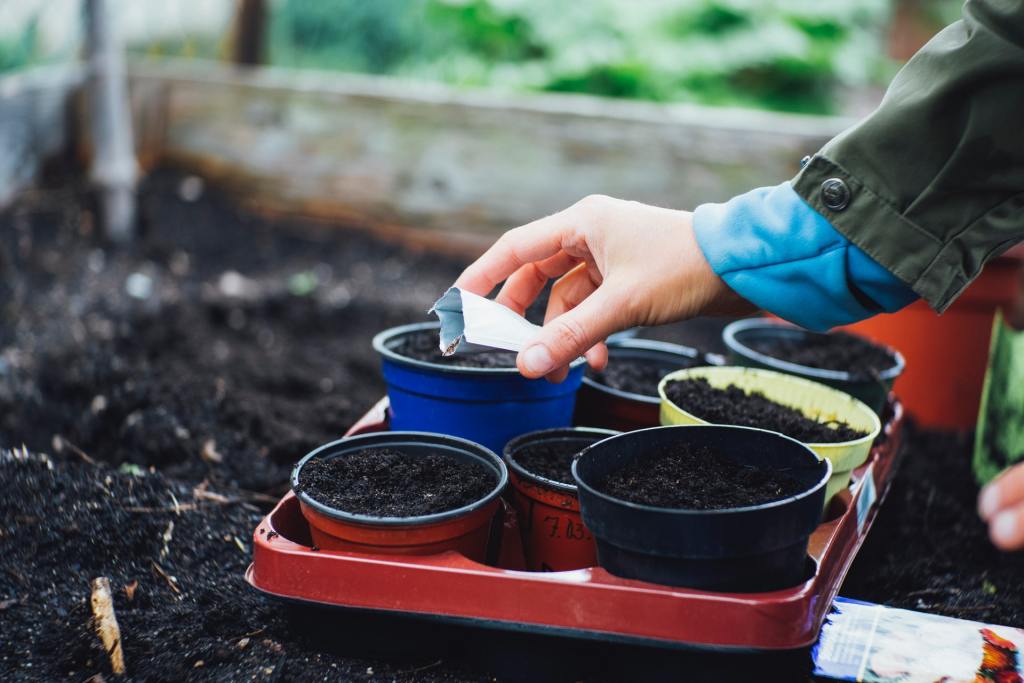
The slowest option for growing a butterfly bush is by germinating seeds. This method can take a few months, so it requires patience. The seeds will need to be pre-chilled for up to four weeks before planting them, and they need lots of sunlight, so don’t plant them deeper than a quarter-inch into the soil. The seeds will need to be kept moist, so watch the calendar while waiting for those baby bushes to pop up.
How to propagate a butterfly bush with a cutting
When propagating from a cutting, it’s crucial to clean your gardening tools before you begin. Once you have clean shears, take a cutting from the new growth section between June and July. Take cuttings that are four to six inches long. You can take as many cuttings as you like and kill two birds with one stone by also pruning the bush while doing so.
Fill the pot you’ve decided to grow the cutting in with equal parts peat moss and perlite. Cuttings need a lot of moisture to grow healthy and happy roots. The peat moss will retain water and the perlite will provide air pockets, which is an ideal combination. Now that your pot is ready, remove the leaves and stems from the lower third of the cutting and stick it into the pot you’ve prepared. You can also use root hormone to assist in root growth, but it isn’t necessary. Be patient once again, and roots should grow within three to six weeks.
To check if roots have started to grow, you can lightly tug on the cutting at the base of the stem around weeks three or six. If there’s resistance, you have roots; if the cutting pulls right out, you don’t. This either means the cutting has failed or it just needs more time.
How to care for a successfully propagated butterfly bush
Now that you’ve either grown a butterfly bush from seed or successfully propagated a cutting, you’ll now need to know how to care for a butterfly bush. When planting a butterfly bush, there are a few things to keep in mind. First, they need full sun to thrive. This means at least eight hours of sunlight a day. They also need excellent drainage. Butterfly bushes hate wet feet and will suffer from root rot very quickly if they sit in water for too long. When planting into the ground, the root ball should be slightly above ground level. This is the opposite of what most gardeners are used to, but it allows water to run from the plant instead of toward it which will help reduce the risk of root rot. In addition, don’t mulch so the soil can dry out faster, which again helps reduce the amount of moisture sitting around the plant.
When getting ready to prune your plants, skip the butterfly bush. Prune after it shoots out its new leafy growth in the late spring to promote better growth and contain the butterfly bush’s size. Since most varieties are “invasive,” they can quickly get out of hand.
Use these tips and tricks to propagate and care for the butterfly bushes in your garden. Whether you’re taking a cutting from a friend’s house or growing baby plants to share with friends and family, this information will help you have a successful propagation.