
Hydroponic growing is one of the best things that could’ve happened to the world of indoor gardening, but it can be a bit daunting to start. When you’re used to growing in soil, the concept of fully growing a crop in water can be difficult to wrap your brain around. Hydroponic growing, though, can be a much easier way to grow crops indoors, and there are even systems perfect for small spaces. If you love having fresh salads and greens, you should look into growing spinach hydroponically.
Why grow spinach hydroponically?
Although it can be easier to grow other greens in this kind of system, growing spinach hydroponically is worth it. Spinach is rich in vitamins and health benefits, and unfortunately most gardeners who grow spinach outside (not in a greenhouse) are restricted to spring and fall growing seasons. But what if you could grow spinach all summer long?
In an indoor hydroponic system, you can! The most beneficial reason to grow spinach hydroponically is that you’ll be able to lengthen it’s growing time and increase your harvest, if all goes well. However, spinach can be a bit difficult and may take a few tries to get right, especially if this is your first time growing hydroponically.
Choosing the best hydroponic system for you
Choosing the best hydroponic system to grow spinach in depends on things like the amount of space you have and the budget you’re working with. More often than not, when you’re new to hydroponic growing, a pre-built system is the best option for a variety of reasons. It’s a self-contained product, so you won’t have to invest in as many things to set up your space. They’re also often smaller than systems you’d build yourself, making it perfect for indoor gardeners in apartments or small homes who can’t designate a whole room to a hydroponic set-up or can’t build a greenhouse.
The other thing to keep in mind, too, is that you may not like hydroponic growing! Chances are if you’re looking to grow a more difficult crop like spinach, you’ve already attempted simpler greens like herbs and lettuce. But if this is your first-ever hydroponic system and you’re drawn in by the prospect of lengthening your spinach harvest, you won’t want to invest in a system that takes up a lot of time and space. So, practically-speaking, the best option for a beginner hydroponic gardener is a small, pre-built system.
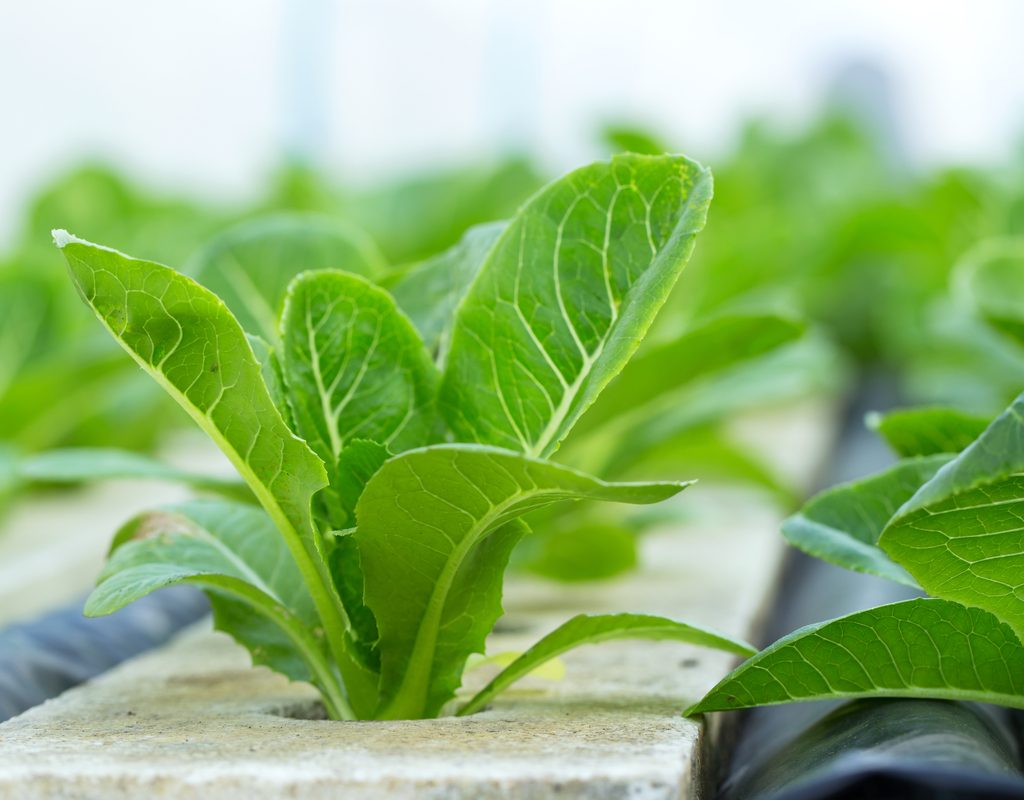
Growing spinach hydroponically from seed
To grow your spinach from seed, you’ll have to start the seedlings in pots outside of the hydroponic system and transplant them once they’re big enough. Before you start your seeds, you’ll have to pick a variety! Some varieties of spinach will have an easier time growing in a hydroponic system, such as the Noble Giant variety and the Bloomsdale variety. You can order seeds online or find a local gardening store. Really, you can try to grow spinach hydroponically with any variety; however, ones like the Noble Giant and Bloomsdale are easy to grow and quite common among hydroponic spinach growers.
If you want to skip the seed process and start with seedlings, you can take that route, too. See if there are any local hydroponic growers that have spinach seedlings you can buy. Remember that it’s always better to pick up your seedlings directly than to have them shipped due to the fact that shipping environments are unreliable and your plants may arrive unhealthy — or, worse, already dead.
Starting your seeds
Make sure the seeds you’re using are fresh and new! Older seeds are less likely to germinate, and thus less ideal for use in a hydroponic system. Because spinach can take up to three weeks to sprout, you want to increase your chances of success with new seeds. There’s no guarantee seeds will germinate even when they’re fresh, though, so you should plant four to five seeds per pot to further increase your chances.
Keep in mind that spinach is a cool weather crop. That’s why when grown outdoors, you can typically only grow it during the spring and fall seasons. The seeds will germinate best between 40 and 75 degrees, so avoid using any kind of heating mat to try to speed up the process. A heating mat will actually do the opposite and decrease the germination rate of your spinach.
So what can you do instead? Place them in the fridge for up to three weeks before sowing them! The theory here is that since spinach is a cool weather crop, the germination process will respond better to a period of cold than a period of warmth. That said, if you’d rather just let them do their thing, that’s fine, too. Whichever method you choose, make sure to keep the seeds moist as they germinate. Letting them dry out could result in low germination.
The seedlings should be ready for transplanting into your hydroponic system about two to three weeks after sprouting. This gives them time to establish their roots. Ideally, they’ll be around two to three inches tall and have roughly three or four true leaves. (True leaves are ones that can perform photosynthesis. The first few leaves your seedlings will grow are known as seed leaves, which are unable to photosynthesize.)
Caring for your spinach
As far as caring for your spinach in the hydroponic system, it will look a little bit different than you’re used to with container gardening or growing in garden beds. The worst — and possibly easiest — mistake you can make in a hydroponic growing set-up is to over-fertilize. This is because the nutrients get mixed in with the water in the system. Overfeeding can cause things like leaf tip burn, which is an indicator that the nitrogen levels are too high. You should begin feeding your seedlings with a weaker solution as soon as you transplant them into the hydroponic system and slowly transition to a stronger nutrient solution as they grow. The bigger the plant, the more nutrients it will need to grow properly.
Temperature will also be very important. Make sure the hydroponic system is in a room that isn’t too drafty but also doesn’t trap heat. Spinach prefers a daytime temperature between 65 and 70 degrees and a nighttime temperature between 60 and 65 degrees. If the temperature is too high, the spinach will bolt (begin its seed process) early, and the leaves will taste bitter.
Hydroponically grown spinach will appreciate around twelve hours of light a day. If you’re in a space that doesn’t have this naturally, you can easily supplement with grow lights! The tricky thing here, though, is that some plants prefer different kinds of lights for different stages of their life. Do your research to see what type of grow light is best for spinach before purchasing.

How to harvest spinach from a hydroponic system
When it comes time to harvest your spinach, you’ll first want to make sure it’s reached maturity. The seed packet you buy should say how many days it takes for that variety to become mature (for the Noble Giant and Bloomsdale varieties, it takes 45 days). Once they’ve reached this point, simply grab your pair of shears or scissors — sanitized, of course! — and start harvesting by cutting the outer leaves first. These leaves are the biggest, and the oldest, and this method will allow the smaller leaves on the inside to continue growing.
Because spinach is a bit harder to grow hydroponically than other greens, you may not have much luck at first. If that’s the case, don’t give up! You can evaluate what wasn’t working (too little sun, too many nutrients, too hot in the room) and make adjustments for your next attempt. The beauty about growing spinach hydroponically is that the system is there for you whenever you decide to try again. No garden bed to weed, no bags of soil to purchase. Just get your seeds, grow the seedlings, and have at it!


