
There is almost nothing more satisfying than taking a cutting from a plant and growing a whole new beautiful plant. Watching the roots grow and new shoots sprouting is exciting! It’s also an excellent way to get new free plants and either beef up your existing garden or share them with friends and family. No matter the reason, propagating plants is a lengthy process, and it will require an enormous amount of patience.
How to take cuttings
While hardwood cuttings can be more complicated than others, they all follow the same basic rules and steps to get from a cutting to a new baby plant. As with most propagation projects, patience is a virtue; cuttings can take up to a year to be ready to plant in the garden. Keep in mind that some cuttings may fail, so it’s best practice to take multiple cuttings, so you’re almost guaranteed to have one success.
Before starting any cutting or propagation project, be sure to sanitize tools such as gloves and shears with soap or rubbing alcohol. Cuttings are vulnerable to disease and pests, so sanitizing tools will reduce the risk of anything spreading and ruining your efforts.
You’ll also want to take the cuttings at an ideal time of year. It is possible to have successful rootings any time of year. However, it can make it easier for you and the plant to take a cutting after the leaves have fallen but before the ground has frozen.
It’s time to take the cutting.
- With clean shears, cut a section of the new growth from the plant.
- Cut the stem again in a diagonal direction.
- Dip the bottom end of the cutting in root growth hormones to encourage roots to grow. These products come in powder or liquid form.
- Once the growth hormones have set, prepare the pot with a well-draining, but damp potting soil.
- Dampen the soil before potting to avoid washing off the root hormones.
- Plant the cuttings in damp soil.
And now you wait! Most plants will grow roots within three to four weeks, and you’ll want to check for roots around that time. It’s important to check to ensure the cutting isn’t rotting. If you’ve potted up more than one plant in the same pot, this is especially important to avoid any rot or disease spreading to other healthy cuttings.
Semi-hardwood flower cuttings
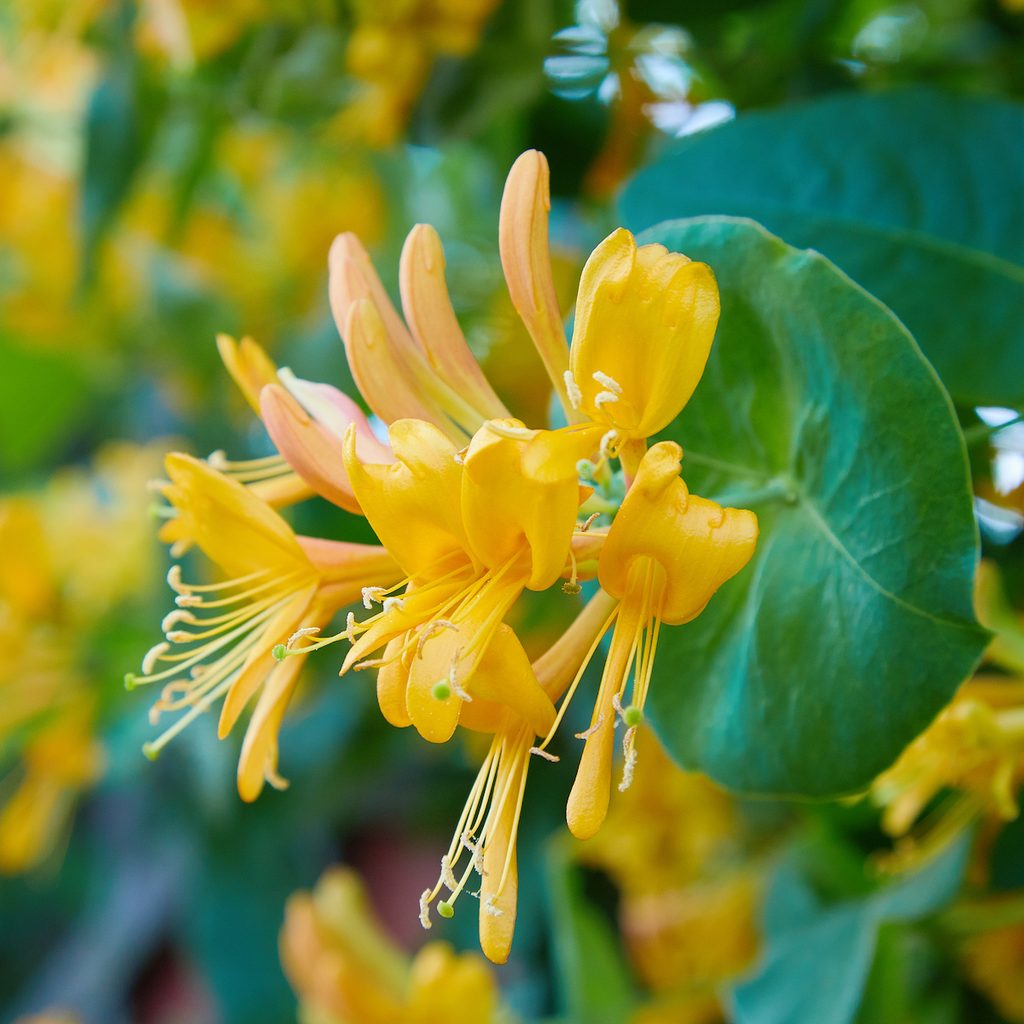
Honeysuckle
Many of us are familiar with the small white flower of the honeysuckle plant. We may have even spent summers picking and dissecting them to get the slight taste of honey from the center! However, many of us probably didn’t know that there are over 200 varieties of honeysuckle, and all of them are beautiful.
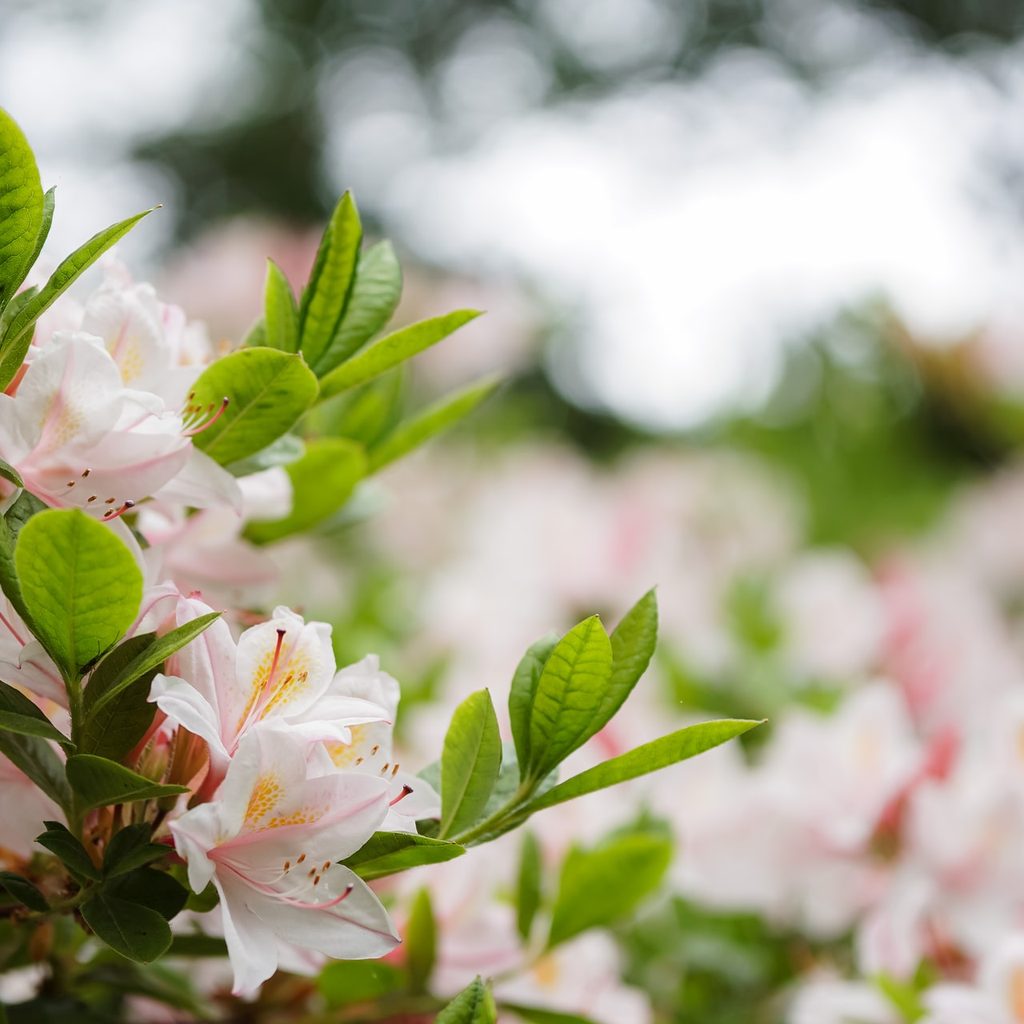
Azalea
With over 10,000 azalea varieties, it’s no wonder they are one of the most popular flowers in gardens. Their colors range from bright white to a deep red and almost everything in between. You could take cuttings from your neighbor or that aunt who seems not just to have a green thumb, but a green hand.
Camellia
Camellias are some of the easiest semi-hardwood cuttings to propagate, as well as one of the most beautiful, head-turning flowers you can find. There are about 250 varieties, but most stay within the pink, white, and red color families.
Greenwood flower cuttings
Dahlias
Coming in almost every color, dahlias are a pop of color that gardeners everywhere love to plant. There are around 42 species of dahlias and more than 20,000 cultivars to choose from. This makes it easy to find precisely what you want.
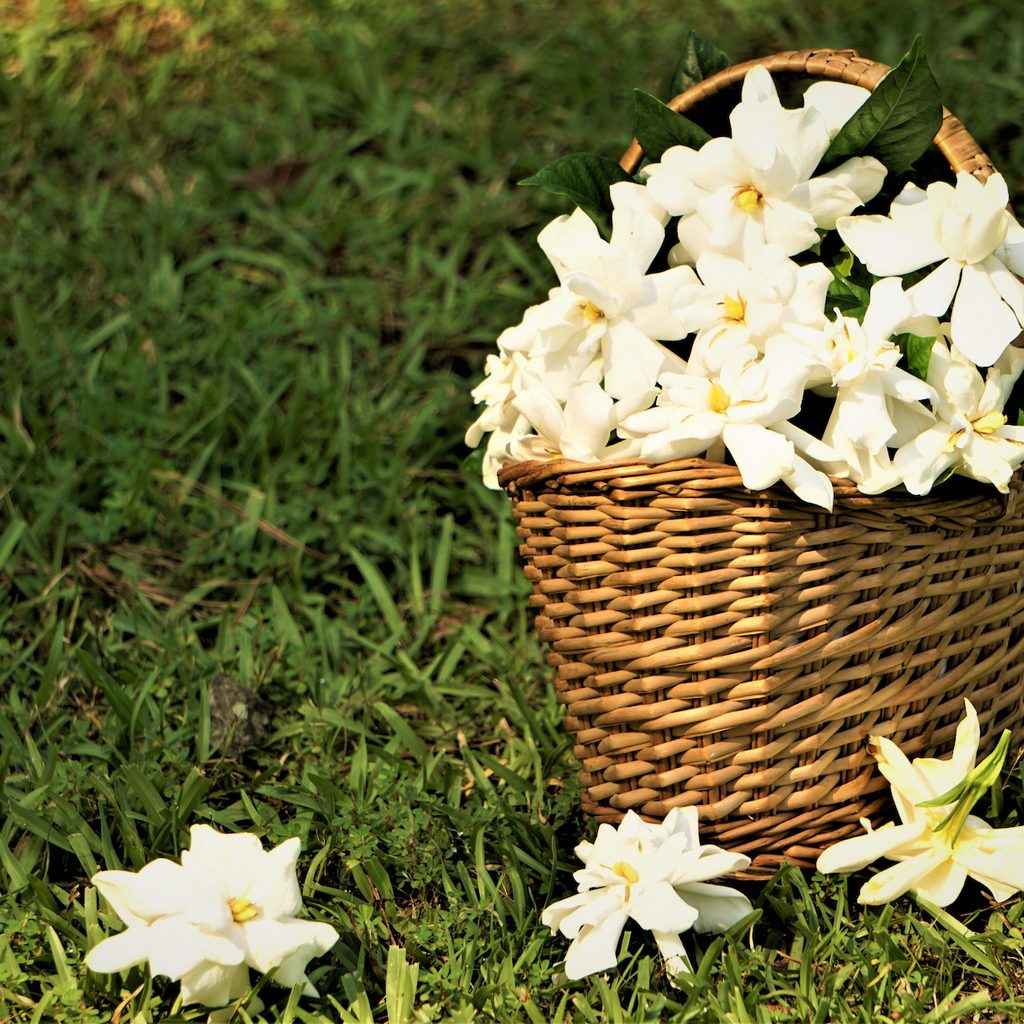
Gardenia
These flowers are very fragrant and perfume the air with delightful aromas. There are 200 varieties of gardenias, and most of them are a soft, delicate white, but there are a few that dip into yellow or gold. Their petals resemble those of a rose in the way that they twist into each other.
Softwood flower cuttings
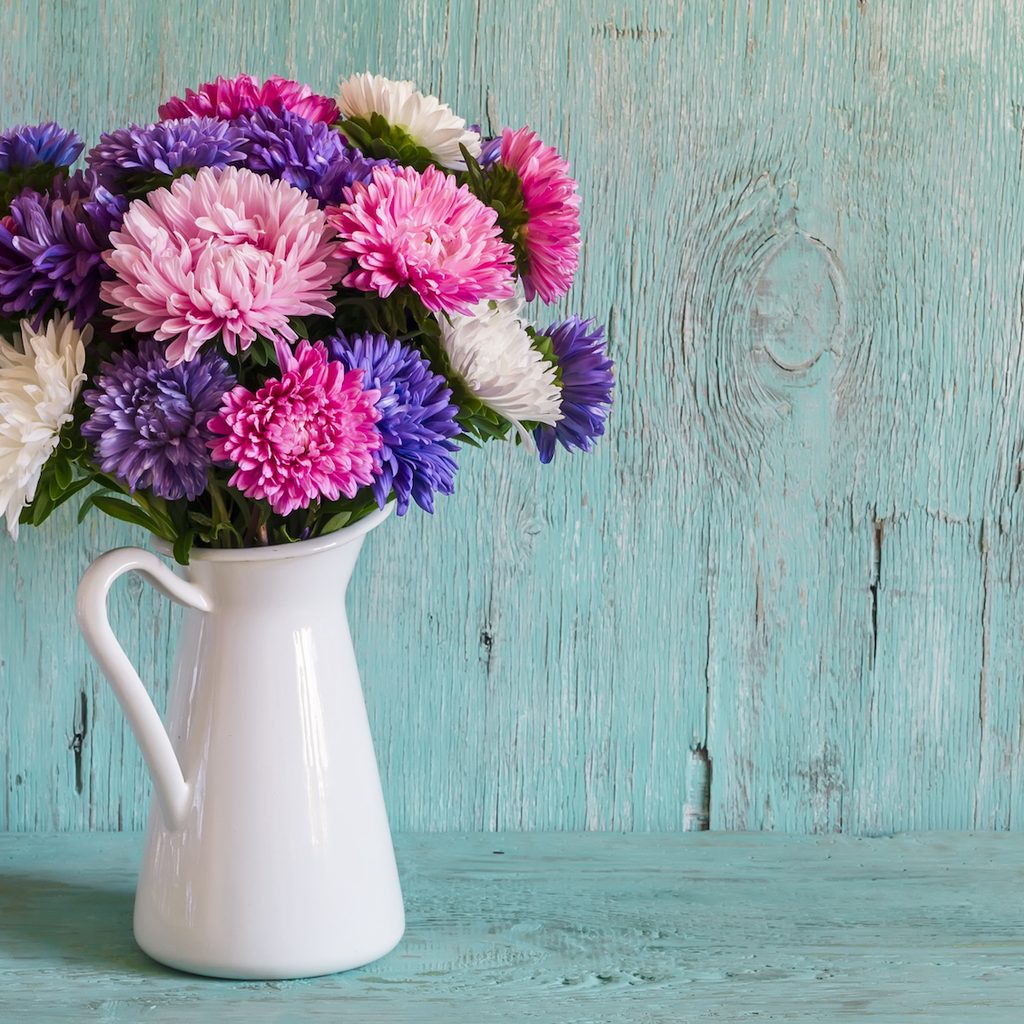
Aster
Asters root well from cuttings and can be very rewarding to care for. With over 600 species just in North America, there’s an aster for every garden. Their colors tend to stay within the pink, purple, red, and white hues, but their petals can be thin and long or round and short.
Chrysanthemum
Also known as mums or “funeral plants,” chrysanthemums are a small bushy flower that come in almost any color imaginable. These colors include white, burgundy, purple, pink, red, and more. With only 40 species to choose from, your decision-making might be more manageable.
Rose
These are probably the most popular flower in all the world. With over 150 species, roses come in a wide range of shapes and colors. The colors represent feelings and intention and look lovely in almost every garden. Depending on the type of rose, it could be classified as a hardwood cutting.
Hydrangea
Only blooming after a full season of growth, hydrangeas are a popular favorite among flower gardens and landscaping. Their colors are unique in the way that they change based on the pH balance of the soil. This can sometimes result in a bloom being half purple and half pink. There are only six types that are commonly grown in America.
No matter which flower you choose to take a cutting from, you’ll be rewarded with a new, free baby plant. It’s a fun experiment for kids and to create homemade gifts for neighbors, friends, family, or yourself!


