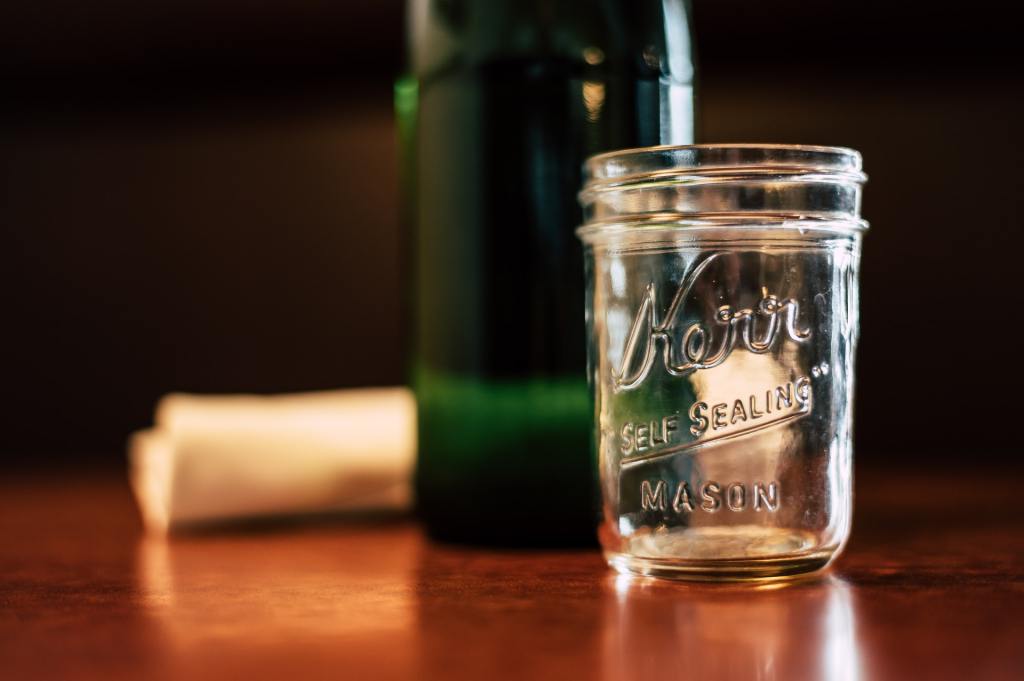
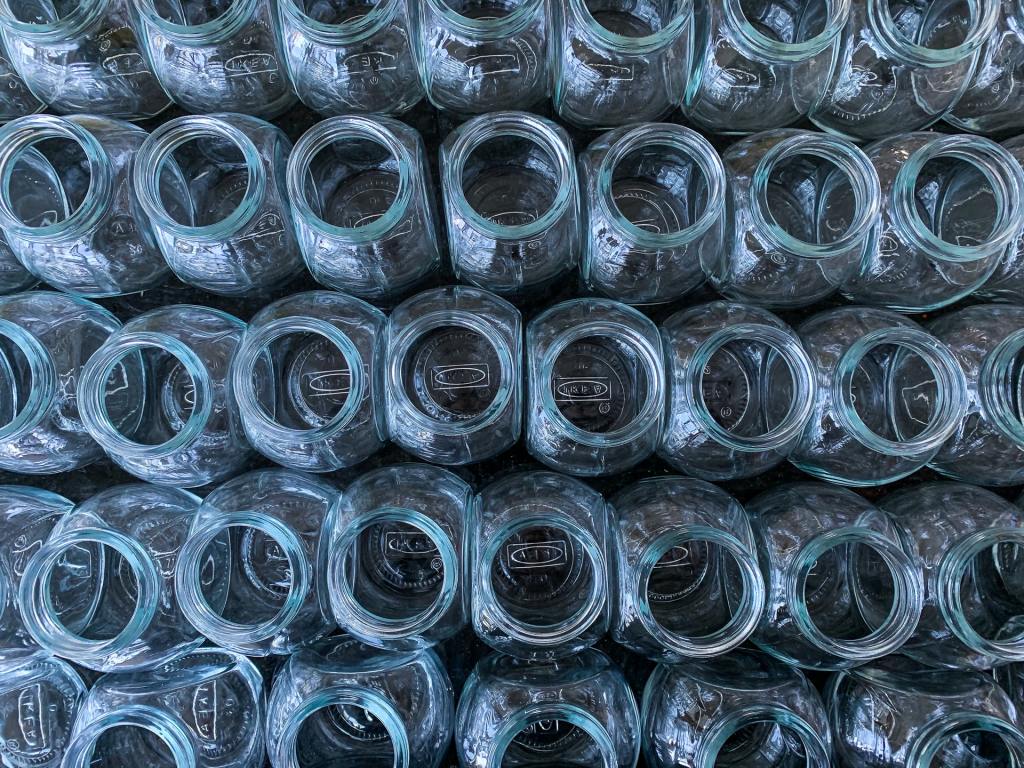
There are probably a million and one ways to utilize a Mason jar other than their intended use. Stay-at-home parents, gardeners, homesteaders, and hipsters have all found creative and valuable ways to reuse or recycle these amazing jars. If you're looking for a new way to use your Mason jars, have you considered creating a hydroponic Mason jar garden? They're easy to make and highly effective. This guide will explain everything you need to know about how to grow hydroponic herbs in Mason jars.
What is hydroponics?
Hydroponics is a method of growing plants in mediums such as sand, gravel, clay pebbles, and water. Anything that isn’t soil and allows water to flow through can be used as a hydroponic medium. The nutrients that the plants need are added to the water, which flows through the system. Or in this case, it is changed out of the jar at regular intervals to ensure the plant is getting everything it needs. This system uses less water than traditional gardening and can be an excellent way for those with limited space to grow their own food.
Traditional hydroponic systems can quickly become expensive and bulky, but using this Mason jar method can make growing hydroponically more accessible for more people.

Why use Mason jars for hyroponics?
Other than the fact that Mason jars are affordable and easy to find, they also have a certain aesthetic appeal. A line of jars on a window sill with beautiful green plants growing inside can be an attractive addition to your home decor.
Getting started
It’s vital to protect the water within the Mason jar hydroponic growing system to avoid algae growth. This could make life harder on your baby plant — or even kill it. To do this, you can either spray paint the jars black or use a cover sleeve made of paper or fabric to block the light. The sleeves make it easier to check on the roots without having to pull the plant out.
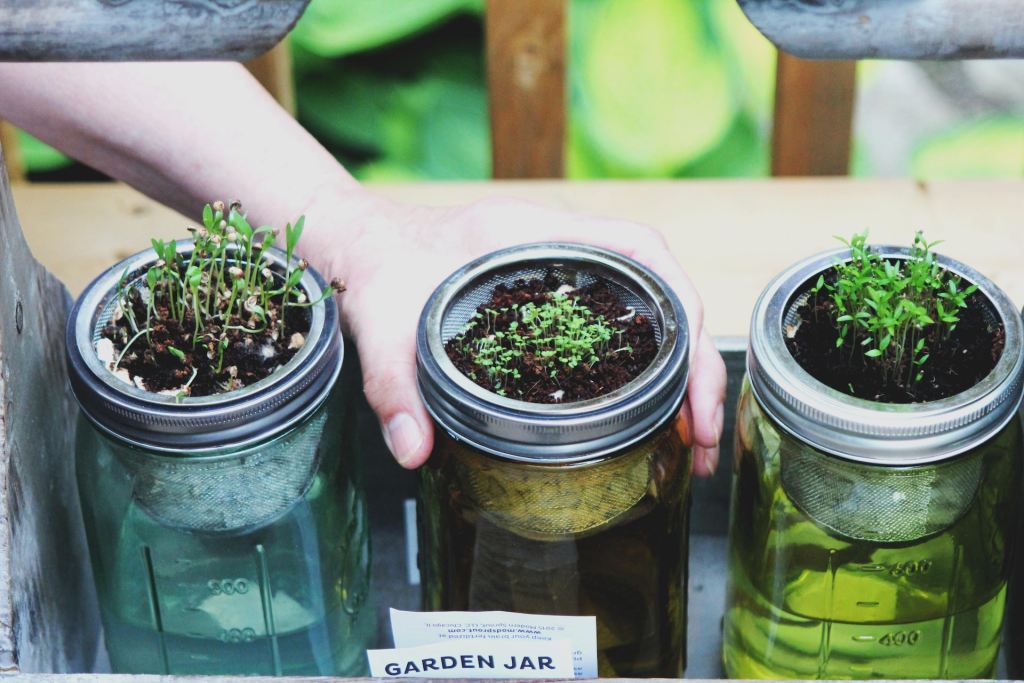
How to set up a Mason jar hydroponics system
You have all the tools you need, and your jars are either painted black or have fabric sleeves waiting for them. Now it’s time to set up the system and get to growing.
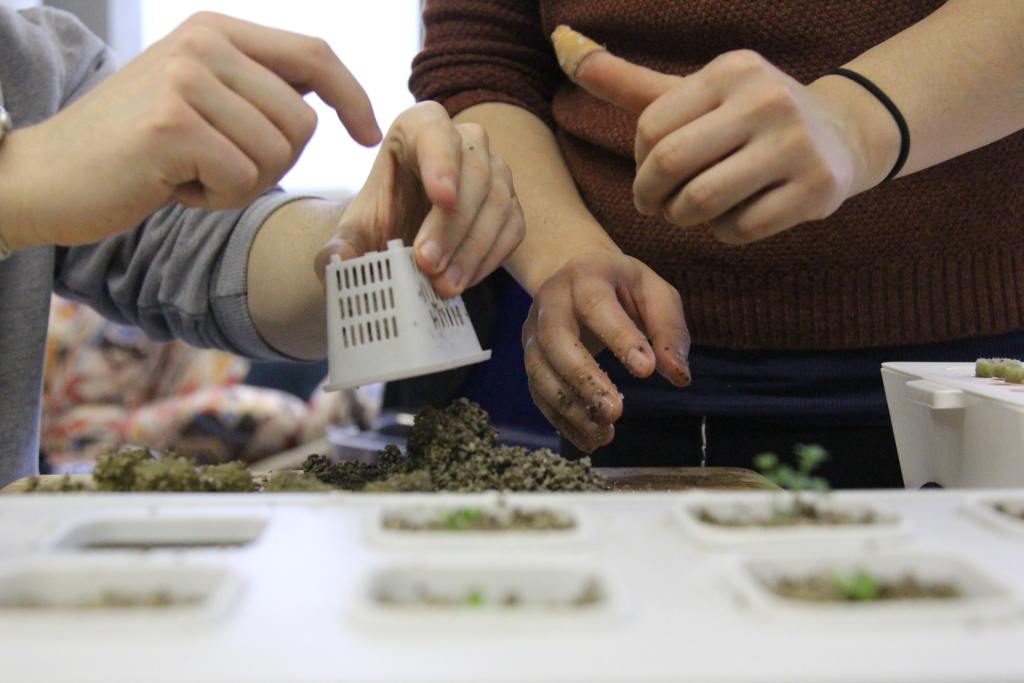
Step 1: Using the hydroponic growing cubes, plant the seeds you’ve chosen in soil and set them up in a well-lit or artificially lit location. Depending on the type of plant, you now have about four to six weeks to get the rest of your homemade hydroponic system set up.
Step 2: Ensure there is nothing in the Mason jars that could grow or harm the seedlings. Wash and disinfect the jars before use, and rinse off the clay pebbles.
Step 3: Place the net pot into the jar so it hangs from the jar’s mouth, then use the lid ring to secure the pot in place.
Step 4: Portion out your plant food into the water you’ll be using. It’s best to use filtered or reverse osmosis water in hydroponic systems.
Step 5: Add the plant food to the water jug and thoroughly mix it. Read the label to find out what the recommended amount is for that specific brand.
Step 6: Pour the water into the jars and only fill until there’s a bit of water covering the bottom of the net pot. Too much water will make the poor seedlings swim.
Step 7: Add a layer of pebble to the bottom of the net pot, then place the seedling in its growing cube into the net pot and make sure it’s upright and level.
Step 8: Add more pebbles to cover the growing cube. Be gentle and cautious when handling the tender seedling.
Step 9: Place the jar in a sunny spot or under artificial lighting.
Step 10: Add water only when the water line has been down for a few days. Do not add water as soon as the water is no longer touching the net.
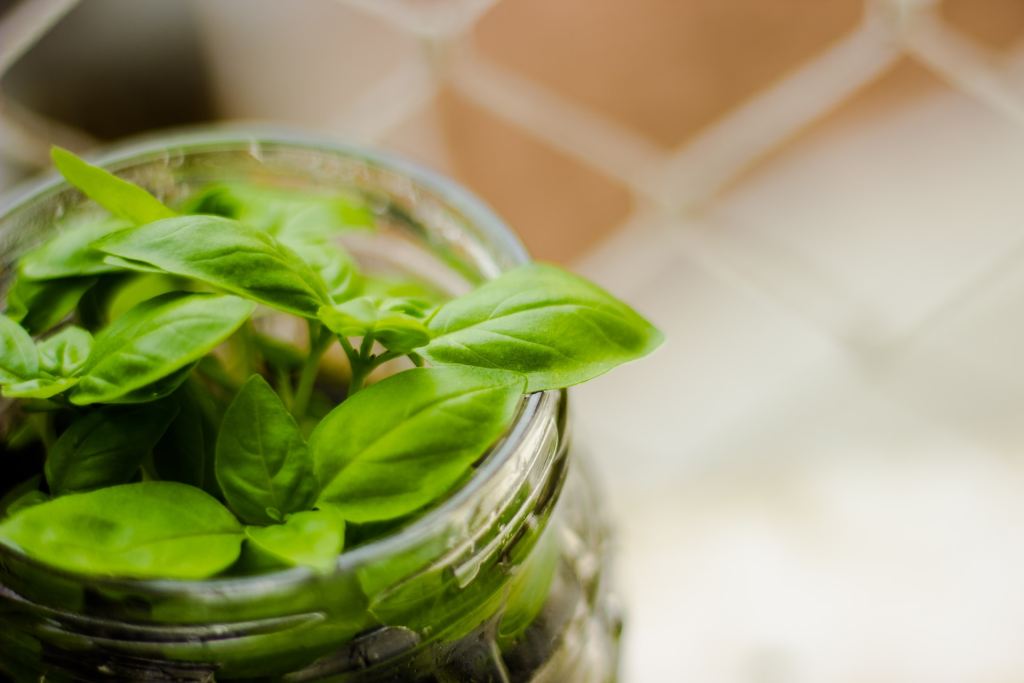
The best plants to grow in a hydroponics system
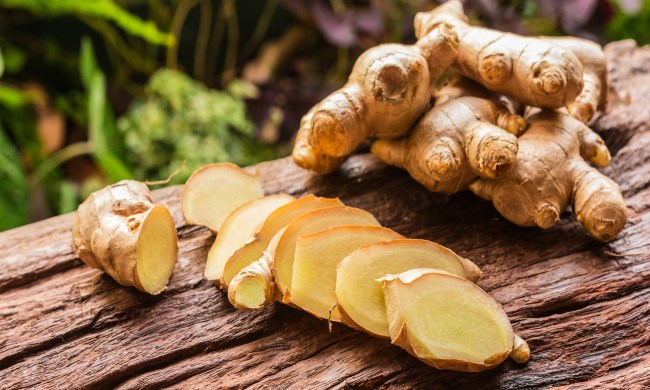
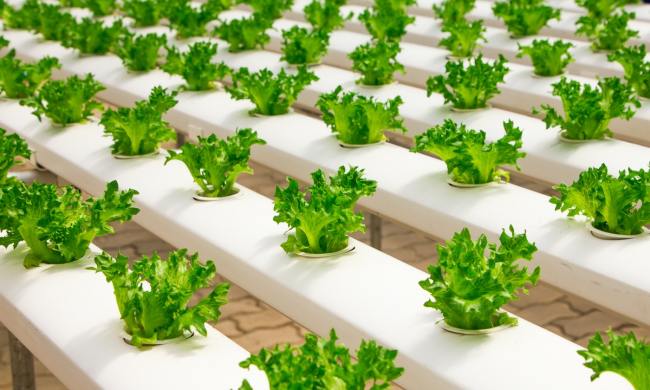
Although many plants can be grown hydroponically with this method, smaller and leafy green plants — like lettuces and herbs — will be the easiest and most successful options to try. Orchids can also be grown hydroponically and are a great option if you're looking for an easy way to brighten up your home.
Common pitfalls and mistakes to avoid
As with any gardening method, there are some pitfalls that beginners often fall into. Luckily, these are easy to avoid if you know what to watch out for! The most common mistakes involve incorrect care. Hydroponic Mason jar gardens require less maintenance and care than other gardens, so it can be tempting to ignore or forget about them. However, they do still need to be monitored. Make sure your herbs are getting enough light, the water is refilled when needed, and keep your herbs warm.
Another common problem is system failure. While this is less likely to happen with Mason jars, it's still something to keep an eye out for. Replace any cracked or broken Mason jars or net pots as soon as you notice the damage, even if it doesn't seem to be causing problems right away.
It might feel intimidating to jump into growing plants without soil, especially if that’s all you’ve ever known! However, don’t let new terms scare you off and give hydroponics a try. It’s an adorable way to grow healthy leafy greens all year-round, and it can be a fun science experiment for kids. If nothing else, you’ll have some flourishing green plants on your counter or windowsill, infusing your space with a bit of life even on the dullest days.