
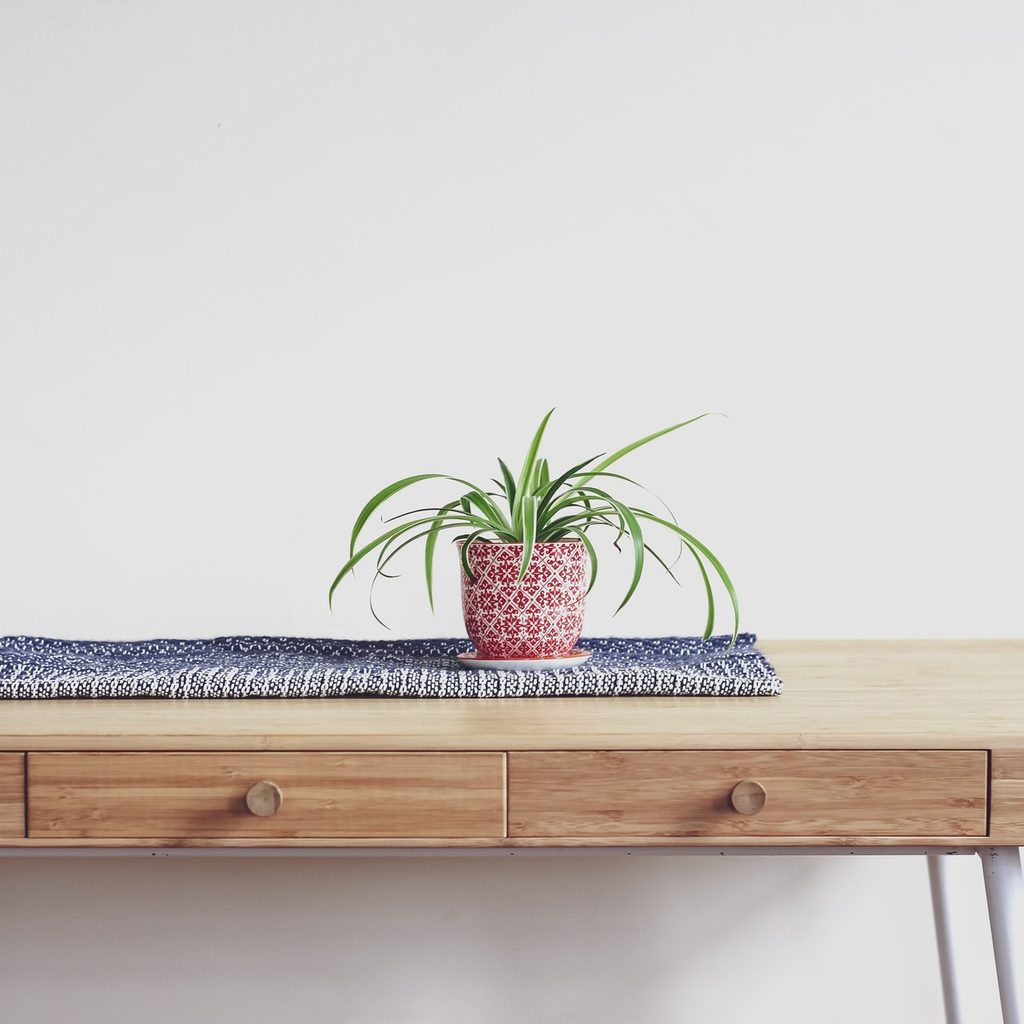
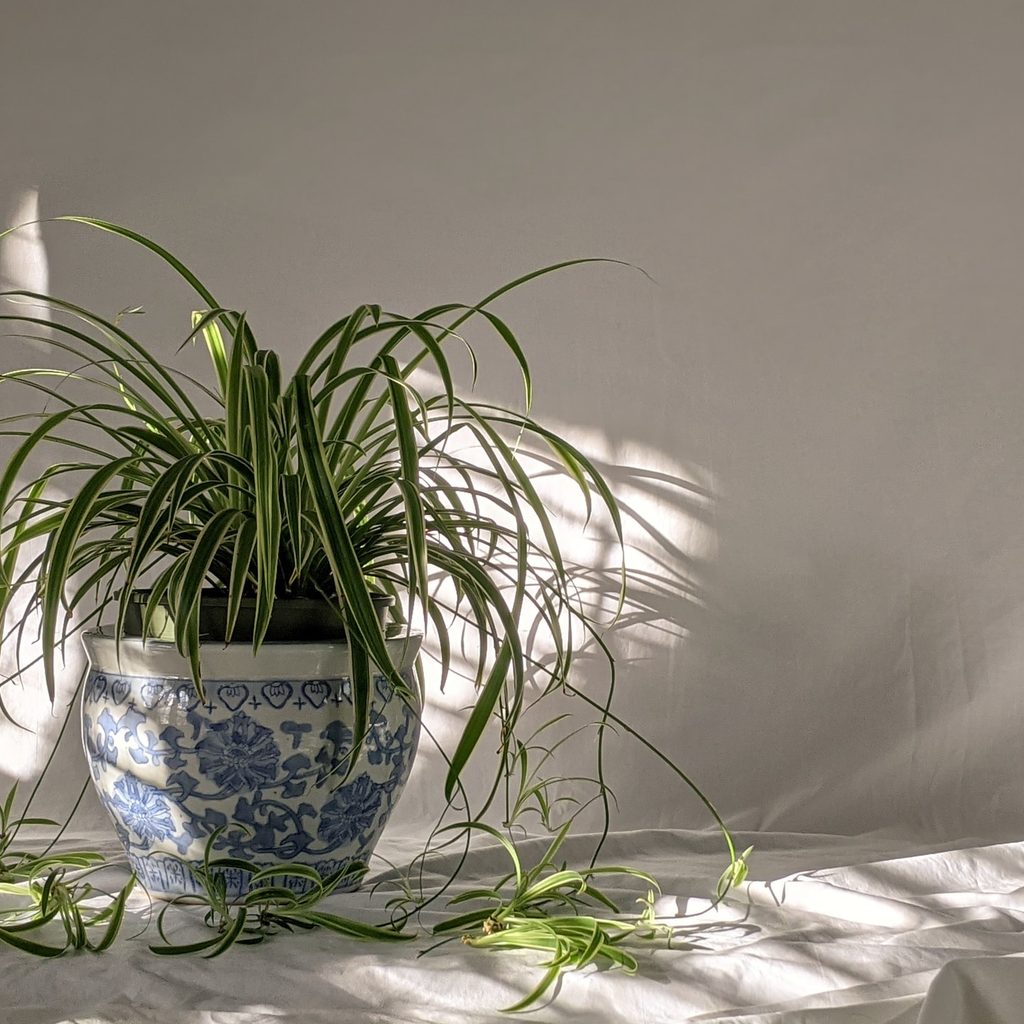
If caring for plants was a college course, the first lesson would be spider plants. These beautiful plants are super easy to care for and can survive almost any tragedy, such as under-watering or falling from their hanging hook. Because of their easygoing nature, it’s possible that these with be the first plants in your collection to shoot out tiny white flowers that will turn into baby spider plants.
It’s at this point that you might be wondering what to do next. How do you care for those little offshoots? How do you propagate them? First, it’s essential to understand that you don’t have to do anything. When left alone, these baby shoots will grow and eventually shoot off more baby plants. This will lead to a beautiful waterfall effect and is a perfectly acceptable thing to do.
However, if you’re interested in propagating for yourself or growing tiny plants for friends and family, here are three ways you can make those babies live on their own.
What is propagation?
Propagation is a big word for taking a part of a plant and growing it in a medium to produce a new, smaller version of that mother plant. You can do this with pups (plant babies that shoot off from the mother plant), leaf cuttings, or root division.
For spider plants, the best and easiest way to do this is to take advantage of those babies that shoot off and propagate them. They are already plants, just miniature versions.
Potting up pups still attached to the mother
The easiest and quickest way to propagate those pups is to place the pup into another pot with soil or into the same pot as the mother without detaching it. This will almost guarantee the baby plant’s survival, and it has a pretty neat look to it.
For this, all you need is a new pot and some damp soil. Place the bottom of the pup into the soil and cover it just a bit. New roots will start to grow, and eventually that pup will shoot off another. At some point, the connection between the mother and the pup might break or naturally fall off. This will not harm the plant but is how the plant would behave naturally if grown in its natural habitat.
Water propagation
This time we’re going to cut the baby spider plant away from the mother plant. To do this properly, you’ll need to wait until the pup is mature enough. How do you know? Watch at the bottom of the baby to see if there are any aerial starter roots. These will look like tiny nubs, and these are a sign that the baby is ready to find its own home.
When these roots appear, take disinfected scissors or shears and cut the plant from the mother. You can leave a bit of the stem on the baby or save the stolon (the shoot that grew the baby) and see if it will grow another.
Once you’ve cut the baby from the mother for water propagation, you need a small jar or vase to place the baby in. Fill this vessel with clean, cool water. If you’ve used this item for previous propagations or any other uses, be sure to clean it thoroughly first. To give the baby its best shot at surviving, you’ll want to eliminate any danger of infection from old plants.
When the plant is in the jar, be sure that none of the leaves are submerged in the water. This will increase the risk of rot and ruin the chances of root growth. You may have to dump some water out to ensure this.
Once the baby spider plant is in its new, clean jar of water, it’s time to wait. Change the water every few days or once a week and place the plant in bright, indirect sunlight. No direct sunlight!
After a while, you’ll start to see little white roots begin to appear. When these roots are about an inch and a half to two inches long, it’s time to pot this baby and get it into soil.
Using seed starting mix, fill a small pot and then create a hole just big enough for the plant to fit into. You can use a pen or your finger to make this hole. Place the little plant into the soil until the roots are covered, then gently press the soil around the plant.
Water the new baby plant generously, but don’t soak it. Be sure that it’s still placed in indirect sunlight. Direct sunlight will burn and kill such a small and tender young plant.
Soil propagation
With soil propagation, everything is the same, except you’re potting the plant up in soil immediately. This can take longer to grow roots but can avoid the plant going through any shock when taken from water to soil.
To help the little plant grow roots as quickly as possible, apply a bit of rooting hormone to its base before placing it in a pot. This isn’t necessary, but it can be helpful.
Cut the baby from the shoot and apply the growth hormone. Using seed-starting mix, fill a pot, and create a hole for the baby plant using a pen or finger. Then place the plant into the hole and press down lightly with your fingers to ensure it won’t fall over. Water generously, but again, do not soak it. No direct sunlight for these tender babies! Place them in bright but indirect sunlight.
In a little while, new roots will start to grow, and the plant might eventually shoot off new babies of its own.
Spider plants are a fun and pretty plant to have in your home. Propagation is easy, and it’s a fun way to create homemade gifts for friends, family, and even yourself!


