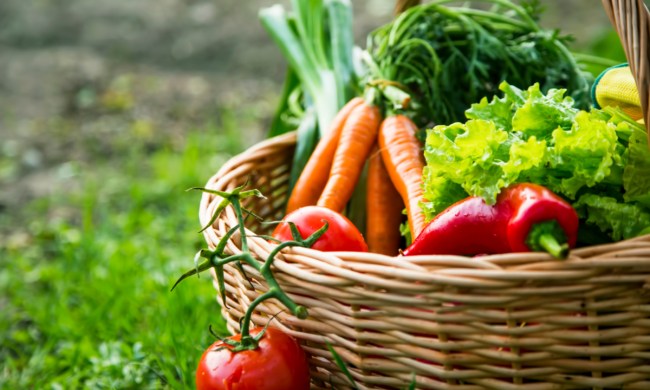
Squash is a hearty fall and winter vegetable that tastes great in a wide range of dishes. The problem is if you've been blessed this year with a large, late-season harvest. You might be looking at your bounty and wondering how in the world you're going to eat it before it goes bad. Luckily, there's a way to help your seasonal squash last longer, and it doesn’t require special equipment or a lot of effort.
It may sound too good to be true, but it’s a really easy and effective process. All you have to do is cure your squash. Not sure how it works or how to get started? You’re in the right place because we have all the answers to help you learn how to cure and store squash.

How and when should you harvest squash?
Harvest times vary depending on the variety of squash you’re growing, when it was planted, and what climate you live in. Generally speaking, though, your squash should be ready for harvest during the fall. September and October are the most typical harvest months for squash. Any winter squash you plan on storing should be harvested before the first frosts of the year, as frost-damaged vegetables don’t keep well.
Step 1: Check for squash maturity.
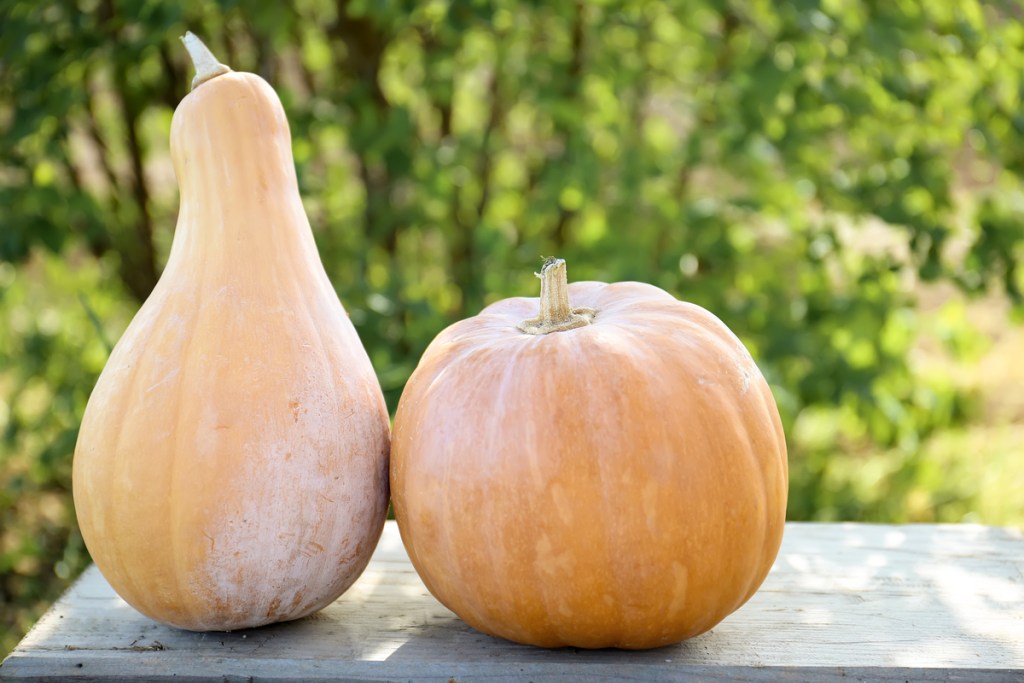
Mature squash will have the coloring associated with the type of squash you’re growing. Look for any spots that are uncharacteristically pale or green. The skin should also be hard enough that a gentle thump or flick shouldn’t leave a mark, although a harder pressure may still leave a bruise.
Step 2: Harvest the squash.
Harvest your squash with a sharp knife or pair of garden shears. Clip the mature fruit off the vine, leaving a few inches of stem attached to the squash. Cutting the stem too short can lead to accidental plant damage, resulting in a shorter shelf life.
How should you best store uncured squash?
Not all squash is right for curing, but you can still extend the shelf life by a few months just by storing it correctly.
Step 1: The first step is to recognize when squash is not ideal for curing.
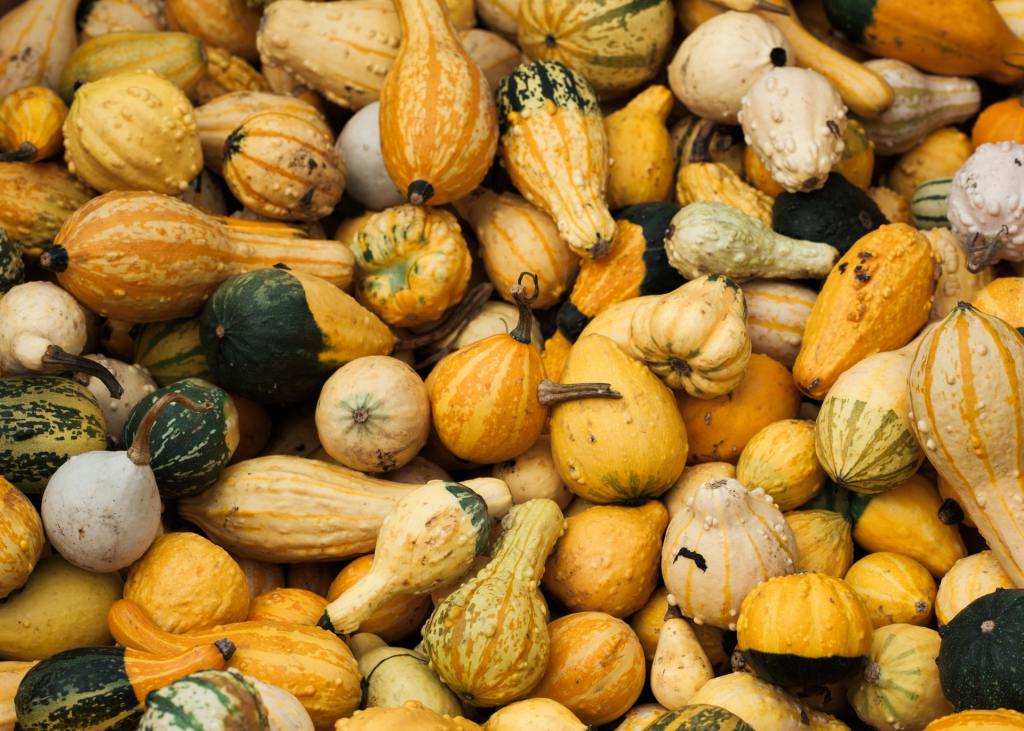
Inspect your squash carefully after harvesting it, and set to the side any squash that’s damaged, not fully ripe, or that has a thin, soft peel. Smaller, more delicate squash like acorn and delicata squash can be cured, but it may develop textural issues that make them less appealing to eat.
Step 2: Store the squash in a dark, cool room. A drier room is better, especially for squash that will be stored for longer periods.
Step 3: Avoid washing your squash until you’re ready to eat it so that it isn't going into storage with damp skin. Washing squash with softer skin can also result in minor abrasions, which can cause it to spoil faster.
Step 4: Squash stored this way, without being cured, can last three to four months. Damaged squash should be eaten first, as it tends to last only a month or two.
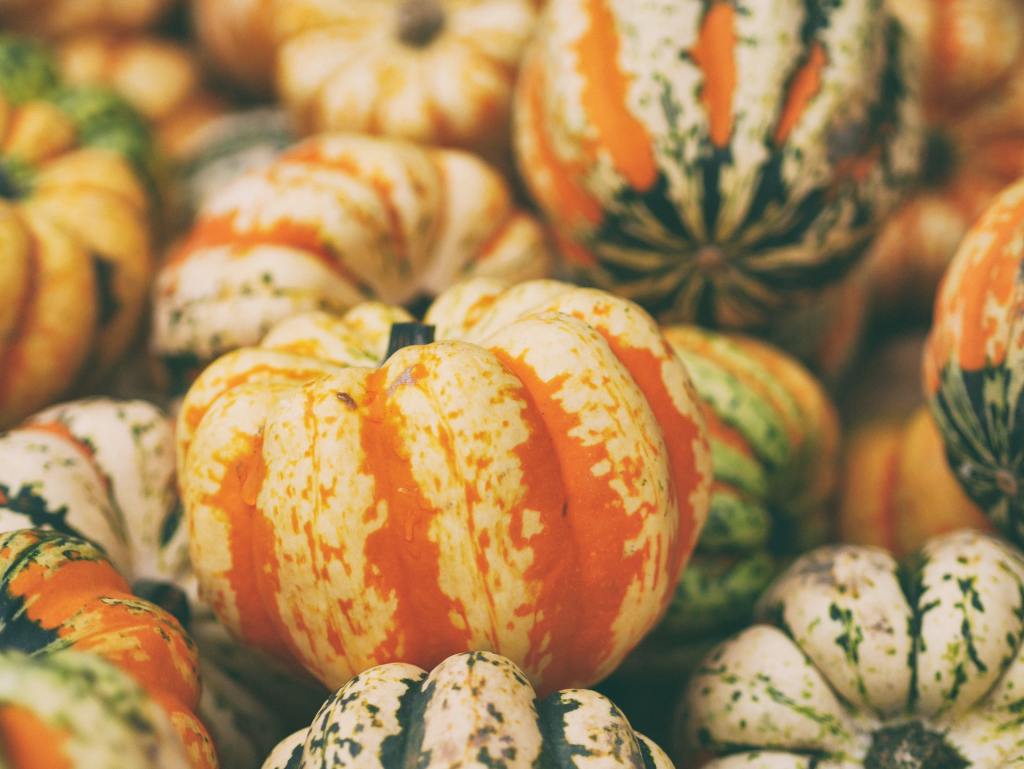
How to cure squash
Curing is a form of preserving things by partially drying them. For squash, this means drying and hardening the outside while leaving the interior moist and delicious.
Step 1: Gently clean the peel with a dry, soft cloth, paper towel, or clean sponge. Take a moment to inspect your squash thoroughly for any damage.
Step 2: Set your squash in a warm, sunny location and make sure the vegetables don't overlap or rest in the shadow of another squash.
Curing can be done inside or outside, but keep an eye on the weather if you decide to cure your squash outside. Make sure it's in full sun or as close to full sun as possible. Curing is most effective when the temperature is still warm, with low humidity and decent airflow. However, this can be difficult to achieve during fall and winter, so you may see better results curing squash indoors.
Step 3: Rotate your squash occasionally so that every side spends time in the sun.
Step 4: The squash typically will take five to 10 days to cure. Smaller squash will cure more quickly, and larger squash will take a little longer.
How do you know squash is cured, and how long will it keep?
A properly cured squash can last for five or six months and can be stored in any dry, cool place. First, though, you'll need to make sure the squash is properly cured.
Step 1: Squash that’s properly cured will have a harder peel than uncured squash. You can use the fingernail test to judge the hardness. Gently but firmly press the edge of your fingernail into the peel. An uncured squash will bruise, while a cured one will not.
Step 2: Try the fingernail test before you begin curing, and test it again once you think the curing is complete. There should be a noticeable difference in the peel texture.
By curing your squash, you can have fresh, delicious squash throughout winter. With this simple process, you don’t have to worry about buying squash to satisfy your craving for hearty winter squash soup. Instead, make your homegrown squash supplies last for months longer than they otherwise would by curing them in the sun before storing them.