When the growing season ends, it’s often assumed that means you have to stop growing fresh crops until the next spring. For some gardeners, that means taking a break and pursuing other interests. For other gardeners, that sounds unappealing. If you fall into that category, why not try indoor winter gardening?
Moving your vegetable garden indoors to have a winter harvest can be a bit challenging due to limited daylight, but it’s also rewarding. Here's what you need to know and the best plants for indoor winter gardening.

Why move your vegetable garden indoors for the winter?
Moving your vegetable garden indoors for the colder months means that you get to enjoy a fresh harvest for even longer. By doing ample research and understanding the differences between outdoor gardening and indoor gardening, you’ll get to experience fruitful results of your hard work year-round instead of only during the active growing season.
Not only that, but you get to control more aspects of the growing process than you would if the plant were outdoors. Indoor gardening eliminates concerns like frost, overwatering from rain, too much drought, and undeterred pests. You choose when to water, how much to water, and what kind of potting mix and nutrients the plants receive. You’ll just have to try your best to combat the challenges that come with the benefits.
With winter comes less light, and gardening indoors means the plants don’t have access to pollinating insects or wind. Luckily, there are crops you can grow that don’t require nature to fruit or grow, and those are the ones that are better suited for indoor growing.
How to properly transition your plants indoors
If the plants are coming from your garden or from outdoor containers, you’ll need to slowly transition them to an indoor environment. It unfortunately isn’t as simple as just moving them inside due to the different light and humidity levels between the two environments. Thankfully, the transition is a very simple process that only takes a bit of diligence to complete.
Step 1: Inspect your plants for any pests before bringing them indoors.
Keep an eye out for pests like aphids, spider mites, mealy bugs, and others that can potentially infest your home and indoor houseplants. If you find any, remove them with a spray of water or air and treat the plant with neem oil.
Step 2: Bring your plant indoors at night, then take them back outdoors during the day for a few days before bringing them inside for the winter.
This helps your plant adjust to the different environment indoors, reducing the threat from shock.
Step 3: Invest in a grow light to compensate for the shorter days during winter.
Depending on where you live and how much sun your brightest room gets, this may not be absolutely necessary. However, having grow lights ensures that your plants are getting consistent light.

Ideal crops to plant for a winter harvest
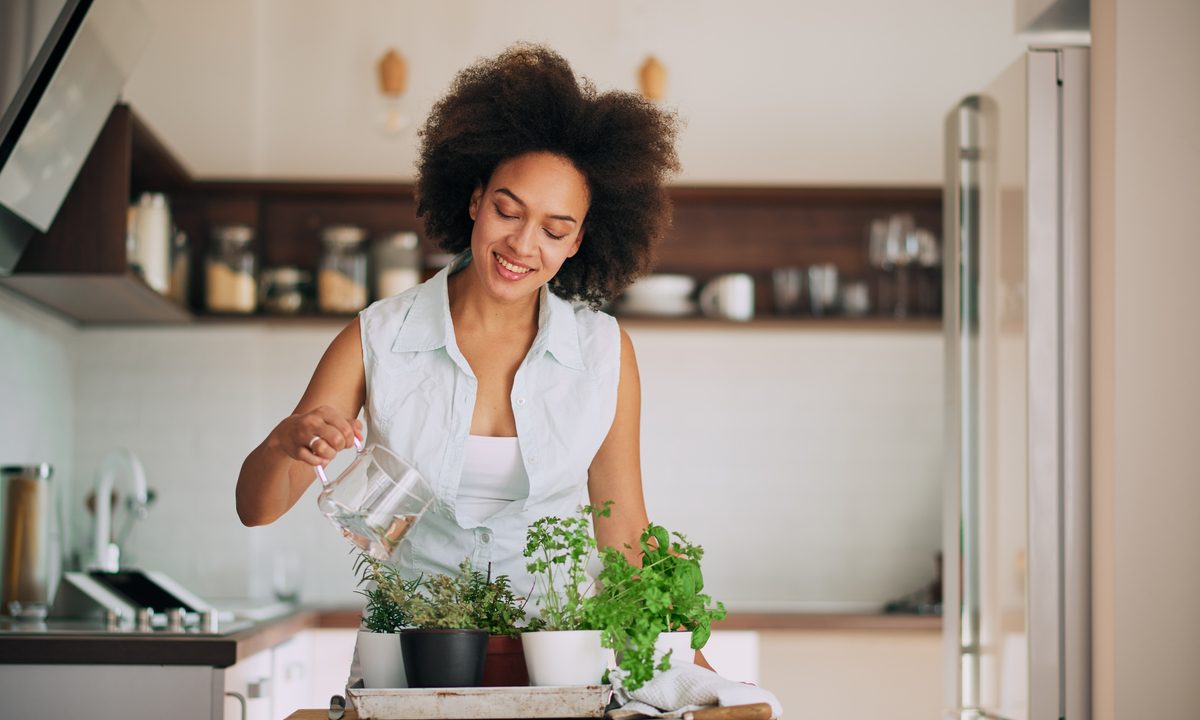
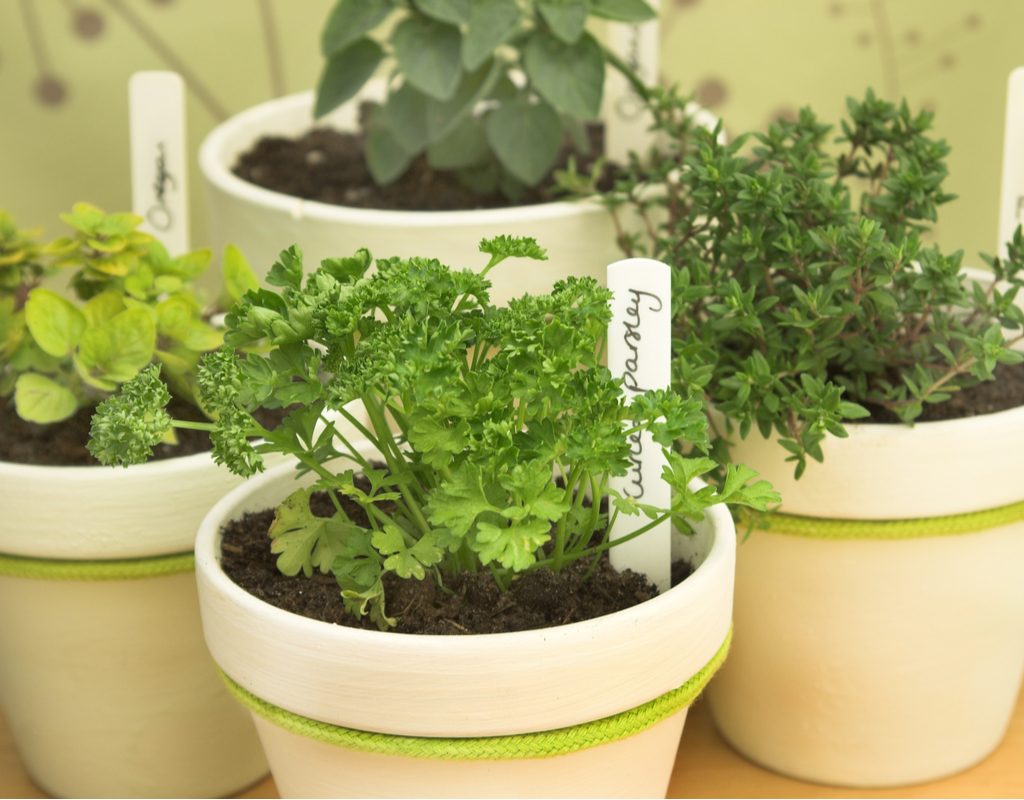
The easiest crops to grow indoors are those like lettuces, other leafy greens, herbs, and dwarf varieties of vegetables. Think plants that don’t need a lot of room to grow (both above and below) and are suited for container growing.
Because there are no pollinating insects in your home — we hope! — you should shy away from vegetables and fruits that rely on bees, butterflies, and even birds to help pollinate the flowers. Plants like tomatoes, though, can simply be shaken lightly to help the pollen spread from one flower to another. Hot peppers and carrots are both great choices for an indoor garden. Here's how to grow them.
Step 1: Choose the right container.
Depth is important for both carrots and peppers. Hot pepper plants should be planted in pots that are at least eight inches deep. Carrots typically do best in pots that are 10 to 14 inches deep. They can be grown in more shallow pots, but keep in mind that this leads to shorter carrots.
Step 2: Plant your seeds or seedlings.
You can use a standard potting mix or seed starting mix for both carrots and peppers. Pay attention to the variety of seedlings you choose, and if you need to conserve space, look for a dwarf variety.
Step 3: Keep the soil moist and warm.
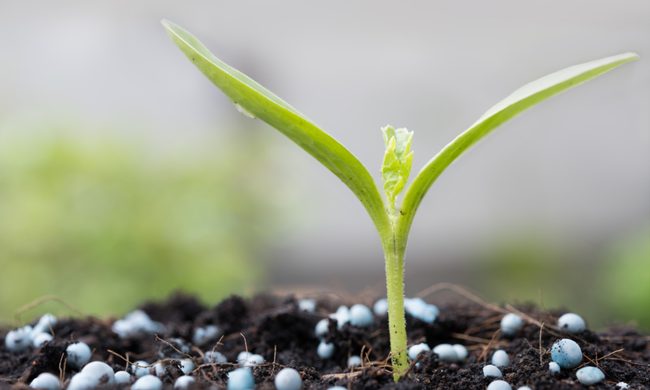
Seeds and seedlings need a lot of moisture to grow properly, and cold can stunt their growth as well. This is especially true of hot peppers, which are native to the tropics! A seedling heating mat can help keep your plants at the right temperature.
Step 4: Set the seedlings in a sunny location or beneath a grow light.
On average, your plants will need 10 hours of light each day to mature properly.
Step 5: Give your pepper plants a gentle shake once they bloom, to help the pollen spread.
Peppers are self-pollinating, and the pollen may be able to spread on its own if there is plenty of airflow. However, a gentle shake can help spread the pollen from flower to flower.
By choosing varieties that work well in containers, you’re setting your indoor garden up for success. Lettuce and herbs don’t need to grow too tall or take up a lot of space, so you can have fresh ingredients for your meals year-round. Just take the time to transition any outdoor plants into your home, and you’ll get to experience the joys of indoor winter gardening.