
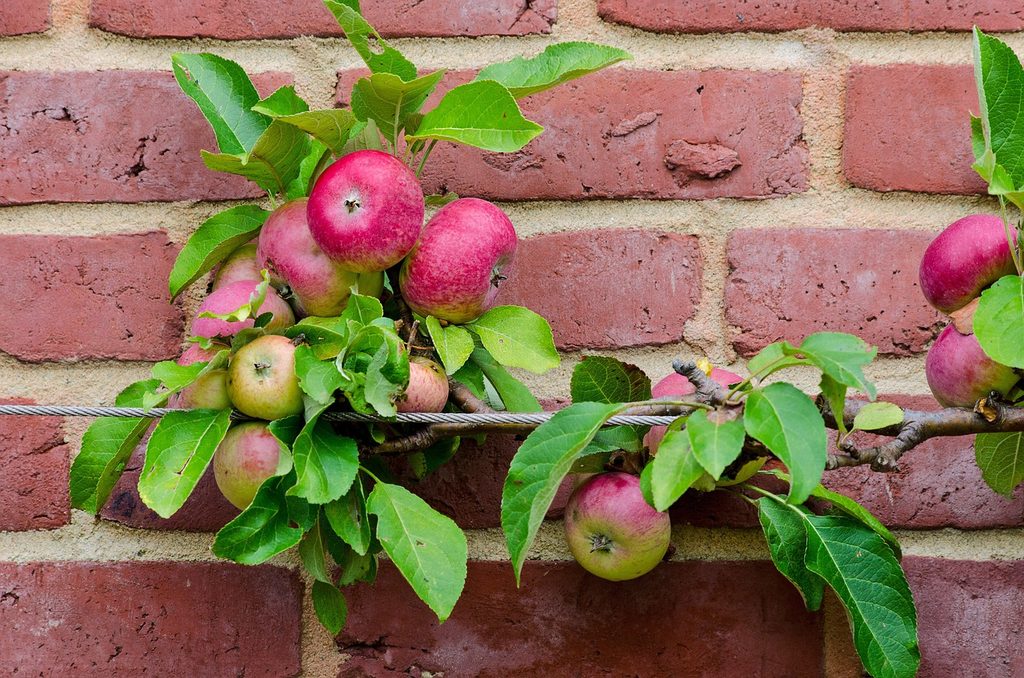
There are many fun ways to add flair to your yard and creative ways to conserve space, but what if you want to do both? One neat technique you may not have heard of is espaliering. This ancient agricultural method lets you harvest fruit in very little space and add a delightful and unique element to your yard. It requires time, patience, and effort, but the rewards justify the labor! Here’s what you need to know to implement this technique for yourself.
What is espaliering?
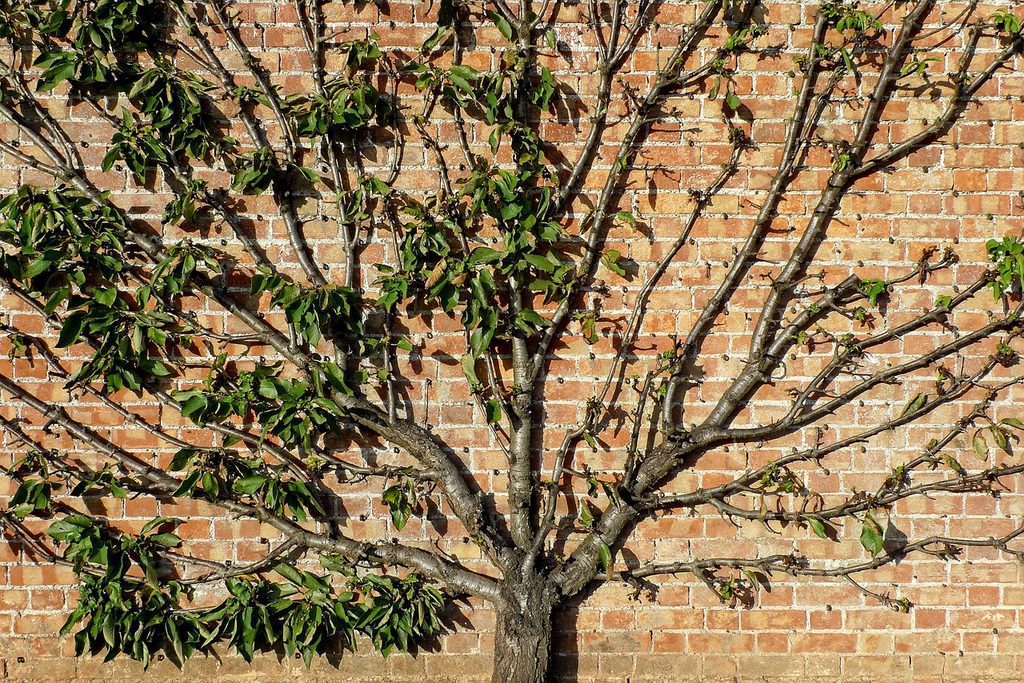
Espaliering is an agricultural technique that dates back at least as far as the Roman Empire, although there is evidence to suggest it may have originated even earlier, in Egypt. It is the art of training a tree or other woody plant to grow against a wall, fence, or trellis. The branches are shaped into patterns, creating a living work of art.
Not only does this process lead to beautiful garden additions, it also has two practical uses. Espaliering conserves space by growing trees against structures. This allows them to be grown in more narrow spaces than is typical.
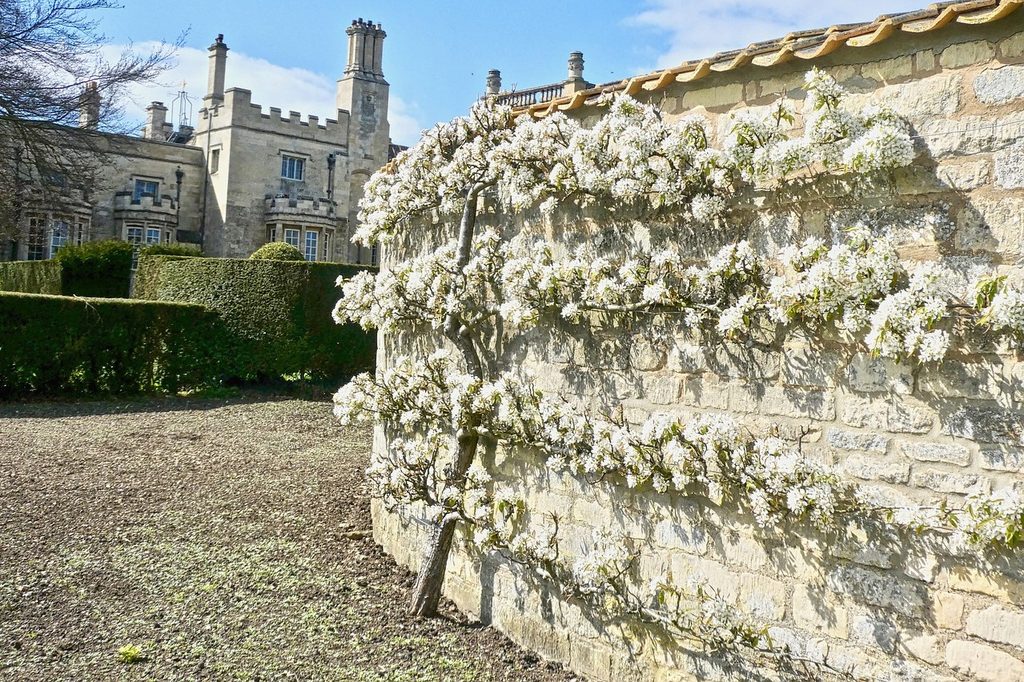
It also extends the growing season. If the surface the tree is grown against is stone or brick, it will absorb heat from the sun, keeping the tree warm even in cold weather. The structure also provides shelter from wind and snow.
Picking the right tree for espaliering
Choose a tree that is native to your region or otherwise well-suited to your region. This makes caring for your tree much easier. For example, if you live in a wet climate, don’t choose a desert tree. Espalier projects can take a lot of time and energy, so cutting down on the amount of time you need to spend caring for your plant’s basic needs is helpful.
Along the same vein, choose a tree you’ve grown before. Being more familiar with the type of plant you’re growing will cut down on the time you spend learning about what it prefers. It can also be a much-needed confidence boost! When learning a new skill, it’s easy to become frustrated or disheartened. Using a tree species you’re familiar with gives you a firm foundation: you’ve grown this tree before, and you can do it again!
Stick to smaller or more slender trees and shrubs. A large part of espaliering is pruning and shaping the branches. Slender trees are more flexible, making the branches easier to shape, and thicker trees are more difficult to cut back. If you don’t have the time to dedicate to a full tree or shrub, consider using vines instead.
Choose a young sapling of your preferred species. The ideal tree is healthy, has few branches, and has a singular trunk.
Some of the most popular plants to use are:
- Apple
- Pear
- Forsythia
- Redbud
- Jasmine
Getting set up for espaliering
Choose or design your pattern
Beginners may want to choose a traditional pattern, such as a cordon pattern, fan pattern, or Belgian fence. Traditional patterns have decades of detailed instructions and advice to guide you, which removes some of the guesswork and worry. However, if you’re feeling ambitious, you can design your own espalier pattern. Sketch your design out, and take note of which branches will grow and need to be shaped first.
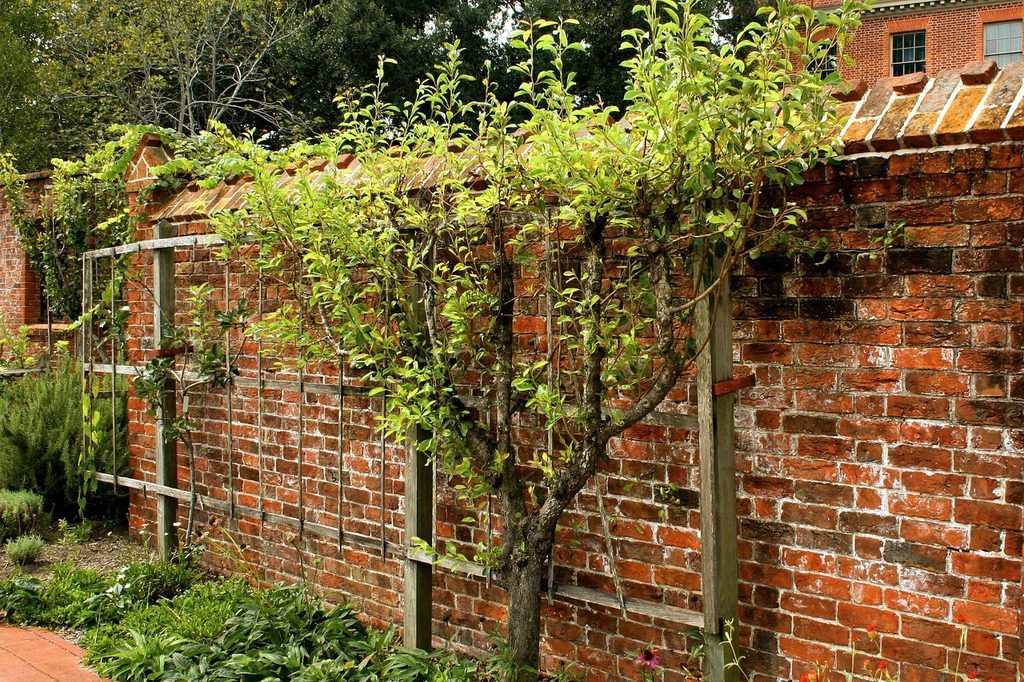
Build or buy your support frame
You can build your own out of wood or wire. You need evenly spaced lines of wood or wire running horizontally. Make sure your frame is large enough for your complete pattern. Once your frame is finished, mount it where you want your pattern to be. You can attach it to posts for a free-standing espalier.
Plant your tree
Plant your tree 5 to 10 inches from the base of the wall or frame. This allows air to flow between the tree and the surface, and prevents abrasions from the surface as the tree grows. Add compost or fertilizer to the soil while planting, and don’t forget to water it!
Shaping and maintaining the pattern
Remove any branches growing on the side facing the frame or directly across from it, leaving the branches that are growing parallel to the frame. Cut the top of the sapling off a couple of inches above where you want the first set of branches to grow. This stimulates horizontal growth.
To train the branches, bend them gently but firmly into position and tie them loosely to the frame. Don’t tie it so tightly that the tie cuts into the branch, but it should be tight enough to hold the branch in position. Once a month or every other month, check the ties for any that have become too tight or too loose. Prune any branches that don’t fit the pattern at this time as well.
Continue caring for your tree and pruning it regularly, and in 1 to 3 years you’ll have a completed design! Whether you plan on using a traditional design or have a more ambitious goal in mind, patience and persistence will carry you to success. Since they take up much less space, you can grow your own mini-orchard in your own backyard!


