
Brussels sprouts are a nutritious, delicious vegetable, and they’re especially tasty when fresh. Winter isn’t known for freshly harvested vegetables in most regions, though, which can be put a damper on your gardening enthusiasm. However, there are some vegetables that you can still grow during winter, and if you guessed that Brussels sprouts are one of them you’d be correct.
If you're excited to start growing your own Brussels sprouts, then you're in luck! We have a handy guide full of tips and tricks on how to grow Brussels sprouts.

When should you start your winter Brussels sprouts?
There are two factors to consider when deciding when to plant your Brussels sprouts. Here's how to choose the best start time:
Step 1: Choose a start date based on your Brussels sprout variety.
Faster maturing varieties, such as Tasty Nuggets, take three or four months to mature, while the slower growing varieties, such as Falstaff, can take five or six months. For slower growing varieties, you may want to plant in mid-late spring for a winter harvest. Faster growing varieties can be started in autumn for a late winter or early spring harvest.
Step 2: Plant your Brussels sprouts when the weather is cool.
Brussels sprouts are naturally cold tolerant plants, and can survive temperatures well below freezing for short periods of time. However, they don’t fare quite as well in the heat.
If you live in a region with a hot summer and mild winter, an autumn planting time is ideal. For more northern regions, with a mild summer and a cold winter, you can plant in spring or autumn. In areas with particularly brutal winters, it’s recommended to plant your Brussels sprouts in mid-summer and harvest them in early to mid-winter, before you have any sustained freezes.

How to get started
Here's how to choose the best planting location for your Brussels sprouts:
Step 1: Start your Brussels sprout seeds indoors, then transplant them into the garden after four or five weeks.
This is a great choice for slower growing varieties, especially if you want to grow them through winter for an early spring harvest. Starting them indoors allows you to protect them from the heat of summer.
Step 2: Plant your Brussels sprouts in soil that’s well-draining and rich in organic matter.
Step 3: Make sure the soil is slightly acidic.
This helps to prevent severe cases of clubroot disease. Clubroot disease affects members of the cabbage family, such as broccoli, kale, and Brussels sprouts.
Step 4: Choose a planting site that gets at least six hours of sun a day.
If you’re starting your plants in early autumn, when the weather is still warm, try to give them some shade in the afternoon. Morning sun is ideal, since the temperatures are typically cooler than in the afternoon, when the sunlight is more concentrated.

Caring for your Brussels sprouts
This is how to care for your Brussels sprouts:
Step 1: Give your Brussels sprouts between 1 and 1.5 inches of water each week.
Step 2: Water your Brussels sprouts below the leaves, to avoid getting the leaves wet.
Wet leaves can lead to an increased risk of fungal infections and frost damage.
Step 3: Apply a layer of mulch around the base of the plant.
A layer of mulch can help with water retention, and can give your Brussels sprouts some protection if you’re expecting a hard freeze.
Step 4: Fertilize your Brussels sprouts.
Brussels sprouts require a lot of nitrogen and phosphorus. Some gardeners prefer to use a phosphorus heavy fertilizer soon after planting to promote leaf growth, and nitrogen a few months later. Others choose a single application of slow or continuous release fertilizer. Testing your soil’s nutrient balance can help you decide on the right fertilizer.

How and when should you harvest them?
Here is how to recognize and harvest ripe Brussels sprouts:
Step 1: Begin harvesting three to six months after planting, depending on the variety.
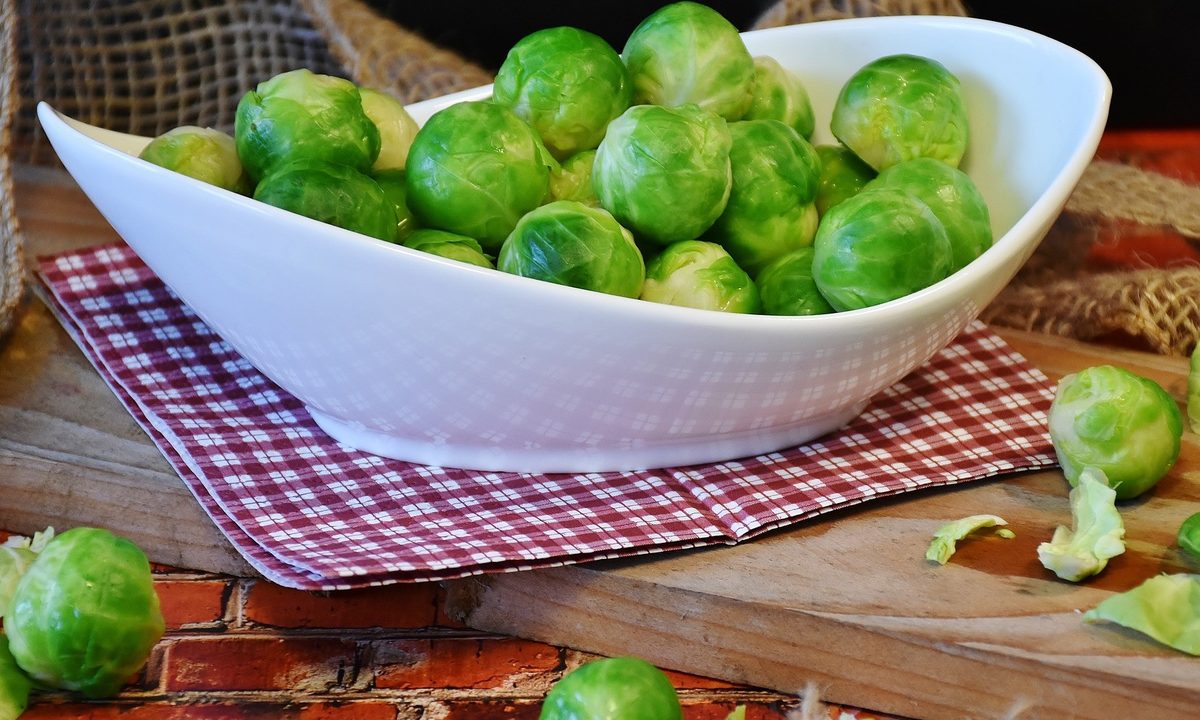
Step 2: Look for sprouts that are firm, but not hard, and between 1 and 2 inches across.
Be aware that some varieties have smaller or larger sprouts.
Step 3: Start from the bottom of the plant, as these sprouts grow first and ripen first.
Work your way up the plant, harvesting as they ripen rather than all at once. Harvesting over a period of time also encourages new growth, which results in a larger harvest.
Step 4: Gently twist or snap them off of the plant.
Now you’re ready to grow your own Brussels sprouts for a plentiful and tasty winter harvest. Although it can seem odd to grow vegetables in winter, Brussels sprouts are well suited to it. In fact, winter-grown Brussels sprouts taste sweeter than others, due to the process of chill-sweetening. This occurs when the plant converts starches to sugars, to keep warm, and results in a sweet, tender Brussels sprout you’re sure to enjoy!


