Lawn mowers are important to lawn maintenance and health, so it’s vital to take care of them. They need gas or electricity, to be kept clean, for their blades to be sharpened, and, of course, an oil change every so often.
How often, though, is every so often? How much oil do you need? What do you do with the old oil? If these questions are stressing you out, you aren’t alone. We’re here to walk you through every step of changing your lawn mower’s oil in this simple guide.
When should you change your lawn mower’s oil?
In general, your oil needs changing after every season of use, every 50 hours of use, or after a period of use with rough conditions. Since most mowing occurs during spring and summer, this means you’ll most likely want to change your oil every fall. However, it’s a good idea to keep an eye on your oil and check it regularly. If the oil begins running low, has particles in it, or it becomes sludge-like, you should change it, even if it doesn’t line up with the regular schedule.
You should also check your owner’s manual for the lawn mower. An owner’s manual will have instructions, including any special instructions for your specific model of lawn mower. If you got your lawn mower secondhand or have misplaced your owner’s manual, you can check the manufacturer’s website. This is important, as not every engine is exactly the same, and it’s crucial to know what your mower in particular needs to avoid any safety concerns or damage to your mower.
How to change your lawn mower’s oil
This entire process is far less daunting than it seems, we promise. Here’s our simple, step-by-step guide
- Start your oil change with warm oil, which helps the entire process go smoothly. You can do this by either changing your oil directly after you’ve mowed your lawn or running the lawn mower for 10 to 15 minutes before beginning.
- Disconnect the spark plug wire from the spark plug and keep them separated. This is where your owner’s manual comes in handy, as different models may have different precautions in place regarding the spark plug.
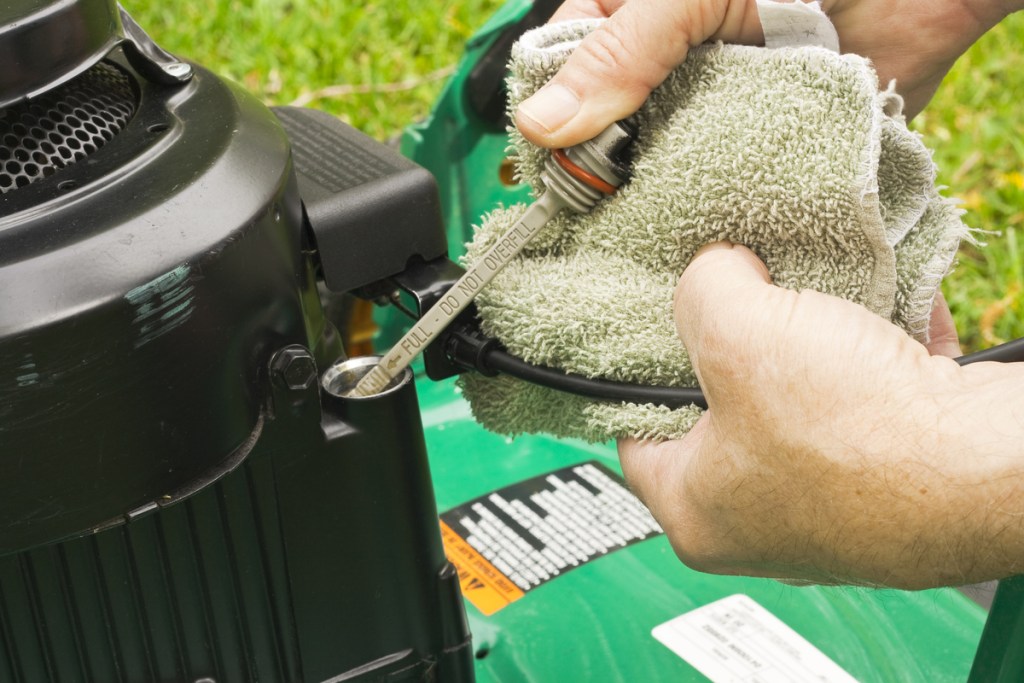
- Open the oil tank and remove the dipstick. Wipe the oil off the dipstick with a rag and set it to the side. Be careful not to lose it.
- Grab an oil pan or a similar, oil-safe container to drain the oil into. A container that isn’t oil-safe could leak, which can create a mess or lead to oil spilling into your yard.
- Remove and dispose of the oil. There are two ways to do this: the tilt method and siphon method
- The tilt method doesn’t require any extra tools, but it can be a bit messier. Depending on your model of lawn mower, you may need to seal or empty the gas tank first to prevent a gas spill. Simply put your oil pan next to your mower and tilt it over, pouring the oil into the pan. Take any precautions against spilling that you can, such as wearing old clothes or putting a drop cloth down.
- The siphon method does require a siphon, oil removal kit, or pump of some sort, but it is more precise and less likely to create a mess. Be sure that the end of the pump or siphon fits into the oil tank, but other than that, any cheap hand pump will work just fine. Pump the oil out of the tank and into the pan.
- Take the old oil to almost any location that sells motor oil, and they can recycle it for you. This includes many smaller mechanics and auto parts stores as well as larger retailers and some service stations. Never dump oil into your yard or down your sink. It can cause major problems for both your plumping and your plants.
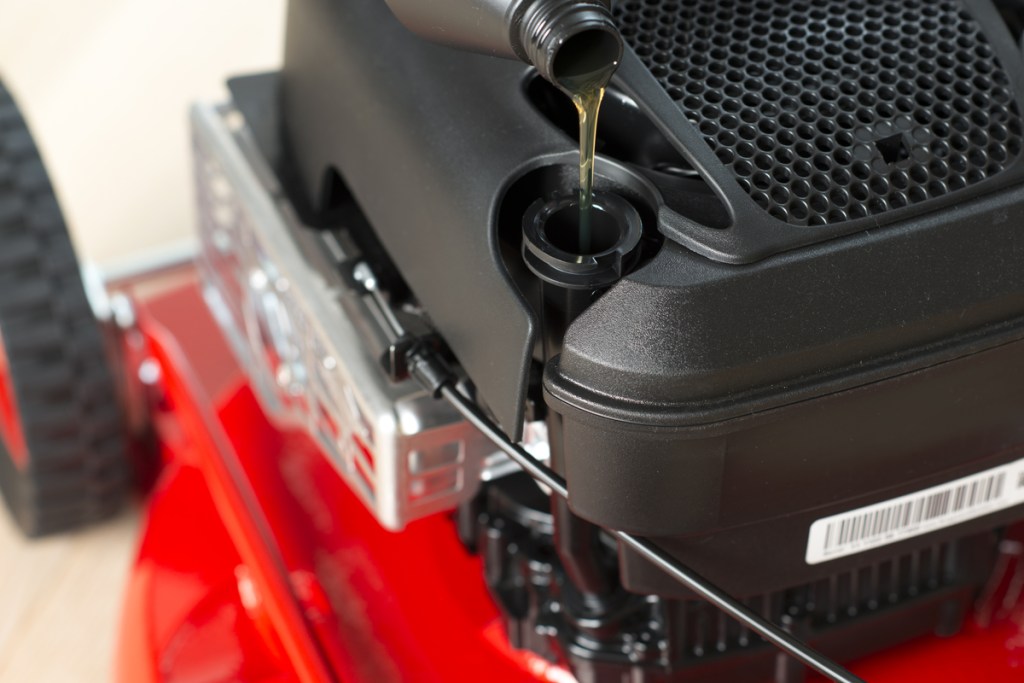
- Once the oil has been drained, you’re ready to replace it with fresh oil. A funnel is extremely helpful for this, but it can be done without one if you pour very slowly and carefully. Just be prepared for potential spills.
- When it comes to the type and amount of oil you’ll need, refer to the owner’s manual or manufacturer’s website. If you aren’t certain, or can’t find the information, you can rely on the experience of your local mechanic or auto parts store for a recommendation.
- Add your oil slowly, and check the oil level as you go to be sure you aren’t under or over filling the tank. Once you’ve replaced the oil, put the dipstick back in and secure the lid.
Now you’re ready to clean up any spills, reattach the spark plug, and store your mower until it’s time to mow your lawn again. That’s all there is to it! Remember to keep your owner’s manual handy and don’t hesitate to ask your local experts for help if you need it. Once you get in there and start working, you’ll find that it’s nothing you can’t handle — even an oil change.


