If you’re a fan of mushrooms, then you’re probably familiar with morel mushrooms. While there are many types of mushrooms you can grow at home, morels are primarily foraged. These mushrooms are elusive and delicious, leaving many gardeners wondering if they can be grown at home.
If you’ve never had one, you may wonder what makes them so special. Not to worry, we’re here to explain everything. We’ll clue you in on how to grow morel mushrooms, why they’re so sought after, and what makes growing them different from growing a vegetable garden.
What are morel mushrooms?
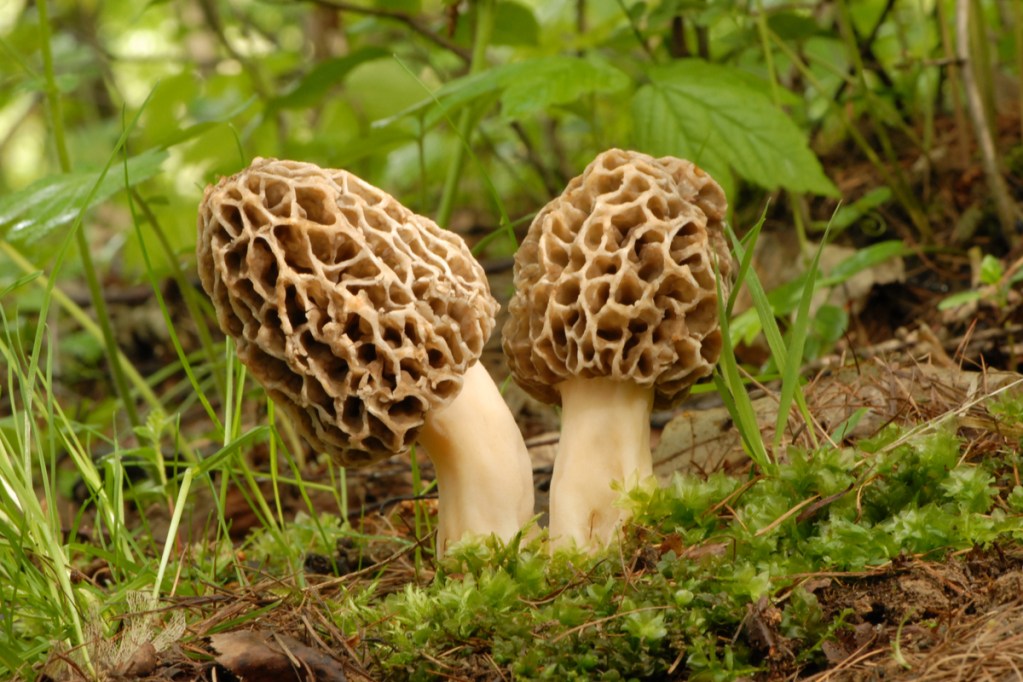
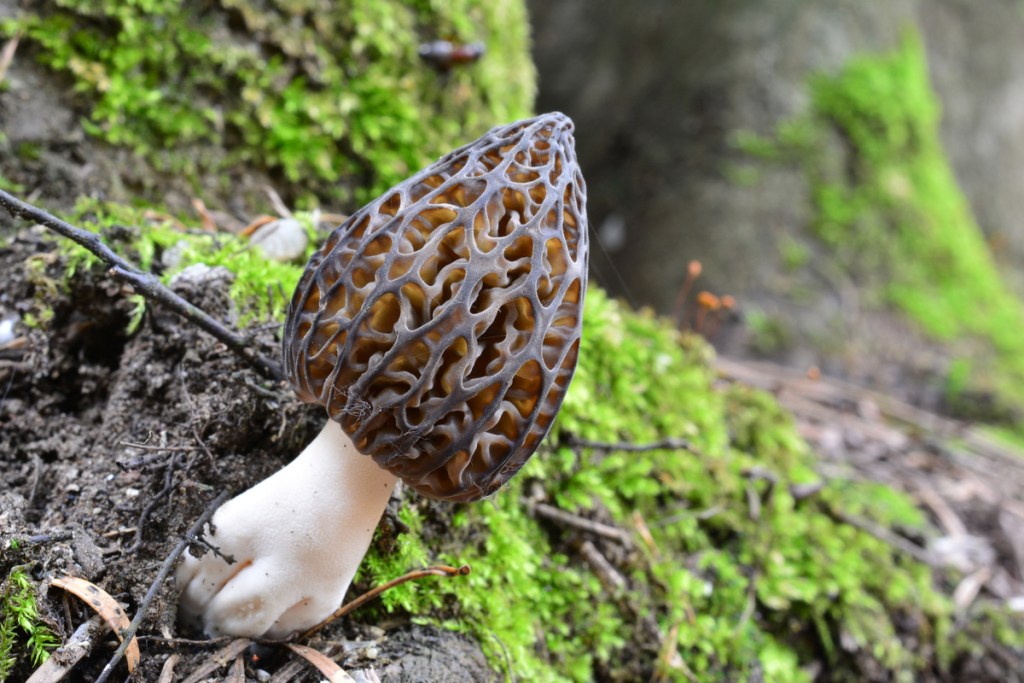
Morel mushrooms, or Morchella, are a species of edible mushroom with caps that resemble honeycombs. They’re prized for their rich, earthy taste, but also because they’re rather difficult to come by. Morels are an unreliable crop, so they aren’t farmed on a large scale like other mushrooms. This means that they need to be found in the wild, a difficult task in and of itself, since morels blend into the forest so well. Depending on the exact variety and how far they’re being shipped, morels can cost anywhere from $30 a pound to several hundred dollars.
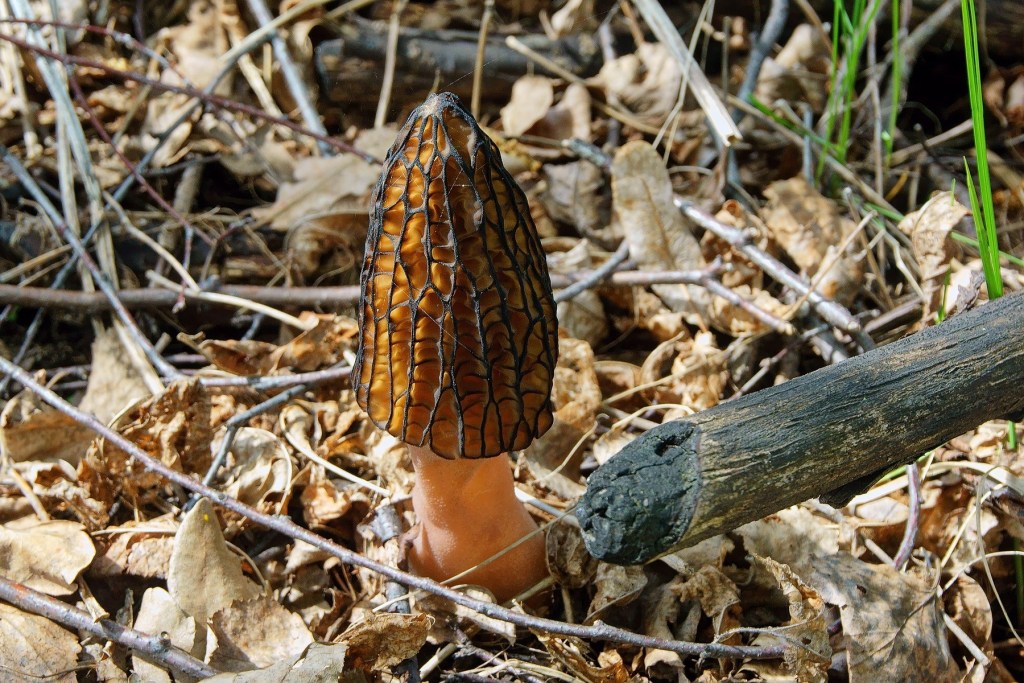
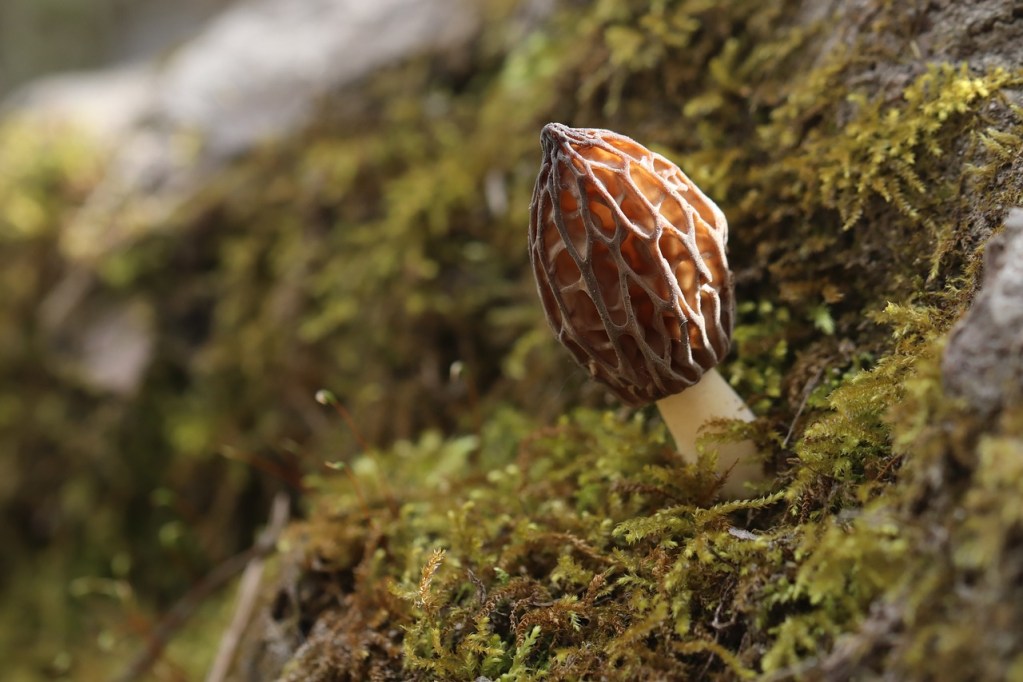
Naturally, if you’re a fan of morels, you’ll want to skip that price tag by growing or foraging for your own. If you forage for them, be aware that morels have a poisonous look-alike mushroom called false morels. False morels can look very similar to true morels, but they are typically more red in color.
A reliable way to tell the difference is to cut the mushroom in half. True morels are hollow inside, while false morels are solid. It’s a good idea to go mushroom hunting with an experienced guide, especially the first few times you go foraging. If you have any doubts about what kind of mushroom you have, don’t eat it. No mushroom, no matter how delicious, is worth your life. If you suspect you’ve eaten the wrong kind of mushroom, seek medical help immediately.

Why are morel mushrooms so difficult to grow?
If morels are so unreliable to grow, though, you may be wondering if it’s even possible to farm them yourself. The answer is yes, sometimes. Morels are fickle mushrooms, and it’s possible to do everything right and still not see results the first time you try. However, there are plenty of gardeners who see success, even if it sometimes takes multiple tries.
Part of the difficulty in growing them is that morels won’t grow indoors like many other mushrooms will. This gives the gardener less control over the growing conditions, which, when combined with the picky nature of morels, means there is a lower success rate. You can raise your chances somewhat with a grow kit, but it’s helpful to go into this with the understanding that farming morels is a long-term process that is partially out of your control. Don’t get discouraged if it doesn’t work the first time — keep at it!
Starting your morel mushrooms
Start by getting morel mushroom spores or spawn. You can use a grow kit for this, order them online or at a specialty store, or harvest your own spores from a foraged morel. The most reliable way to harvest spores from a morel is to boil water with a tablespoon of molasses and a quarter teaspoon of salt. After the water has boiled and cooled down, add in shredded or chopped morel pieces.
You need at least one full morel, but you can add more for a greater chance of getting spores. Let the water sit for two days, then strain it through cheesecloth to remove the mushroom chunks. The water should have plenty of spores, and you can pour it directly onto the planting site once it’s ready.
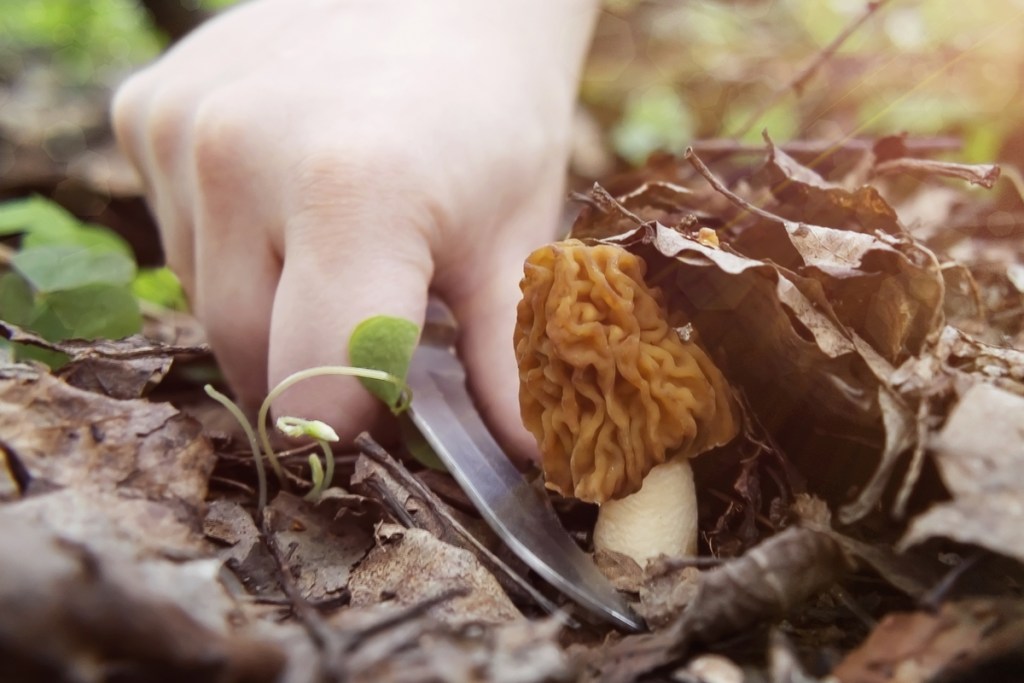
After adding your spores, lay a thin layer, only about a quarter inch, of compost over it. If conditions are right, and you’re lucky, you can see mushroom growth in a matter of days. Morels grow very quickly, so keep a close eye on your planting area. Once they begin to show, give them another day or two to grow and mature. You can leave them longer, but keep in mind that they’re outdoors, with the elements and animals. The longer you leave them to grow, the more you risk damaged mushrooms. Harvest them by snapping or cutting them off at the base. Don’t pull them up, as this can damage the mycelium network the mushrooms grow from.
What morels need in a planting site
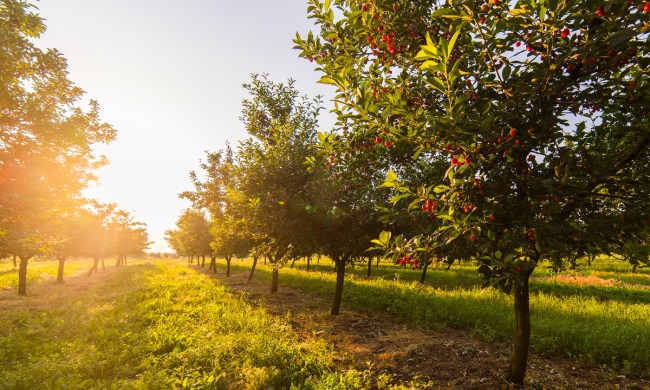
Morels grow on the forest floor, typically among deciduous trees. To increase your chances of success, try to mimic these conditions as best you can. They need filtered, patchy sunlight to grow best. If you have a deciduous tree or trees in your yard, you might try planting the morels under them. Morels also need loamy soil, preferably with decaying wood in it, and consistent moisture with cool temperatures. You can add compost, especially composted wood, or wood ash, to the soil before planting your morels. Spring is the typical growing season for morels, as it is mild and wet, but in hotter climates, you might have better results in late fall.
Can you grow morels in a greenhouse?
Say you don’t actually have the ideal conditions for morel mushrooms outside. Would it be possible to grow them in a greenhouse? Because they’re naturally acclimated to being outdoors, it can be tricky to try growing them in an enclosed greenhouse. There is, however, an advantage to growing them this way: You can control factors such as light and moisture. Per Greenhouse Emporium, you ideally want to keep your morel mushroom tray in a dimly lit spot at around room temperature and in 90 percent humidity. You also want to be extra careful about keeping your growing medium sterile, since it’s best to avoid bacteria and other fungi.
Will morels come back every year?
Yes! Keep maintaining your growing site and you should see morels growing there again next year. When morels are harvested, they leave behind spores and their mycelium network. New morels grow from these, as long as the conditions are correct. You can also save a few morels to create another spore slurry, if there is damage at the planting site and you suspect there may no longer be a mycelium network.
Growing morels is difficult, but not impossible. Following these tips can help increase your chances, but the most important thing is to keep at it! Your harvests may be small at first, but by repeating the process over time, you can eventually establish a thriving colony of morel mushrooms in your own yard. Enjoy the rich taste of morels without the steep price tag.