Black-eyed peas are more than just a band, they’re also a delicious and nutritious legume! They’re among the most popular peas, both for their versatile flavor and how easy they are to grow. They can be grown in your garden, yard, containers, and even indoors. Once they’re harvested, you can use them as a side dish, toss them in some soup, mix them into rice, and so much more. If you want to try adding this tasty pea to your garden, then you’re in the right place! We’re about to spill the beans on everything you need to grow black-eyed peas at home.
Planting black-eyed peas
When choosing a time to plant black-eyed peas, there are two factors to take into account. First of all, they are not cold-tolerant plants. Black-eyed peas are sensitive to frost and can easily be damaged or even killed by it. The second factor is how long they take to grow. Black-eyed peas are slow-growing, although you can speed the process up a bit by starting them indoors or harvesting immature beans.
This means that not only do you need to wait until after the last frost of the year to plant them, but you also need to be sure to plant them early enough that you’ll be done harvesting them before the first frost of the year. They need temperatures that are consistently at or above 65 degrees Fahrenheit to grow properly, and between 60 to 90 days to mature. In warmer regions, planting can begin in mid to late spring, while areas with longer winters may need to wait until early summer.
Choose a planting site with well-draining, light soil. Thick, heavy soil that tends to hold water can lead to seed rot or root rot for black-eyed peas, so it’s important to test your soil’s drainage before planting. The site should also have full sun. Plant the seeds an inch to an inch and a half deep, and space them 3 to 6 inches apart.
Caring for black-eyed peas
Although they can be a bit picky when it comes to soil type and temperature, once they’re in the ground black-eyed peas are remarkably easy to care for. Part of this is due to their high tolerance for drought. Black-eyed peas have tap roots, which reach down deeper into the soil to access water and nutrients that other plants can’t get to. They can be as long as eight feet!
This doesn’t necessarily mean you can forgo watering altogether, though. They grow best if they have roughly an inch of water each week. In many cases, rainfall alone will be enough for them. However, if you’re experiencing a drought or if temperatures are higher than normal, then supplemental watering is helpful.
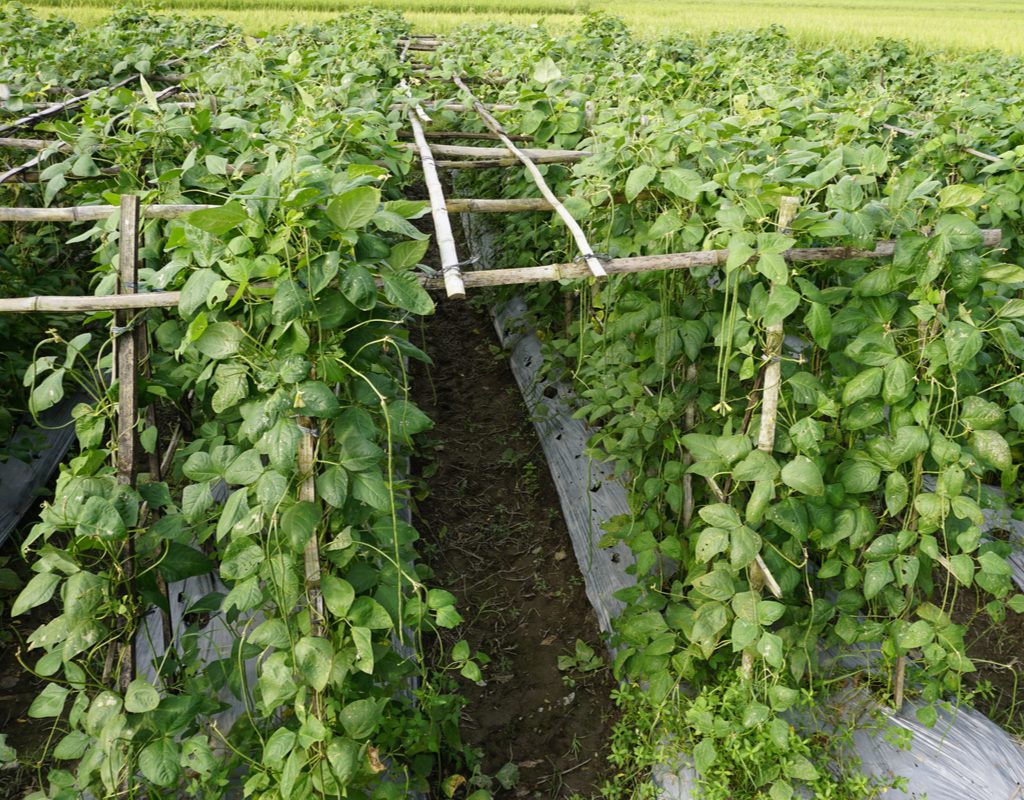
Black-eyed peas also need support to grow if they’re a vining variety. Bush varieties, which stay low to the ground and grow in short, stiff stalks, don’t need any support. Vining varieties, however, need something to climb. Although they’ll climb just about anything, most gardeners choose a trellis. You can get a premade trellis from most garden centers, but you can also make your own out of a few wooden posts and chicken wire.
Harvesting black-eyed peas
Harvest times can vary quite a bit between varieties, but harvest times also depend on whether you’re harvesting young pods or dried ones. Young, green pods are tender and can be eaten shelled or with the pod, similar to green beans or snap peas. These are great for fresh eating and can be stored for a few weeks in the refrigerator. Dried beans are shelled and eaten without the pods. Although they take longer to be ready for harvesting, they can be stored for much longer.
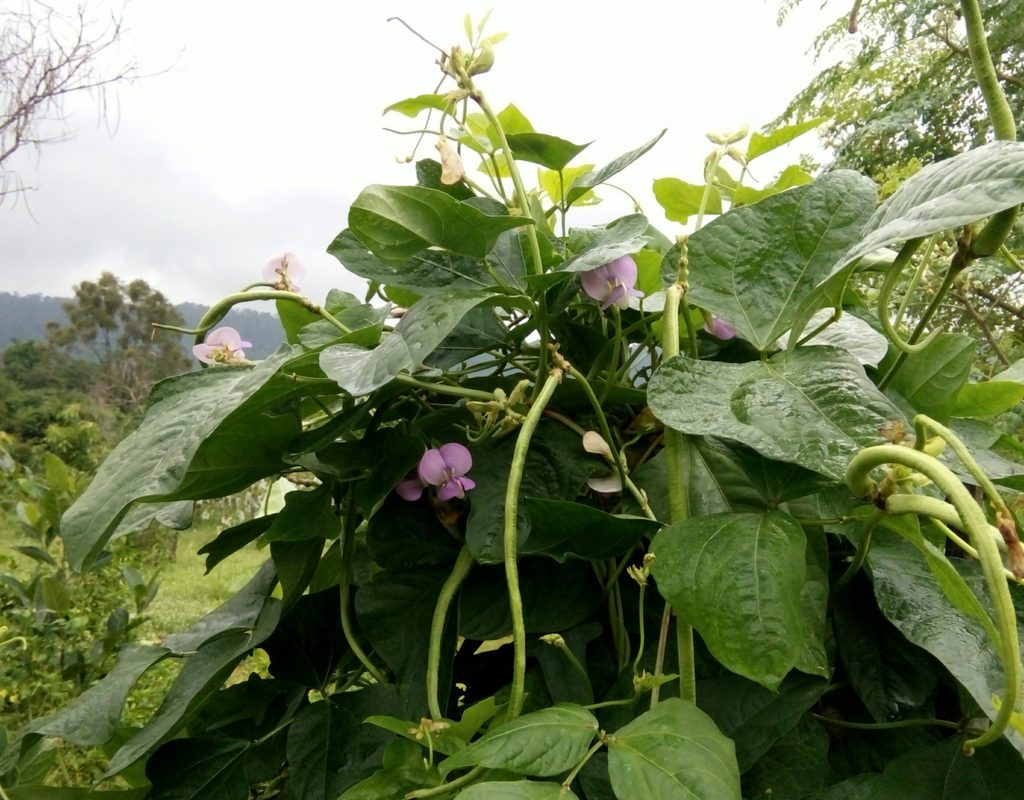
Young pods can typically be harvested after roughly 60 days. They should be 2 or 3 inches long, with small but still noticeable bumps where the beans are. You can pull or snap them off the plant easily, and either store them or eat them right away.
Mature pods take roughly a month longer, and the pods should be brittle and brown or yellow. Harvest them in a similar manner, pulling or snapping them off the plant, but be gentle to avoid breaking the pod. If the pod is already splitting open, or if it’s broken during harvesting, then the beans are likely to fall out. Hold a bowl under the pods while harvesting them to catch any loose beans.
Black-eyed peas have a savory, earthy flavor when cooked, so it’s no surprise that they’re a favorite of many gardeners. Since they’re so easy to grow, you can add them to your vegetable garden and enjoy fresh black-eyed peas whenever you want. They’re also a great plant for beginners or children, since they won’t die if you occasionally forget to water them. All they need is sunlight and a little patience!