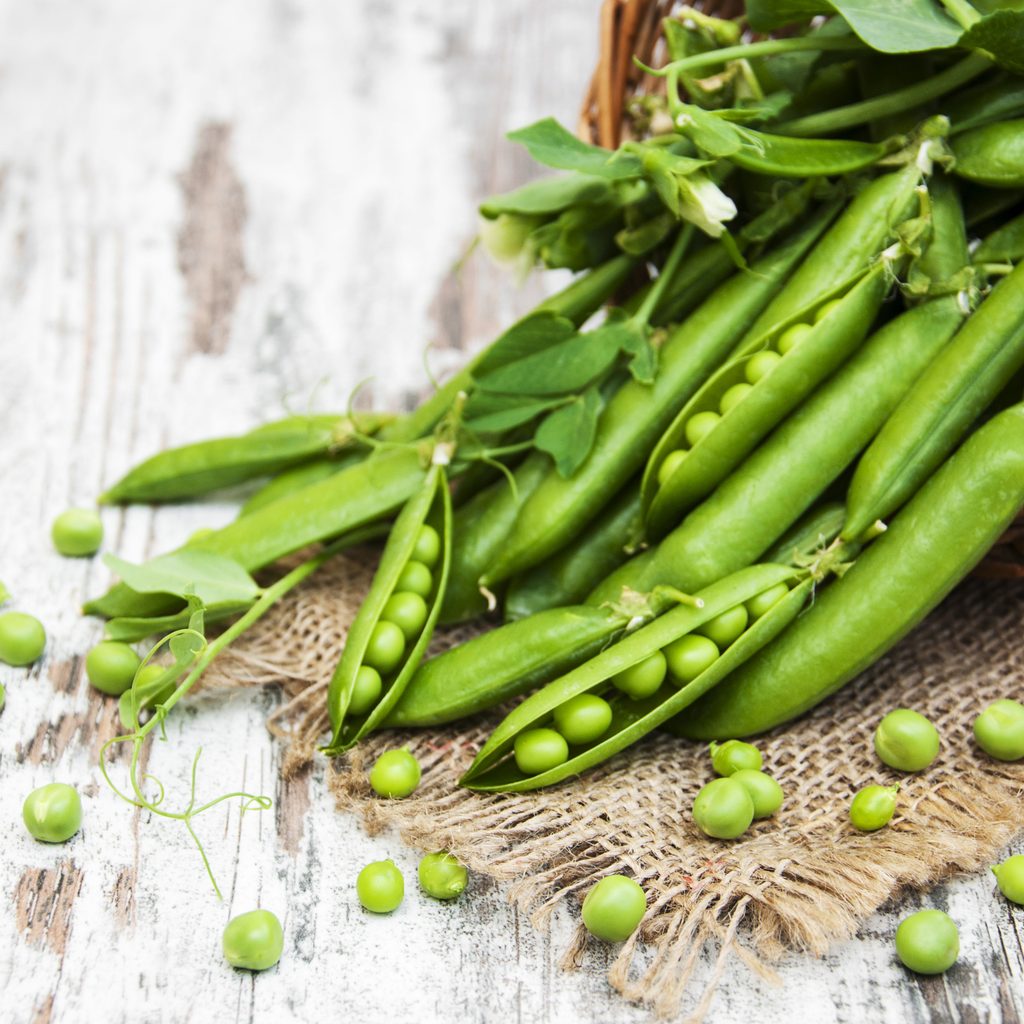
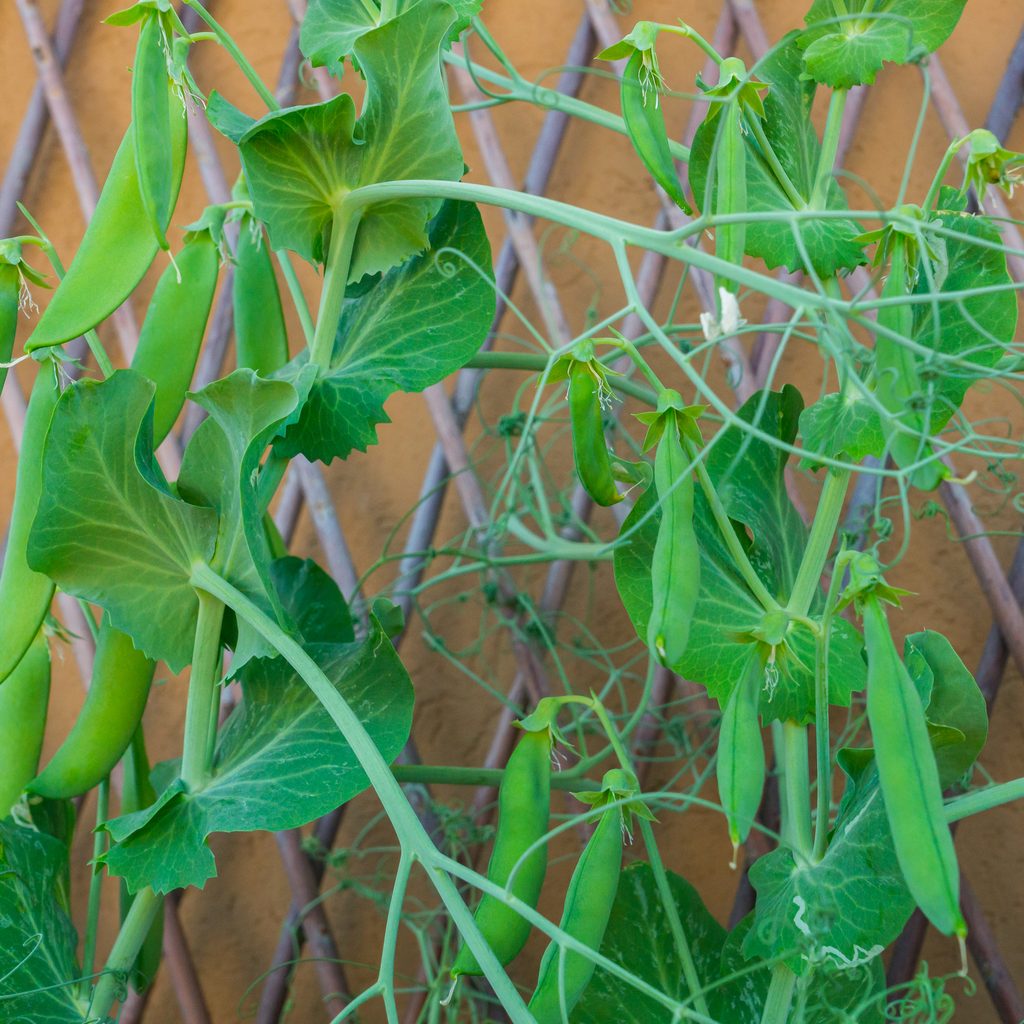
An excellent way to enjoy the full flavor of sweet, freshly picked sugar snap peas is to grow them in containers. If you have limited room on a patio or porch garden, then using containers can help you maximize the space you have.
Sugar snaps are a crossbreed between garden peas and snow peas. They’re a variety with incredible versatility and can be used in their pods or shelled. When grown at home, sugar snap peas are significantly sweeter and juicier than store-bought peas. You can grow them organically without the use of toxic chemicals and pick them straight from the plant!
Growing sugar snap peas in containers isn’t hard as long as you water them well. Just remember that wherever you choose to place their containers, you should ensure that they’ve got a spot with a mix of both shade and sunlight. But, everything we’ve mentioned so far sounds like advice for someone who’s already growing sugar snap peas.
In case you haven’t, we’ve put together some advice about growing sugar snap peas in a container.
You’ll need the following
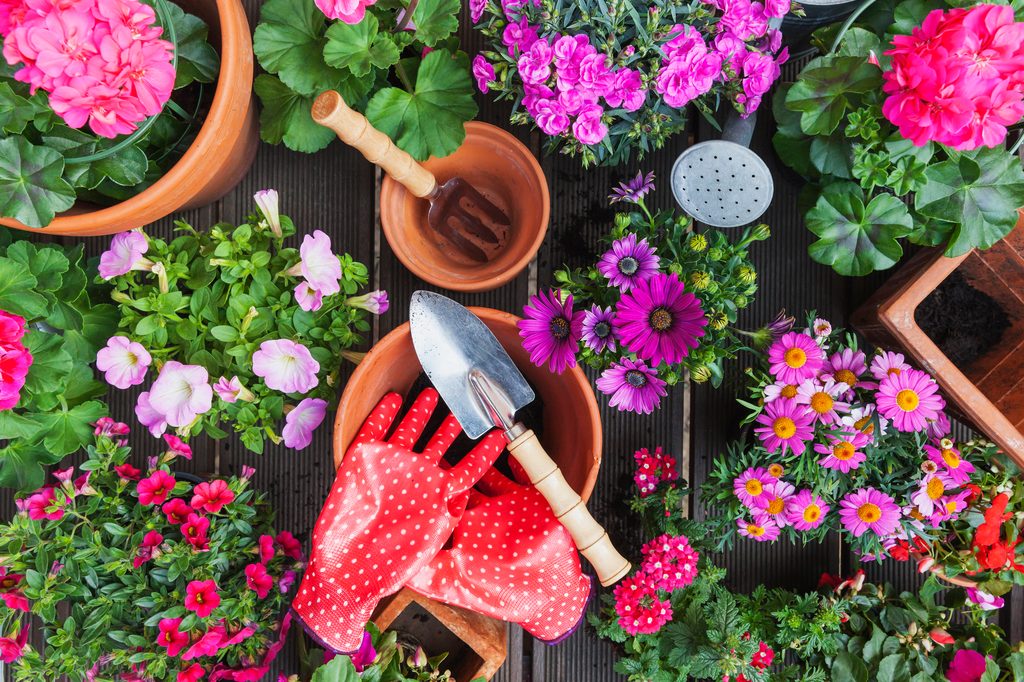
Tools
- Work gloves
- Garden trowel
Materials to have on hand
- Sugar snap pea seeds
- Legume inoculant
- Potting soil
- Fertilizer
- Large planting container (make sure it has drainage holes)
- Plastic screening
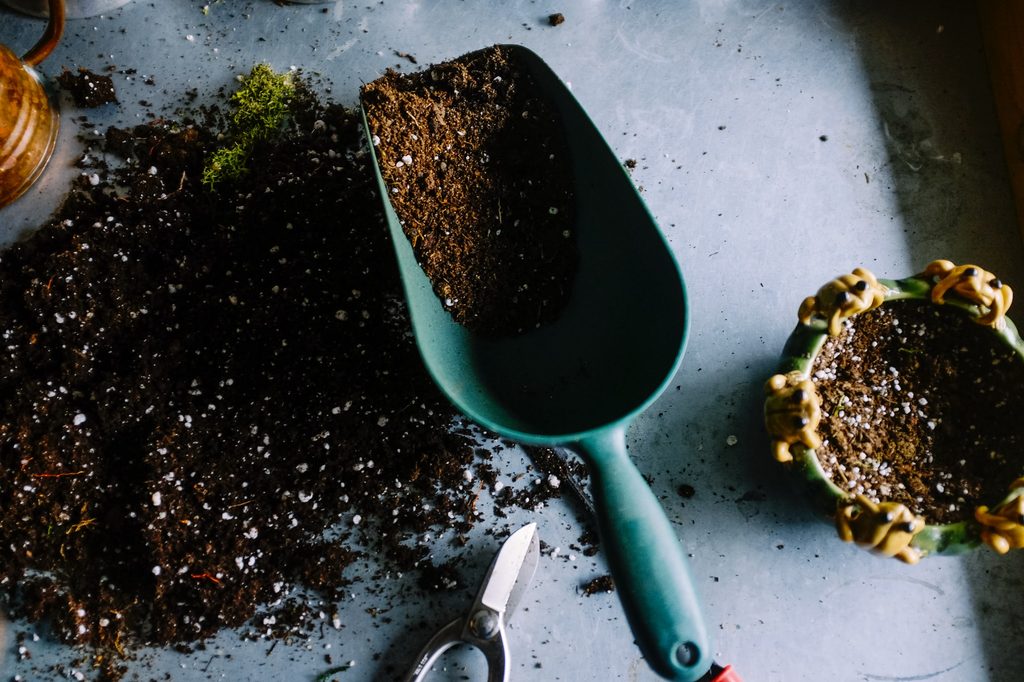
Get your container ready
Once you have all of your materials gathered and have your gloves and garden trowel, it’s time to get your container ready. First, you need to cut some plastic screening that’s just big enough to cover the hole in the bottom of your container. If you didn’t purchase plastic screening, you could also use pieces of a paper towel or a coffee filter.
Suppose you bought a container for your sugar snap peas that happens to be rather large. In that case, think about filling in the bottom one-third with soda bottles or other plastic containers, just as long as the flow of water isn’t impeded. Doing this can save you a bit of money on potting soil and make the entire container lighter, should you need to carry it from one location to another. Just ensure that you place plastic screening over the bottom third’s filler material before filling the remainder with potting soil.
Fill your container with potting mix
When you put potting soil into your container, try to make sure that you’ve got at least three inches remaining before reaching the rim. Some potting soil already have fertilizer added in, so you need to read the contents when purchasing. If the soil has fertilizer, then you can skip the next step. If it doesn’t, then you can add in an all-purpose fertilizer—just know that sugar snaps don’t need much.
Too much fertilizer can mess with the plant’s ability to produce normally. In fact, the plant will grow large pods with tiny seeds (or no seeds at all) inside them. Be careful, then, when mixing fertilizers with your potting soil. Finally, smooth the top of the dirt out but don’t press down and compact it.
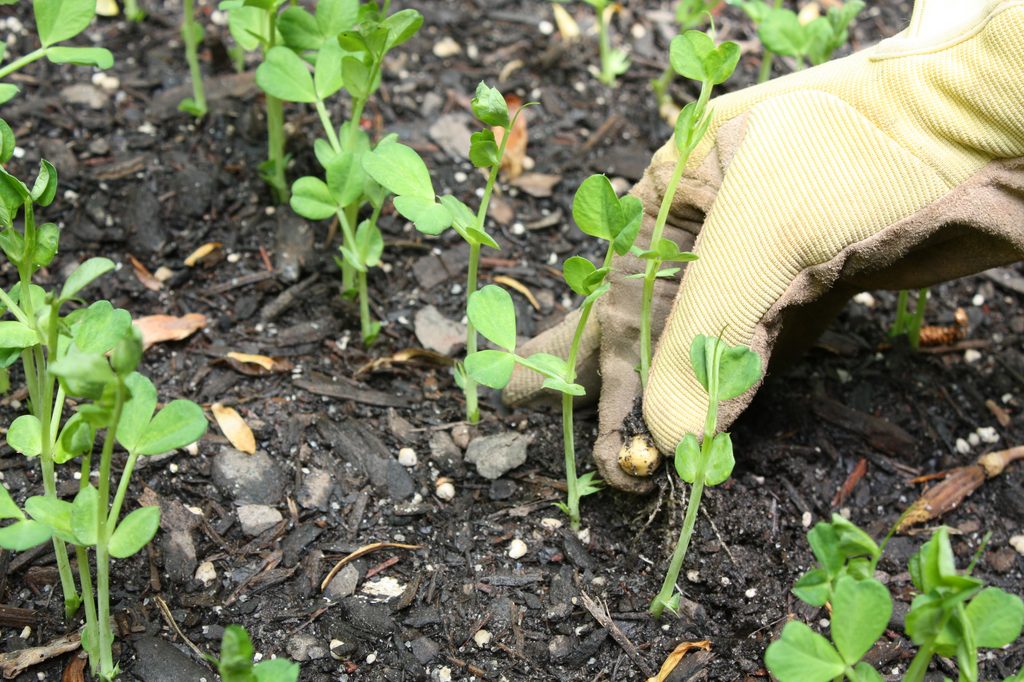
Plant sugar snap peas
Before planting, consider using a legume inoculant to treat your pea seeds. Doing so can help your plants deliver a higher yield and keep them healthy. To help your seeds germinate faster, give them a good overnight soak in water. Afterward, put the seeds in a bag without drying them and then put the inoculant in and shake well.
Once all that’s done, sprinkle your seeds evenly onto the potting soil’s surface. Press them down into the dirt with the flat of your hand. Ensure there’s an additional inch of soil on top of them, but not much more than that. You want the seeds to germinate easily, and too much soil on top can hinder that process. Finally, water the container generously.
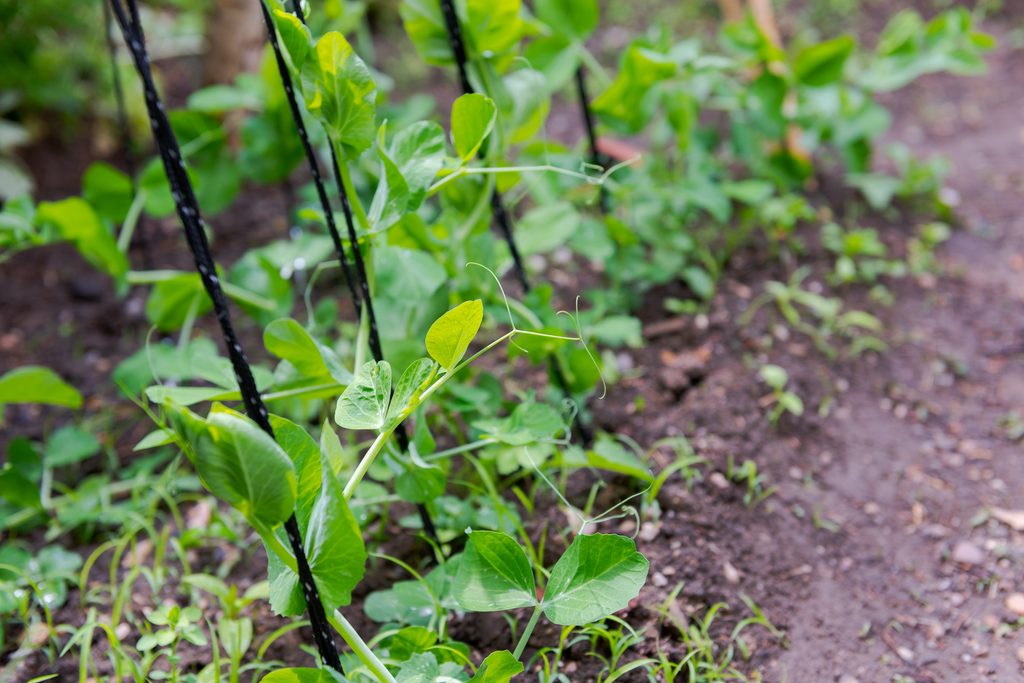
Set up a trellis for your peas
Sugar snap peas are climbing plants. You’ll therefore need a support system like a trellis to make sure your plant is stable as it grows. You can use the rail of your patio or deck as a sort of trellis. Alternatively, you can get some stakes and tie them together with twine. You should try to help your peas along by using wire ties to pin their tendrils to the trellis.
Keep on caring for the peas
As your peas begin to grow, keep the soil moist but not soaking wet. Additionally, sugar snaps should get a full six hours of sunlight every day. You won’t have to do much more than that since peas grow well all by themselves without your help.
Don’t be tempted to “feed” them anymore by putting additional fertilizer in the soil. Doing so at the very beginning is enough; peas naturally absorb a portion of their nitrogen needs directly from the atmosphere. Finally, you should harvest your sugar snaps as soon as they ripen. If you want the most tender, sweetest peas possible, then pick them when they’re still young and enjoy!