Nothing ushers in spring quite like a fresh bouquet of flowers. Among roses, peonies, and tulips, you'll also commonly find beautiful ranunculus flowers. Though they're often found in fresh-cut bouquets, you can also grow these lush flowers in your cool-season garden for short-lived but lovely blooms for about six weeks. While ranunculus may have a reputation for being a bit difficult to grow, mindful care will ensure bountiful blooms during the earlier part of the growing season.
What are ranunculus flowers?
Also known as buttercups, the Ranunculus genus consists of hundreds of species of flowers that come from a range of areas, including Northern Africa, Southwestern Asia, and Southern Europe. The name actually comes from the Latin word "rana," which means frog — this is likely because ranunculus tend to grow in wet areas.
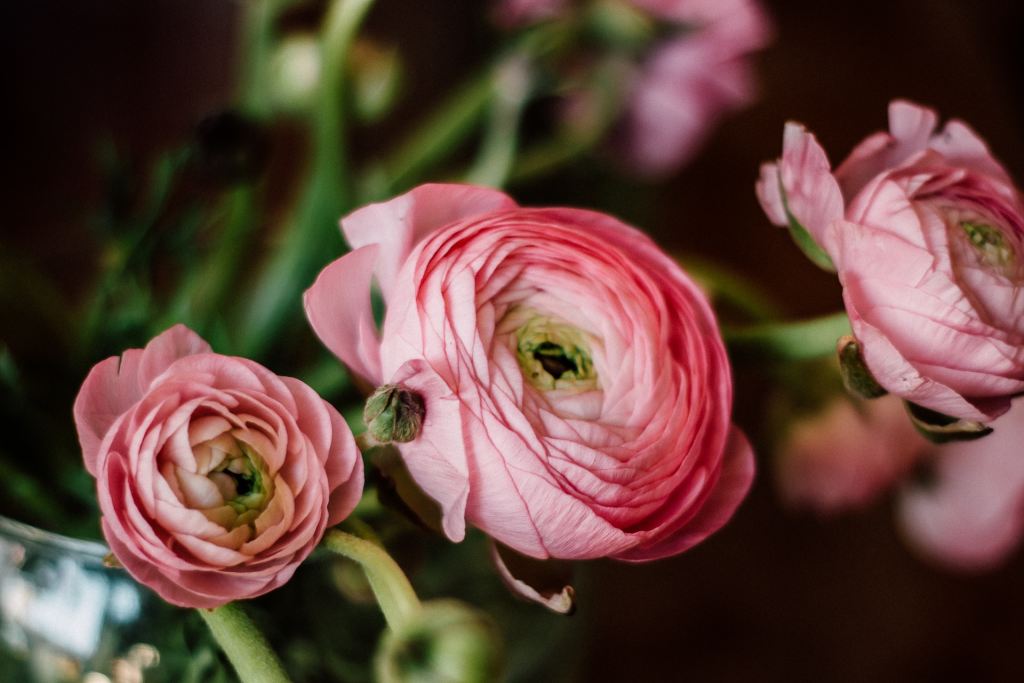
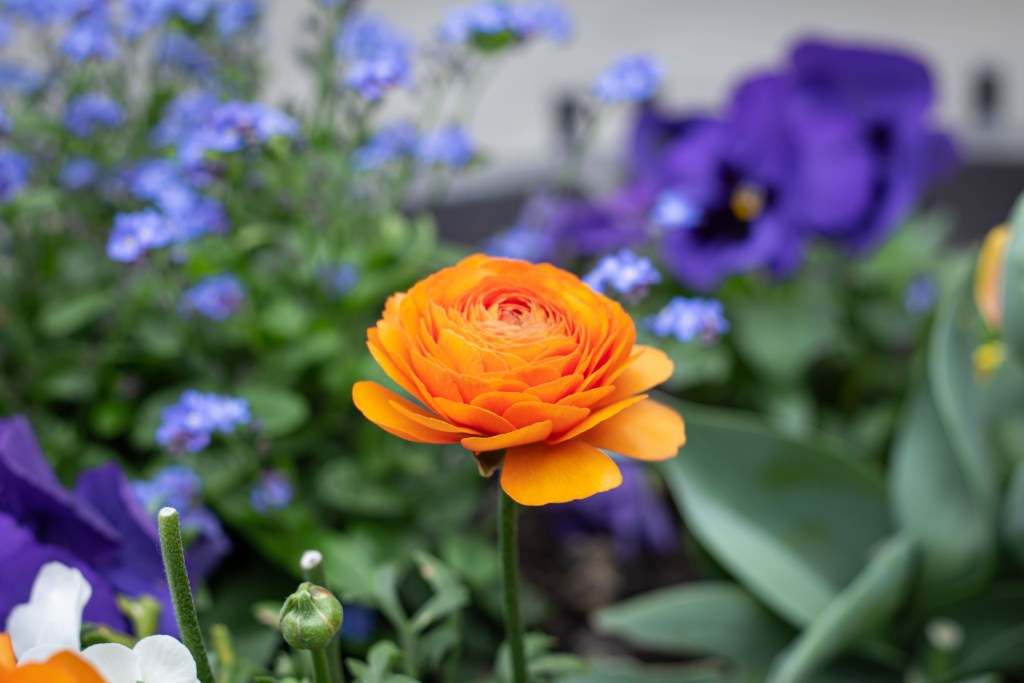
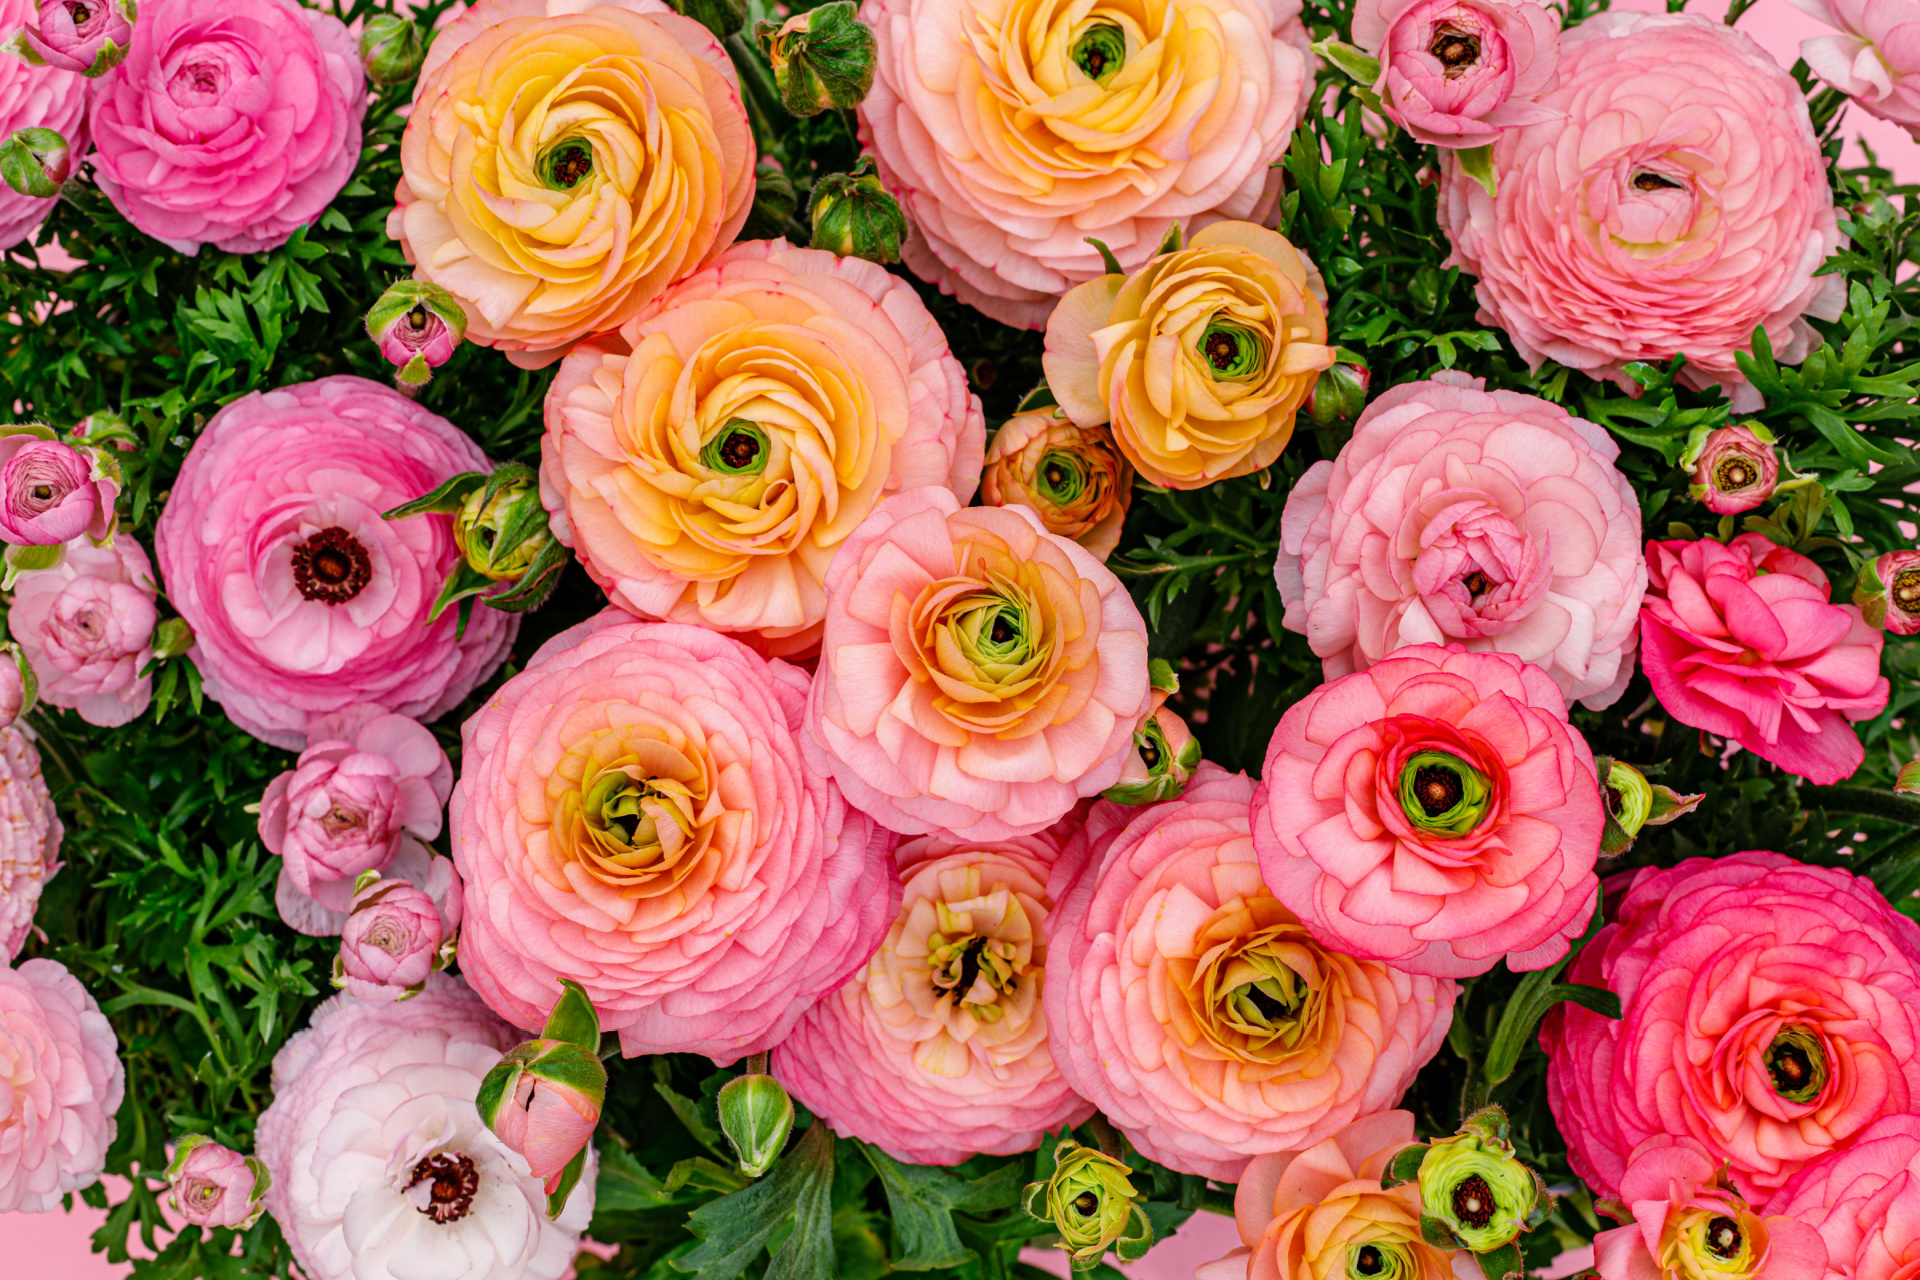
Similar to peonies and roses, ranunculus flowers feature cup-shaped blooms with lush, delicate layers in colors, such as red, white, pink, orange, and yellow. Ranunculus are also quite showy in size, as you may find flowers with stems as tall as 2 feet and blooms as wide as 1 foot.

When and how to plant ranunculus flowers
Perennial in zones 8 to 11, ranunculus are known to be cool-season flowers. In areas where they are hardy, you can plant them in fall or early spring. In areas where they are annuals, you'll want to wait until spring to plant them.
You can plant ranunculus either from potted plants or corms. The latter is a type of underground plant stem that stores the plant's nutrients — it slightly resembles an octopus with its claw-like structures. While it may look a little desiccated, don't worry about how dried out it looks. After planting, you'll need to wait anywhere between 4 and 12 weeks to see flowers. Here's how you can get started with growing them:
Step 1: Submerge your ranunculus corms in water for 3 to 4 hours to plump them up. If you're starting from a potted plant, you can skip this step.
Step 2: Seek out a location in full sun or partial shade to set your corms down — you can keep them in a container, grow them in a garden bed, or plant them directly in the ground.
Step 3: Set down a well-draining gardening soil and fortify it with compost and a balanced organic fertilizer.
Step 4: With their claws facing downward, place your corms down 2 to 3 inches deep and 6 to 9 inches apart in your soil.
Step 5: Cover your corms with soil and water deeply. Wait until your plants sprout to start watering again.
How to care for your ranunculus flowers
When it comes to care requirements, ranunculus are finicky but manageable. On the matters of temperature and watering, they follow the Goldilocks principle and need conditions to be just right. For a thriving garden bed of lush ranunculus, keep these care tips at the top of your mind:
Lighting: Like many flowers, these blooms need full sun or partial shade to thrive. During hot summer days, consider moving them to shadier spots or providing them with shade cloths to protect them from afternoon sun.
Temperature: Spring is really the best time of year for ranunculus flowers, as it's neither too hot nor too cold. The ideal temperature range for ranunculus is between 60 and 75 degrees Fahrenheit — that's why you won't find them in bloom come the sweltering heat of midsummer. On the flip side, ranunculus are also hardy down to 25 degrees Fahrenheit.
Watering: Watering your blooms can be a balancing act. You never want to overwater your plant to the point of rotting its roots, but you also want to make sure the soil is consistently moist. The rule of thumb is to water your ranunculus whenever the top 1 to 2 inches of soil feels dry to the touch.
Fertilizing: Ranunculus tend to be heavy feeders, so you want to give them monthly applications of fertilizer. You can use organic balanced fertilizers (such as Plant-tone), fish emulsion, or a high-phosphorus bloom booster.
How to get your ranunculus flowers to bloom
Ranunculus can take some time to bloom, but patience and timing will ensure you have the healthiest flowers possible throughout late spring and early summer. In addition to planting your corms two to three months ahead of the warmer season, make sure to keep up with routine care by giving them sufficient lighting and watering. If you're looking for extra tips to promote blooms, consider the following measures:
Step 1: Up your fertilizing routine by applying a water-soluble, bloom-boosting fertilizer twice a month.
A high-phosphorus plant food, such as a 5-10-5 or 7-9-5 fertilizer, is ideal for encouraging flowers. Always apply fertilizer with water to avoid burning your plant.
Step 2: With clean pruning shears, deadhead your blooms as they fade away to redirect your plant's energy toward reblooming instead of producing seeds.
All you have to do is cut your flowers at the base of their stems.
Step 3: If you're planning to grow ranunculus next year, allow the foliage to fade, then dig up the corms, which you can store inside of a cool shoebox or paper bag until the following year.
Unless you live in zones 8 or higher, your roots may rot underground during cold winters.
How to cut your ranunculus flowers
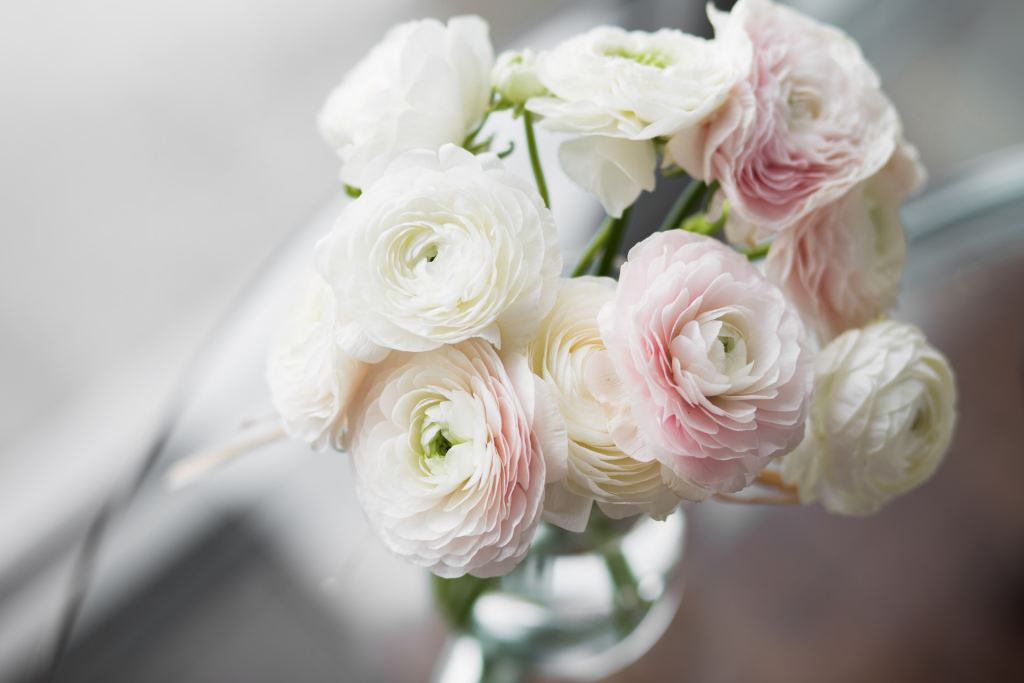
In addition to brightening up your home garden with lovely blooms, ranunculus make for gorgeous cut flowers in the home thanks to their layered buds. Snipping off your ranunculus isn't complicated whatsoever, but there's definitely an art to it so you can enjoy longer-lasting blooms.
Step 1: Look for blooms that are tight but not too tight.
The blooms you cut should be in their marshmallow stage — press the bloom to see if it's pliable or squishy like a marshmallow. If you don't need the blooms to last very long, you can, of course, choose more open buds.
Step 2: Follow the stem down, and snip your plant at ground level with a sharp pair of shears.
Step 3: Place your stems in a container of clean, cold water.
Step 4: Remove the foliage and place in a vase with clean water once you've brought the flowers into your home.
Step 5: Every two to three days, trim the stems and change out the water.
While it may be easier to buy a bouquet of ranunculus from your local florist, growing your own flowers is definitely within the realm of possibility with a little care. Keeping your blooms healthy comes down to sufficient light and watering, but using rich soil and consistently deadheading spent flowers will help. Though the growing process may be challenging, seeing your humble corms grow into beautiful layered blooms will be a rewarding experience.


