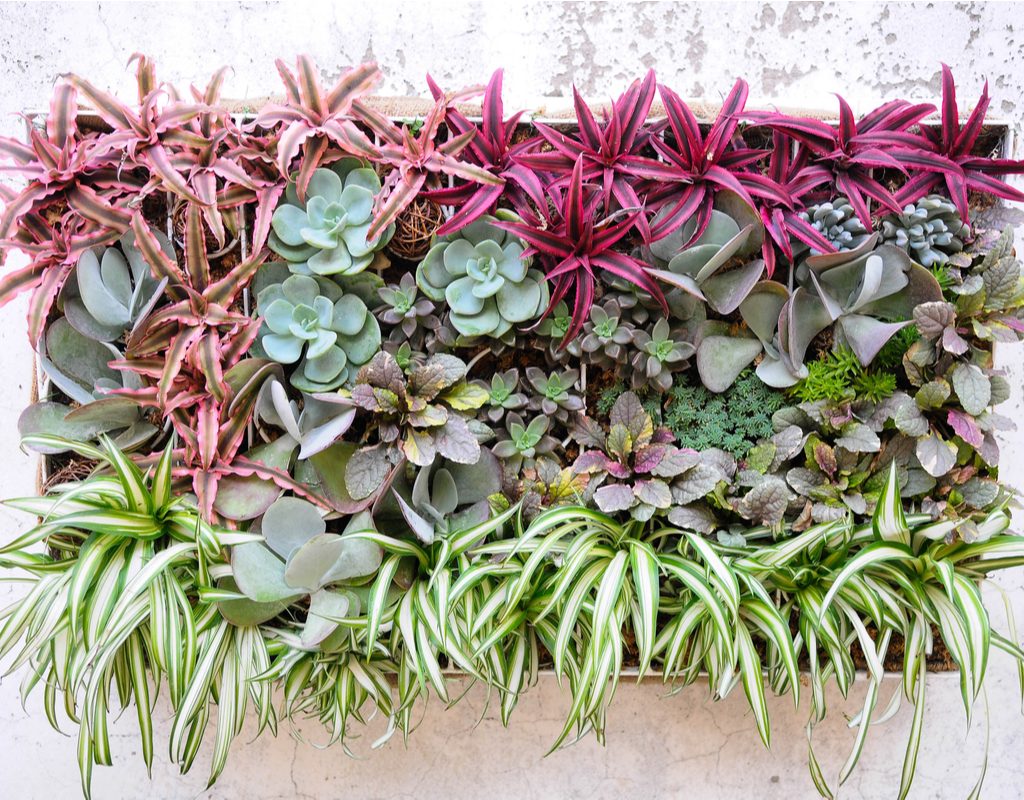
Succulents are enormously popular plants because of their easy maintenance and variety of display options. One method of displaying succulents is in a living wall. There are different versions of living walls, from complicated and expensive vertical hydroponic systems to smaller, more manageable, wall-mounted frames. The general idea of a living wall is an assortment of plants on or in a wall, arranged so that the wall itself isn’t visible, making it appear as if the plants are the wall. It’s visually interesting and helps conserve space. We’ll take you step-by-step through these instructions on how to make your own wall mounted living wall.
Creating the frame
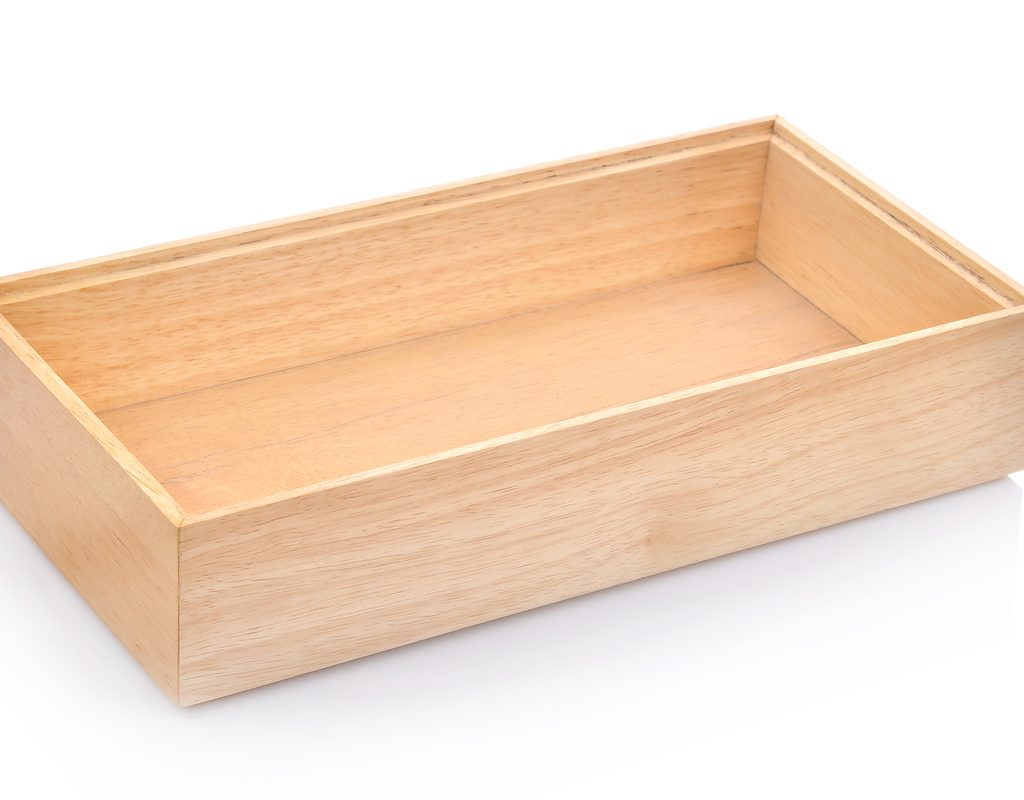
The frame of the living wall is the part that holds the soil and plants. It can take almost any form you’d like. You can build a frame from scratch, or use an existing structure such as a cabinet or shadow box. Try hanging your frame where you’d like your finished wall to go, so you can make sure it’s the size and shape you want, and that you can take it down and put it back up with relative ease.
Your frame should be a few inches deep, so your succulents have plenty of room to root. The back of your frame can be solid wood, which is easier to hang. However, you can also create a back by attaching a layer of garden cloth or wire mesh. Just be aware that a back made of permeable material is more likely to spill or leak.
At this point, your frame should essentially be a wooden box the size and shape you want your living wall to be. Measure out a layer of wire mesh to fit over the front of your frame. Make sure to measure a little more than you think you’ll need, so it’s easier to secure. The holes in the mesh should be half an inch to an inch wide, to hold the soil in and give the succulents some support and keep them in place. Remember to add the soil before securing the mesh, but the succulents will be planted afterwards.
If you want to add a little flare to your living wall, this is when to do that. You can paint or decorate the outside however you’d like. One popular decoration method is to attach a picture frame to the front, so your living wall resembles a painting.
Selecting your succulents
Most succulents will grow just fine in a living wall, so you have plenty of options available to you. There are a few things to take into consideration when choosing your succulents, though. To begin, consider the size of your frame and how big the succulents you’re choosing tend to get. Avoid succulents that get too big and those that enjoy having a lot of space to themselves.
If you want your living wall to look like it’s really part of the wall, you can disguise the frame in a couple clever ways. Plant succulents with spreading leaves along the edges and succulents that hang or trail along the bottom edge. Echeveria is a great choice for the edges, and it comes in a variety of colors and sizes. The bottom edge can be easily hidden by a string of pearls succulent or a burro’s tail succulent. For ease of planting, choose young succulents. Young succulents can be rooted through the wire mesh on the front.
Planting, hanging, and caring for your wall
Fill your frame with potting soil and attach the wire mesh to the front. If you’ve chosen young plants, you can carefully plant them through the holes in the mesh. If you were only able to find mature plants, carefully cut holes in the mesh for your plants. Try to cut them only as big as you need, and be sure to fold the ends of the wire back or cover the sharp tips with something soft, to protect your succulents from being cut.
Let your succulents sit for a week to a week and a half, so they can begin to root. After the first week, they’re ready to be watered. However, they won’t have strong enough roots to hang just yet. Let your succulents continue rooting for another five to 10 weeks. Mature plants may be ready to hang sooner. Hang it up gently at first, so you can be certain the hook or nail will hold the full weight of the display. Keep a close eye on your plants, but, if they’ve had time to grow strong roots, they should hold.
When it’s time to water your display, take it down and lay it flat on the ground. Try not to get the leaves of your succulents wet, as most don’t like wet leaves. Leave the display on the ground for at least an hour after watering it, so the water has time to soak in fully and isn’t likely to drain through the mesh.
Succulents don’t need a lot of attention, so you don’t need to worry about fertilizer or extra care, just keep your succulents in a warm, sunny location. Water your succulents every week to week and a half, or whenever the soil dries out.
Living walls are a great way to grow a lot of plants in a small amount of space. Once you’ve made your first one, you’ll see how much fun they can be to design and build.