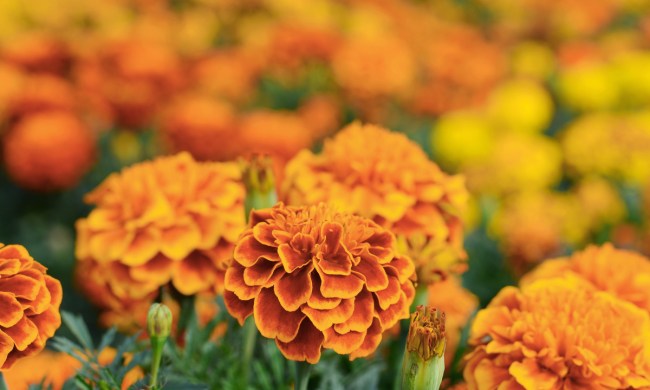
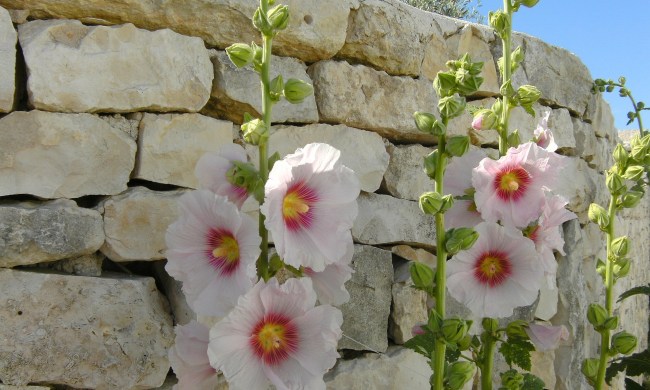
Sometimes you need to bring plants inside when the temperatures drop below freezing. But after spring has sprung, you’ll want to take your plants outside so that they can enjoy the benefits of the great outdoors, such as pollinators, rainfall, warmth, fresh air, and of course, sunlight. Additionally, you might have some seedlings you started inside during the winter that want to plant in a proper garden bed outside.
Bringing your plants outside is easy, but it isn’t a one-and-done deal. After enjoying some time as houseplants, your plants will definitely need an adjustment period to get back outside. We’ve rounded up helpful tips for bringing your plants outdoors come spring and summer.
Ensure nighttime temps are at least 55 degrees
The freezing point of water is 32 degrees Fahrenheit. If temperatures hover around this number, frost can damage plant roots and leaves. But even after the last frost breaks and the temperature gets a little warmer outside, you still want to wait around two to four weeks before you bring your plants outdoors.
When is it safe to put plants outside? Ideally, you want the coolest temperature outdoors to be around 55 degrees Fahrenheit or higher, since plants often don’t grow if the mercury goes down any lower. Additionally, some plants are less cold-hardy varieties than others. For example, a citrus tree might tolerate cool temperatures in the 40s, but a mango tree will not. If you want to bring your plants outside but still feel hesitant because of the cold, consider using frost blankets, row covers, or greenhouses to keep them warm.
Harden off your plants by gradually bringing them outside
It’s tempting to leave your plants outside and forget about them, but bringing houseplants outdoors is indeed a process. When the temperatures consistently hit the 50s, leave your houseplants outside for a few hours a day, and then take them back inside at night. Harden them off for about a week to acclimate them to outdoor conditions. This procedure is especially important for tender plants you started from seeds indoors.
It’s a good idea to leave plants in partial shade at first, since overexposure to direct light can be too intense for indoor plants. Leave your plants on your patio or underneath a shady tree for a while before you give them full sun.
Account for environmental changes
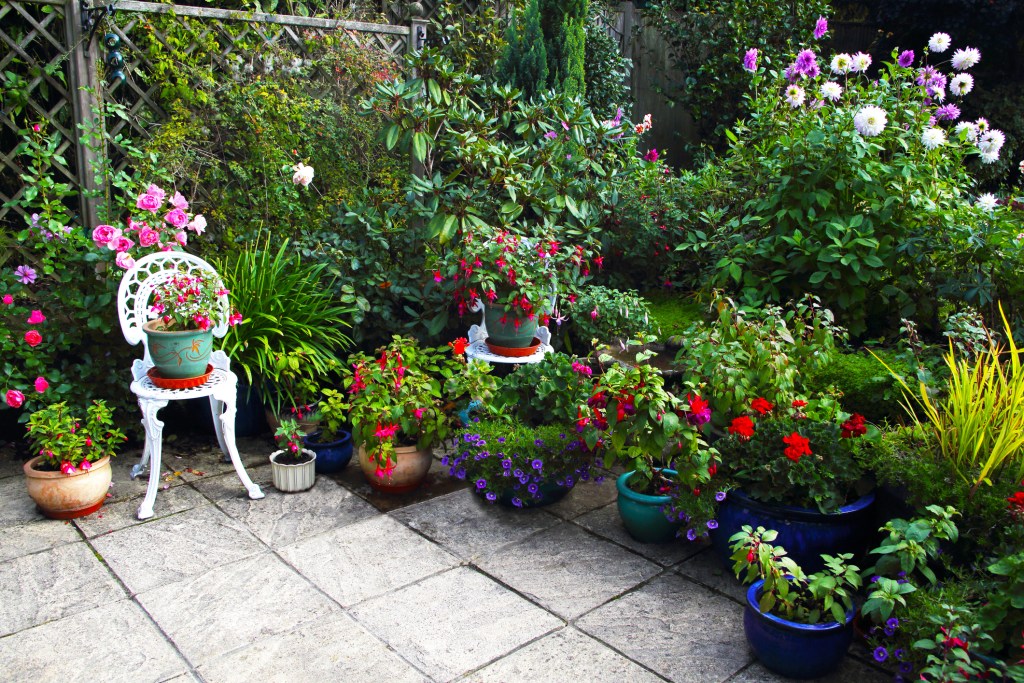
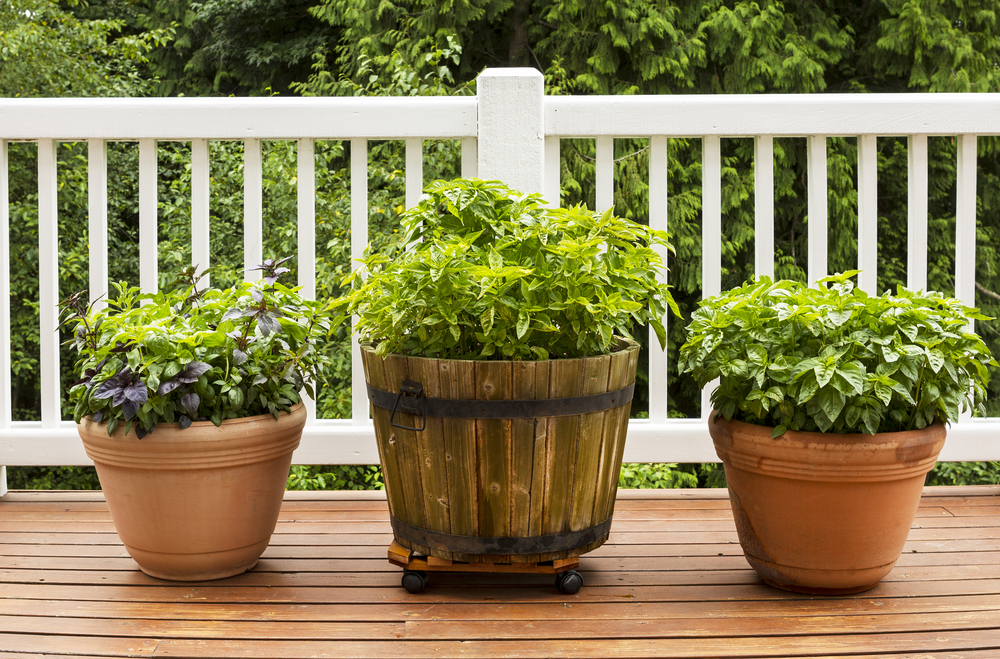
A range of factors will change the game for your former houseplants outdoors, including temperature, light exposure, wind, and precipitation. Here are a few things to keep an eye on when you move your plant outside for the summer.
Water
After bringing your plants outside, you might need to water your plants more often because extra light, warmth, and wind can dry out soil sooner. In the summer, you may find your plants need watering several times a week. On the other hand, you want to hold back watering them when it rains outside. Remember to have planters with enough drainage holes to keep excess water from drowning your plant roots — this is crucial for rainy days.
Pests
Other than watering your plants consistently, actively check their leaves for pests. Now that your plants are out in an open environment, there are more critters that may feed on their foliage. No matter if your area is prone to scales, aphids, slugs, caterpillars, thrips, or other unsavory bugs, be diligent about checking the leaves and soil. If you encounter pests, spraying a mixture of soap, water, and neem oil onto impacted foliage should tackle most issues, but do look up how to handle specific pests.
Wind
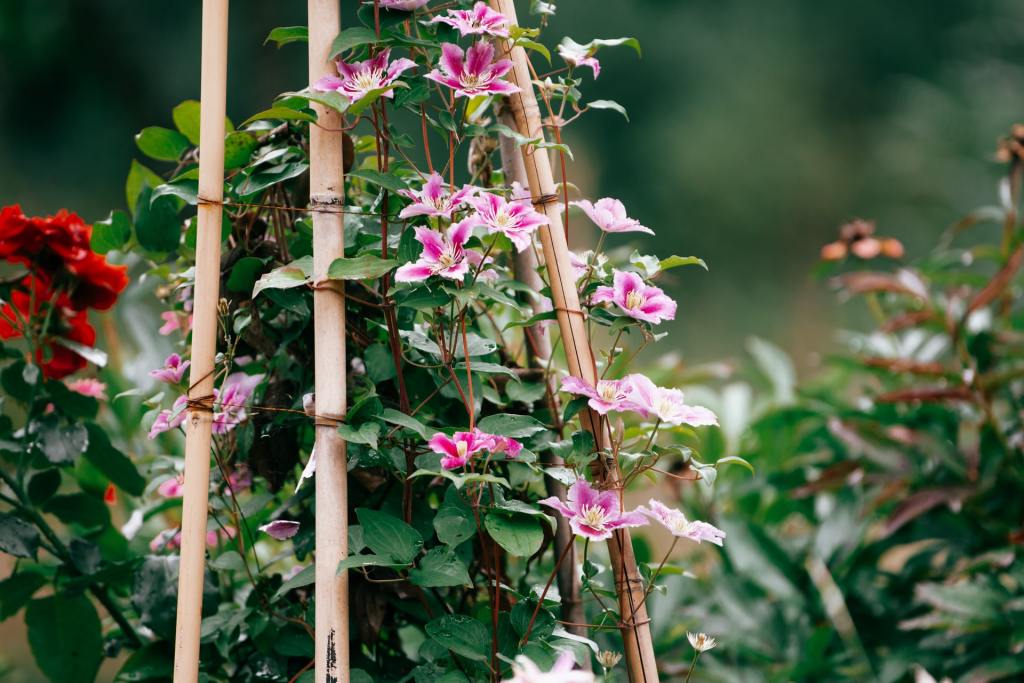
Besides making your plants dry out faster, wind can also knock them down and displace them. To account for any windy conditions, support your plants with stakes and trellises.
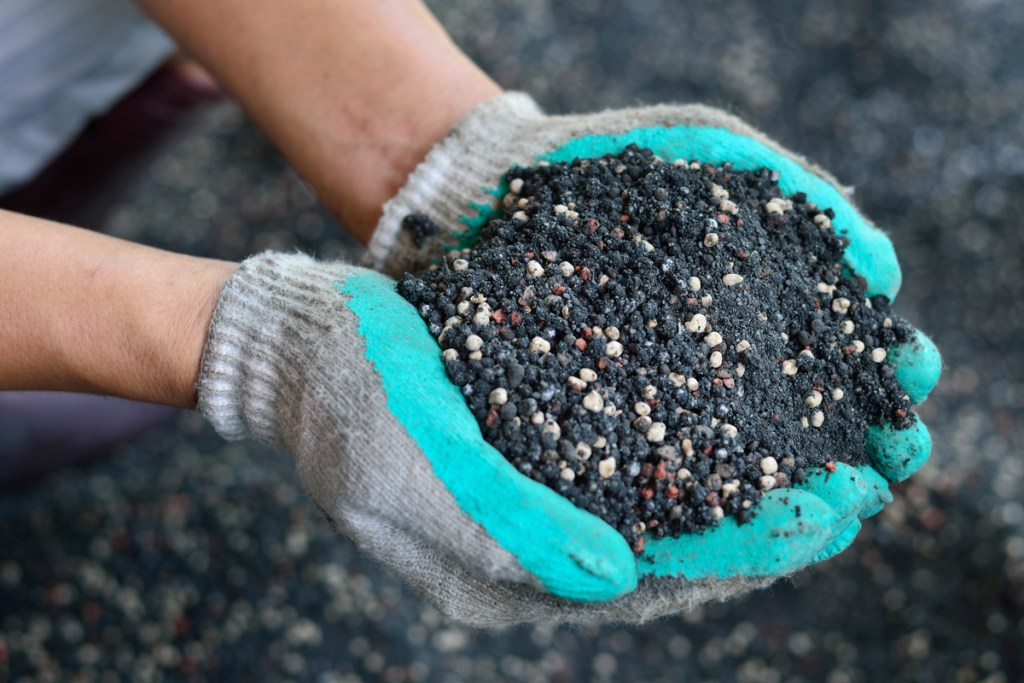
Fertilize your plants throughout the growing season
Now that your former houseplants are outdoor plants, fertilize them more often to support their growth as they receive extra water and sunlight. Your plants might be getting more minerals from wind and rain, but you still want to supplement them with nutrients to keep them from getting leggy or spindly as they grow.
Whether you want to integrate showy houseplants into your landscape or place fresh seedlings in a garden bed, transitioning indoor plants outside for the summers is a process that requires care and patience. Wait until the temperatures hit the 50s consistently to avoid the danger of frost, and then slowly harden off your plants to acclimate them to the great outdoors. As soon as your plants settle outside, be mindful about watering their soil correctly, checking for pests, and protecting them from harsh weather. With a little TLC, you’ll have happy plants throughout the growing season.