
As the temperature drops, you may notice leaves on your favorite garden herbs dropping as well. Even if you live in the appropriate climate zone for your herbs, they may benefit from going indoors over the winter. If you’re wondering why some herbs should go indoors and how to bring them indoors to ensure their chances of survival, you’re just in luck. Ahead, we’ve rounded up everything you need to know about keeping your herbs healthy once cold weather sets in.
Why bring your herbs indoors
Bringing your herbs indoors will, first and foremost, protect them from freezing temperatures and cold winds. You’ll especially want to transport your plants indoors during the winter if they’re not perennial to your climate zone. Plants will also go dormant sooner outside and stop pushing out new leaves. Bringing them indoors essentially extends the growing season, so you can enjoy fresh herbs throughout the year if you provide enough light and warmth.
When to bring your herbs indoors
The best time to bring your herbs indoors during late fall or early winter is before the temperatures reach below freezing, so just as they hit the low to mid-30s. The colder it gets, the more likely it is for your plants to experience transplant shock when you bring them inside. Some herbs that can tolerate transplanting well include oregano, thyme, rosemary, and chives.
It’s easiest to bring perennial herbs inside during the winter. Annuals will likely die during late fall, so simply collect their seeds to grow new herbs before the last frost in the spring. If you notice surviving sprouts of your favorite annual plants, you can overwinter them indoors as well.

How to bring your herbs indoors
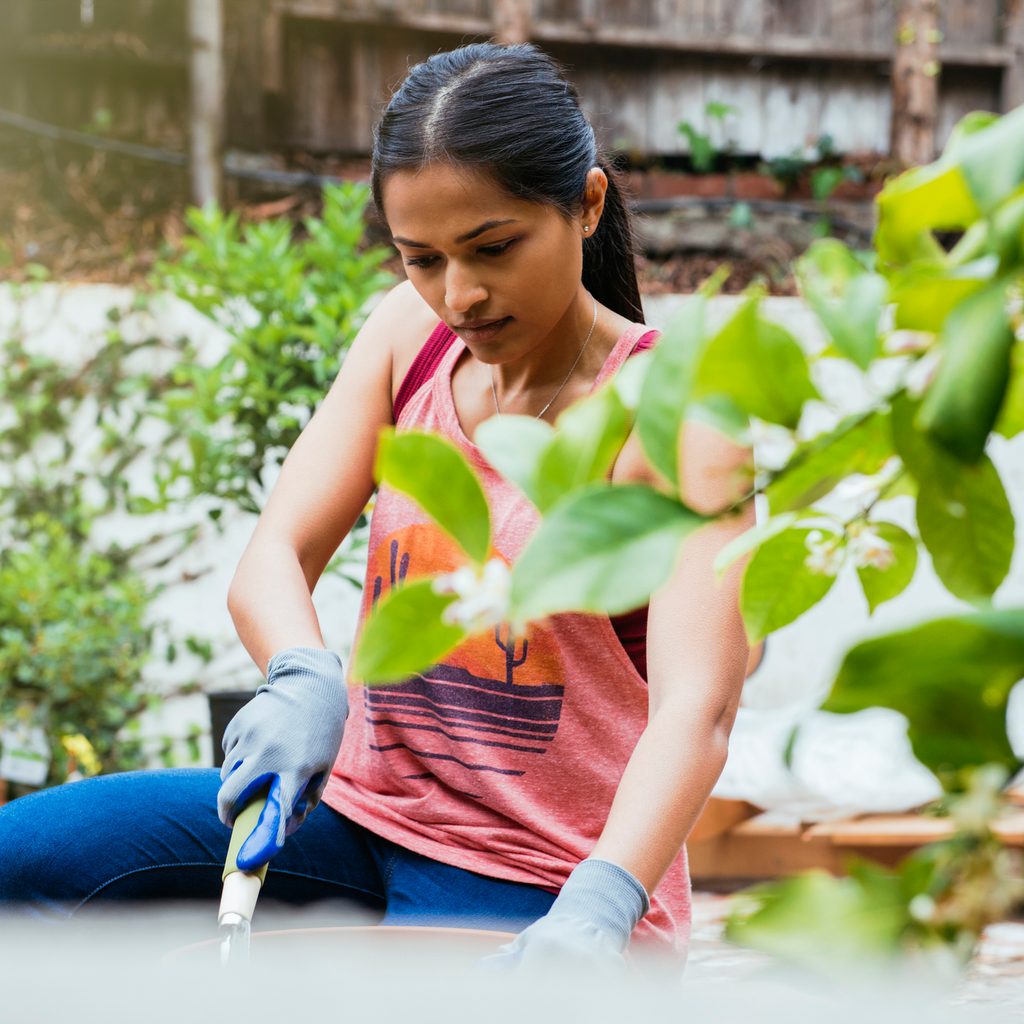
If you have your herbs in a small planter outside, you’re more or less good to go. Inspect the leaves for unwanted bugs, trim leggy branches, remove dead leaves, and bring your plant indoors. If you want to transport your herbs from a big planter or the ground, the process is more involved. Take a trowel and gently unearth your plants, making sure not to disrupt the roots too much — take parts of the surrounding soil if necessary. Place the herbs into containers that accommodate their root balls (with space to spare) and add a well-draining potting mix. You can leave your plants in shady spots or under a patio awning over a few days to help them adjust to being inside. Alternatively, bring your herbs in each night for one to two weeks before you keep them indoors permanently.
When your plants are inside, give them time to adjust — you may notice the occasional leaf turning yellow and dropping, but this is perfectly normal. If possible, give your plants at least six hours of direct sunlight a day. If your indoor conditions can’t accommodate that, bring in grow lights to supplement your natural lighting. During winter, there’s no need to feed your plants. You’ll want to cut back on watering your plants as well. Only give your herbs a drink when the top inch or two of the soil is dried out. When it comes to temperature, a 65 to 70 degree Fahrenheit range is ideal — if it’s comfortable for you, it should be comfortable for your herbs.
As a means of insurance, take cuttings of your newly transplanted herbs and root them in water. But don’t take too much of your herbs, as they may be recovering from the transplant shock of moving inside. If you notice your plants struggling, pinching them back can also stimulate new growth.
When to bring your herbs outdoors again
The best time to bring your herbs outdoors again, of course, is after the last frost around springtime. Again, you might want to slowly adjust your plants to outdoor conditions by bringing them out each morning or afternoon before you commit to bringing them outside permanently. Spring is also the ideal time to start seeds. You can start seeds indoors a few months before the last frost or wait for temperatures to warm up and plant them outdoors. It’s fine to grow herbs outside when the temperatures rise above the freezing point; just know that the higher the mercury goes in early spring, the more likely it is that your plants will survive.
You don’t need to yield to the idea of your herbs inevitably dying in the winter. At the very least, bringing your plants indoors will protect them from harsh winter freezes. With bright light and warm temperatures, you may even be lucky enough to collect harvests during this time of year as well.


