
Growing herbs from seeds during the spring around the last frost can be an extremely rewarding process. However, once the temperatures steadily climb during the summer, planting herbs can be trickier since germination is more difficult in hot weather. One of the quickest and easiest ways to grow herbs during the summer is by taking healthy cuttings from established plants. After two weeks in soil or water, most cuttings take root and start shooting out new leaves. Ahead, learn all about how propagating herbs work and which herbs grow best from cuttings.
How propagation works
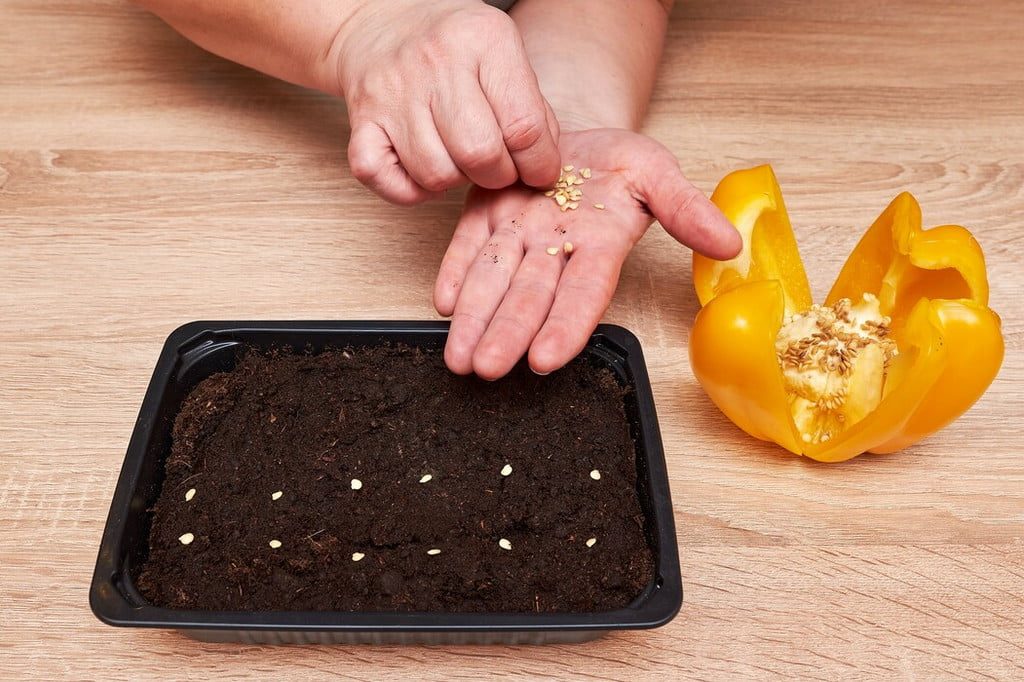
Seed propagation
There are two types of propagation: seed propagation and vegetative propagation. Seed propagation, or sexual propagation, is just what it sounds like — you basically start a new plant from seed. Through pollination and fertilization, you essentially have seeds that are genetically different from the parent plants.
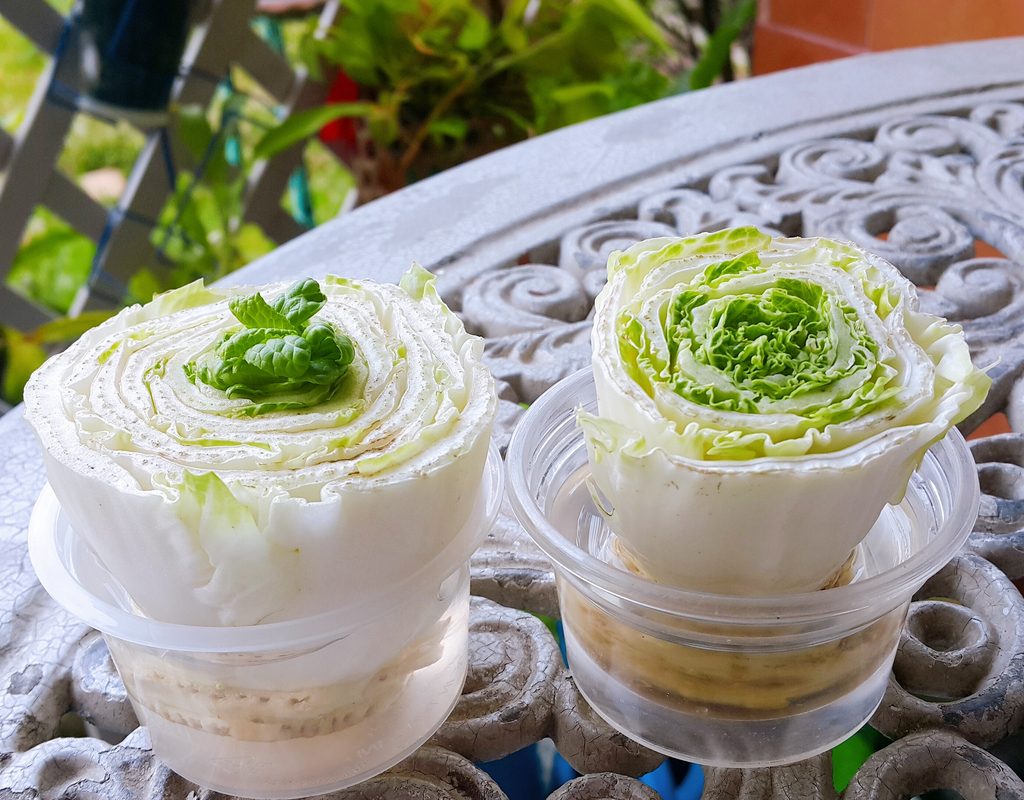
Vegetative propagation
Vegetative propagation is basically asexual propagation. It encompasses root division as well as growing plants by way of cuttings. Essentially, this produces a genetically identical plant to the parent plant. Creating a brand new plant through cuttings is often faster, easier, and lower maintenance. To regenerate a new plant, you can take stems, leaves, or roots of an established plant, depending on the species.
The most straightforward way to propagate a cutting is to take a stem with several leaves, pluck the lower leaves off, and place the plant in water or soil — a rooting hormone may help but isn’t usually necessary. As long as you keep the foliage dry, give your cutting bright light, and change the water weekly, your plant should root. Propagating herbs is incredibly easy and can be done in a sunny spot of your home. Plus, taking cuttings your original plants encourages them to grow back thicker and bushier!
Best herbs for propagating
Basil
As an annual, basil only lasts for one growing season. However, you can keep your basil supply steady by taking cuttings and you’ll be set for all of your pizza and pasta recipes! Grab a cutting four to six inches long, then pick off the lower leaves and place the stem in water, preferably filtered water for the best results. After two weeks, your plant should be ready for soil, although you can also directly place your basil cutting into soil! If you’re going for the direct-to-soil method, give your cutting plenty of humidity, whether it’s with a humidifier or by way of placing a wet plastic bag or cloche over your container.
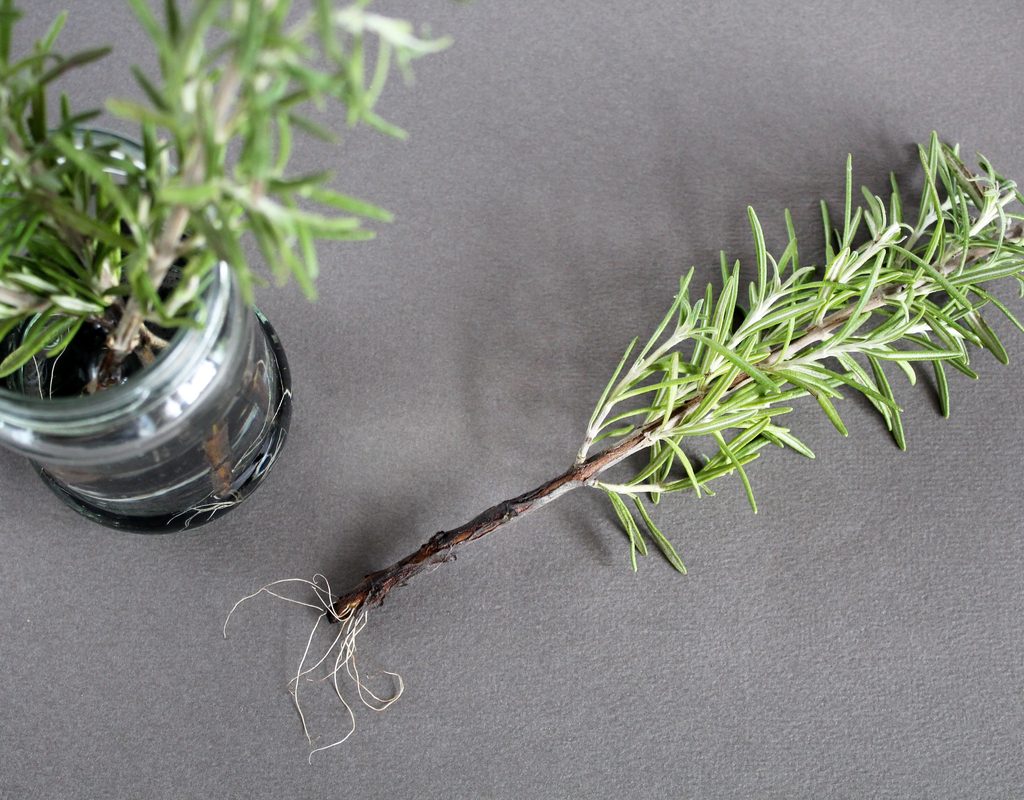
Rosemary
Whether you’re stuffing it inside a roasted chicken or adding it to your sauces, rosemary is one of the most versatile kitchen herbs. The great news is, it’s pretty easy to propagate! Clip off four-inch cuttings of relatively healthy new growth, and strip off the leaves from the lower third of your cutting. Place your cuttings in water or directly into moist, well-draining soil. If you’re going with the second route, make sure to keep the soil constantly wet but never soggy. After your plant takes roots in roughly 10 to 14 days, you can allow the soil to dry out slightly before you water.
Mint
Grow mint during the spring or early summer to freshen up your salads and cocktails throughout the warm-weather season. To take a mint cutting, snip a four-inch stem from a mint plant and pick off two to three lower leaves. Place your cutting in water and wait for roots to appear before transplanting your cutting into soil. In two weeks, roots should appear. You can also put the unrooted nodes directly into a planter, as long as you consistently water the soil before the cutting establishes roots.
Green onion
Green onions are some of the easiest plants to propagate. All you have to do is grab a bundle on your next grocery trip, cut off the green part for garnishing your food, then place the white root end down into a jar of water and set it by a windowsill. In weeks, the green part should grow back! To keep your plant alive for longer, place it in soil once the leaves reach four to five inches so it can receive nutrients. If you solely keep it in water, it will eventually weaken and die.
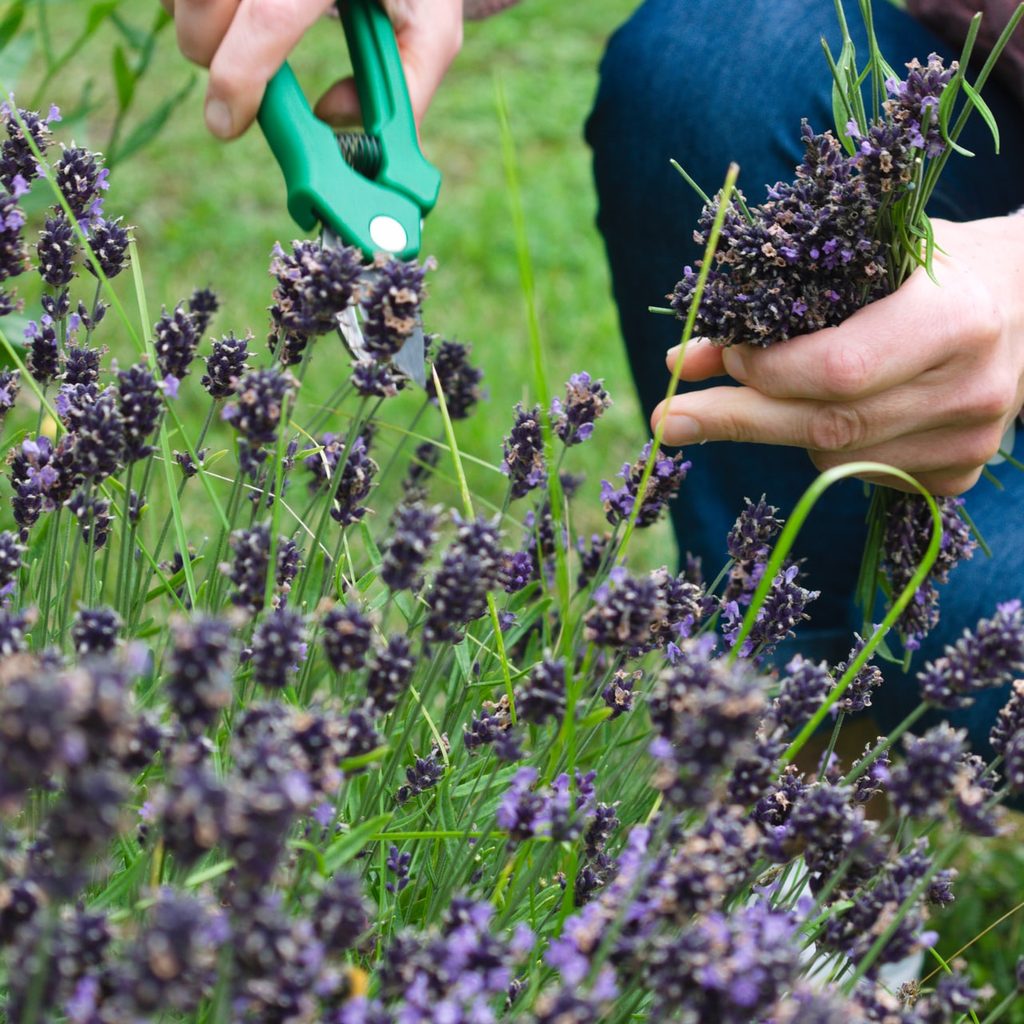
Lavender
Keep calm and carry on with lavender! With lavender, you can take softwood cuttings or hardwood cuttings. A softwood cutting is when you take the soft, pliable tips of new growth, while a hardwood cutting is when you snip off the woody part of the plant. Softwood cuttings may root faster, but hardwood cuttings may survive longer. Either way, use a sterile pair of scissors to cut off four-inch flowerless stems. Remove leaves from the bottom two inches and scrape off the skin from one side. Then, place your cuttings in well-draining soil and water it when it dries out. Lavender appreciates extra humidity, so put a cloche or plastic bag over your cuttings to mimic a greenhouse environment.
Growing herbs from cuttings is a great way to get delicious herbs quickly and easily. Plus, you’ll save money — once you get the hang of propagating, you’ll cut back on trips to your garden center for seeds and visits to your grocery store for fresh produce. Whether you’re taking cuttings from basil or lavender, all you need for successful propagation is a healthy stem, bright light, and clean water for developing strong roots!


