
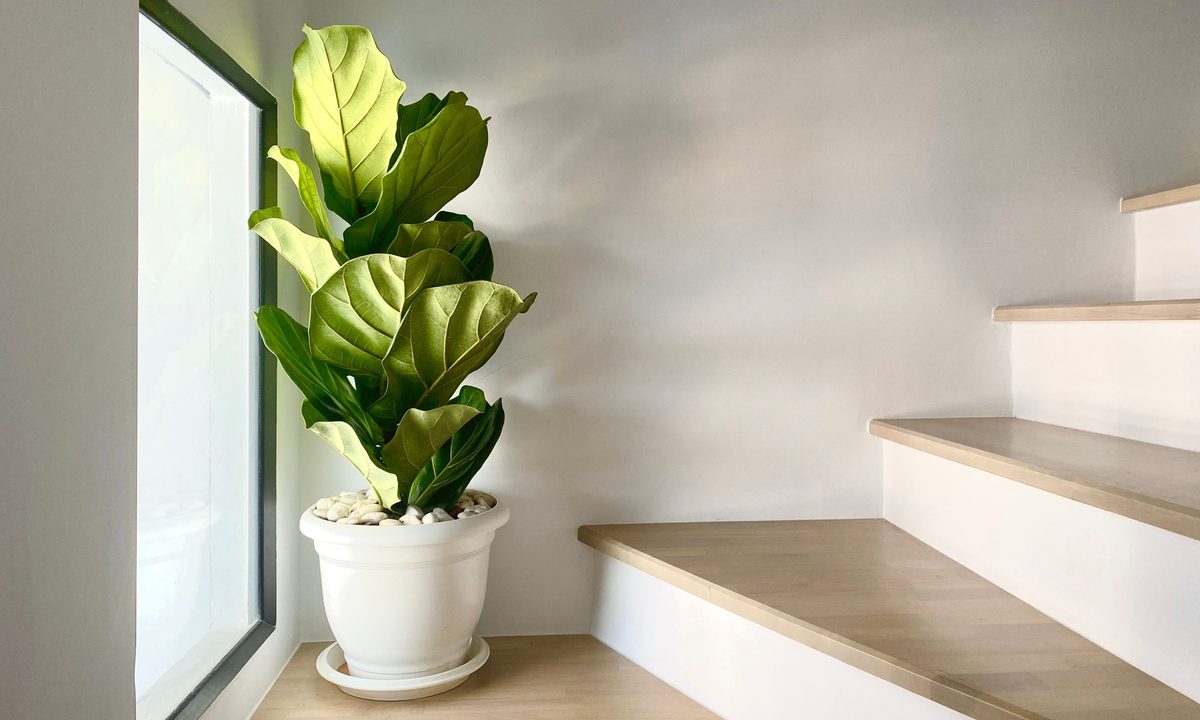
Fiddle-leaf figs are beautiful little trees that make excellent houseplants. They are easy to care for in the right conditions, and they are a great way to bring a little nature into your home. While they aren't difficult to care for, fiddle-leaf figs are prone to developing brown spots on their leaves. This can be concerning and frustrating for new plant owners, but luckily most of the causes are easy to treat! Here's what you need to know about treating brown spots on fiddle-leaf fig plants.
How to identify and treat root rot
Fiddle-leaf figs need well-draining soil, as they are prone to root rot. Root rot is a fungal infection that causes the roots of a plant to turn brown and rot, leading to a weak plant. The fungus that causes root rot thrives in wet soil. Fiddle-leaf fig brown spots caused by root rot will be dark brown or black. Typically, the spots start at the base or edges of the leaves and spread inward. The leaves will also fall off of the plant. The spots are first visible on the lower leaves, then spread upward.
Step 1: Check that the pot you planted your fiddle-leaf fig in has proper drainage holes.
Step 2: Make sure the drainage holes are clear and not blocked by any debris.
If the drainage holes are clear, then the issue may be overwatering, or your fiddle-leaf fig may be planted in the wrong type of soil. If your plant only has a few small spots, it may be suffering from overwatering but not yet total root rot.
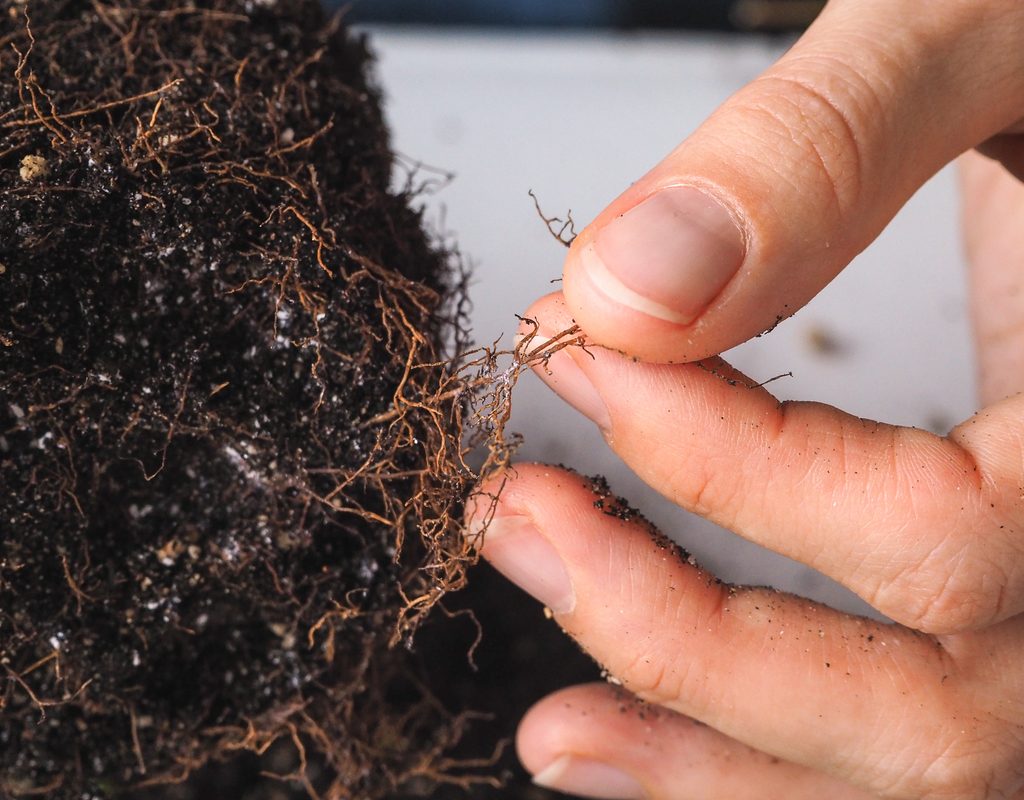
Step 3: Check for root rot by gently remove your plant from the pot.
Roots that are brown, soft, or slimy have root rot.
Step 4: Remove as much soil as possible from the roots and trim away any rotting roots.
Step 5: Repot the plant in clean, dry, well-draining soil.
Step 6: Remove any leaves with heavy spotting, as the existing spots will not go away.

How to identify and treat underwatering
Some gardeners may overcorrect when trying to fix an overwatering issue, leading to an underwatered fiddle-leaf fig. The simple solution is to water your fiddle-leaf fig. Although this won’t repair the spots that have already formed, it will stop them from spreading.
Step 1: Look for brown spots that are a lighter brown than those caused by root rot.
They often appear dry and may crinkle or crumble when touched or bent. These spots usually start at the outer edges and spread inward. The leaves may also wilt, especially in hot weather.
Step 2: Thoroughly soak the plant every one to two weeks. or when the top few inches of the soil are dry.
Although your plant my still look thirsty after the first soak, avoid watering it more frequently than every one to two weeks. Overwatering your fiddle-leaf fig will only cause more problems.
Step 3: Remove any leaves that are severely affected.
Leaves that only have a few spots may survive and can be left alone.

How to identify and treat sun damage
Brown spots from sun damage, also called sunburn, sun scorch, or leaf scorch, can look quite a bit like brown spots from underwatering. They are light brown, although they may not be as dry and crumbly as spots from underwatering. Some sunburns can look white or have red or yellow tints to them. Sunburns usually occur on the tops of leaves and can encompass large, irregularly shaped sections of the leaf.
Too much direct sunlight can cause sun damage. This issue is more common in the summer, or it can happen if the plant is near a reflective surface that may amplify the sunlight. Once a leaf has been burned, it won’t return to its previous green color.
Step 1: Move the fiddle-leaf fig out of the sunlight or away from the reflective surface causing the damage to avoid future burns.
Step 2: Remove severely burned leaves from the plant, as they will not recover.
Leaves that have minor damage can be left on the plant. Although the damage won't heal, the leaf is likely to survive.

How to identify and treat edema
Edema is easy to recognize, as it looks quite different from other brown spots. Edema is characterized by small reddish-brown spots across the entire leaf. It’s especially common in young leaves, but it can persist once the leaf matures. The spots occur when plant cells absorb too much water and pop.
Although this sounds serious, it’s usually harmless, and the spots will go away as the leaf matures. Edema may be a sign that your fiddle-leaf fig is slightly overwatered or your watering schedule is too irregular.
Step 1: Keep an eye on mild edema in young leaves.
Mild edema that only occurs in young leaves will likely clear up on its own, but watch it to be sure it does not continue.
Step 2: Adjust your watering schedule to once every week to two weeks and be as consistent as possible if the edema appears on adult leaves.
Consistency is key in preventing and treating edema.

How to identify and treat pests
No one wants to deal with pests on an already finicky fiddle-leaf fig, but pests are usually an inevitable part of indoor gardening. Thankfully, fiddles aren't particularly prone to pests, but they may still encounter these pesky critters from time to time. The two biggest culprits are scale and spider mites. They usually leave small holes and brown spots on the leaves, and a good pest treatment will usually help manage them.
Step 1: Along with small holes and brown spots, check your leaves for any sticky residue or webbing. You want to look at both the top and underside areas of your leaves.
Scale is usually sticky to the touch, while spider mites leave webs and stippling marks. These pests are small, so you may need to use a magnifying glass.
Step 2: Remove as much of the pests as you possibly can.
Step 3: Apply a neem oil or insecticidal soap solution, following the directions on your product.
Step 4: To prevent future outbreaks, regularly inspect your fiddle-leaf fig and keep it healthy with ample humidity, consistent watering, and bright indirect light.

Can brown spots on fiddle-leaf figs heal on their own?
Unfortunately, most brown spots on fiddle-leaf figs won't go away on their own and will need some form of treatment on your part. This might mean adjusting your watering schedules, moving your fiddle-leaf fig to a new location, or even repotting it.
The exception to this is new plants that are still adjusting to your home. When you first bring a fiddle-leaf fig home, the change in environment can be stressful, leading to mild spotting. As your plant settles into its new routine, the spots should stop appearing.
Using this handy guide to identify the cause of your fiddle-leaf fig’s brown spots, you can determine what you need to do to help your plant recover. Identifying brown spots early can be the key to averting disaster, especially if root rot is causing the spots. However, not every brown spot is something to worry about. Identifying the cause of the spots is important, and thankfully, the remedy is usually simple. Acting quickly can ensure that your plant stays healthy for a long time to come.


