
Vegetables are one of the nicest things to grow indoors. They smell good, they look great, and they give you the option of having fresh veggies year-round. Peas are one of the best veggies you’ll ever grow — they have a variety of different uses, from cooking as a side to using fresh in salads. Although this is a more generic guide for how to grow peas indoors, you’ll find knowing how to grow sugar snap peas indoors won’t be too different (as long as you follow the directions on the seed pack).
Start with the seeds
You can grow any variety of peas indoors, but you may have better luck with a dwarf variety or sugar snap peas that are better suited for indoor growth. They won’t take up as much space, which can be helpful for container growing and areas that don’t have as much vertical growing room.
To start your indoor peas, put several seeds in each pot to increase chances of viable seedlings. Your pot should be at least four inches tall, have good drainage, and be filled with a potting mix that’s designed for vegetables. If you have space, you can opt for a larger pot so that you won’t have to do as much transplanting down the road. Keep in mind that every seed type is different, so you’ll want to plant them at the depth recommended on the individual seed packs.
As your pea seedlings begin to grow, you can start to remove weaker ones to give your strongest sprout as much energy as possible. The fewer there are in the pot as they grow bigger, the less they’ll have to fight for resources (nutrients, water, light, etc.).
Give them proper growing conditions
Keep them in a bright spot in your home that receives six to eight direct hours of sunlight a day. If you don’t have a spot like that, you can purchase grow lights to recreate outdoor lighting, but keep in mind that you may need different grow lights for different stages of the plant’s life. If you’re growing different varieties of peas, make sure that you keep track of which pot contains which variety. They may have different care needs, so keeping them separate will help prevent you from providing improper growing conditions.
Dampen the soil right after watering, and then continue to water gently until your pea seedlings have blooming flowers. Around this time, you should also begin to see pods growing. Once that happens, you can soak the soil twice a week (just enough to see water coming out the bottom into the drip tray, which is why it’s important your pot has good drainage).
When you’re learning how to grow peas indoors, don’t give up if you make a mistake! Growing anything from seed is a bit more difficult, and you won’t know beforehand how many of the seeds will be viable. Just do the best you can, and you’ll be rewarded for your work.
Will your peas pollinate indoors?
Pea plants are self-pollinating, meaning they don’t rely on things like bees, other insects, or weather to help them along. Self-pollination occurs within the plant’s flowers when pollen from the anthers drops on the stigma, which happens when the blooms close at night. This makes them a quite manageable indoor vegetable, as you won’t have to worry about placing them outside on warmer days in the hopes that they’ll be pollinated.
Help them stay upright and grow strong
As the peas begin to grow bigger, they’ll need a little help staying upright. As soon as they’re around four inches tall, you can provide them with supports (or set the supports up beforehand!) and start teaching the plants how to wrap around them. This can be done by gently nudging them around an edge of the wire of trellis. Once plants are around six inches, you’ll want to snip off the very ends of the stem so that horizontal shoots will begin to grow and wrap more around the provided supports.
Harvesting your pea pods
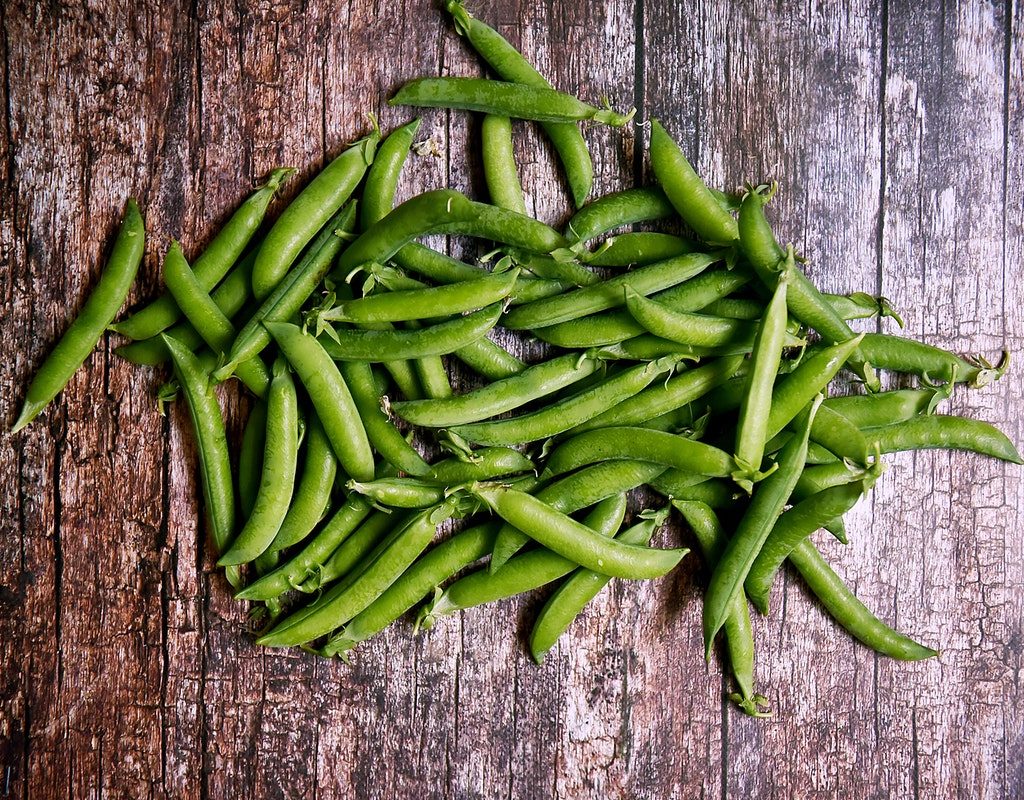
You’ll know it’s time to pluck your peas when they have a deep green color and are fairly firm. Some varieties, like sugar snap peas, will be smooth on the outside and won’t show signs of peas inside right away. You’ll want to harvest them as soon as they have the best color and are smooth because otherwise, the smooth varieties won’t taste as good by the time you can see the peas.
Once they’re ready, you can start to harvest. If you pick them as soon as they’ve matured enough, you have a higher chance of encouraging new peas and pods to grow. An added benefit of growing peas indoors is that you can snip off the shoots whenever you want and use them fresh in a salad or other recipes.
The whole process may take some trial and error, and it’s possible your first year growing them won’t yield much harvest. But keep at it! The more you learn, the better you’ll be able to provide them with the right growing environment, and the more peas you’ll have at harvest time.


