
Drying herbs at home is one of the best ways to make use of your bountiful herb harvest. It’s a simple undertaking that doesn’t require too many high-end gadgets — in fact, you can go about it many different ways with tools that are probably already inside of your kitchen. Ahead, we go over how you can dry your herbs in addition to how to store and use them.
Why dry herbs from your harvest
So why dry herbs at home? On a practical level, you may have a big harvest of herbs, which tend to grow prolifically during spring and summer. Since you need to prune herbs to keep them from getting leggy, you may have more than you know what to do with. On a personal level, you may prefer the herbs from your own garden to store-bought offerings. Luckily, drying herbs is easy. So how do you plan the process of drying them? When you’re thinking of when to harvest your herbs, the best time is usually right before they flower during the growing season. This window frame is when your herbs will be the most robust and flavorful.

Ways to dry your herbs
There are a few different ways to go about drying your herbs. Here’s a rundown of how to execute each method for delicious results.
Microwave your herbs
Using the microwave is the easiest way to go about preserving your herbs. All it takes is lining your herbs on a paper towel on a plate. Heat your herbs in the microwave at 30-second intervals for about two or three minutes, or until they look dry and crisp. Keep this in mind: Microwaving your herbs is definitely the fastest way to dry them, but you may not get as much wanted flavor from this method.
Place your herbs in the oven or dehydrator
The oven-drying method is slow, but it can be better for the texture, flavor, and nutritional value of your herbs. First, place your herbs in a single layer on a cookie sheet in a baking pan. Pop them in your oven for about two hours, using the lowest temperature possible — try not to go above 180 degrees Fahrenheit. Setting your temperature too high can cause your herbs to burn, so be sure to check them periodically when baking them. A similar alternative to the oven is a dehydrator. Most dehydrators have an “herb” setting, but you can also set yours to the lowest temperature possible and leave it on for a few hours until your herbs look dry and brittle.
Air dry your herbs
With the air-drying method, lay your herbs in a single layer on a drying rack or tie them with string and hang them upside down from an overhang. Air drying herbs is the most traditional way to preserve them, and it’ll also give you that rustic cottagecore ambiance. But as opposed to taking a few minutes or hours, air drying your herbs can take about one or two weeks. With this technique, you want to give your herbs sufficient air circulation and warm temperatures, periodically checking for signs of sunburn or mold.
How to choose herbs for drying
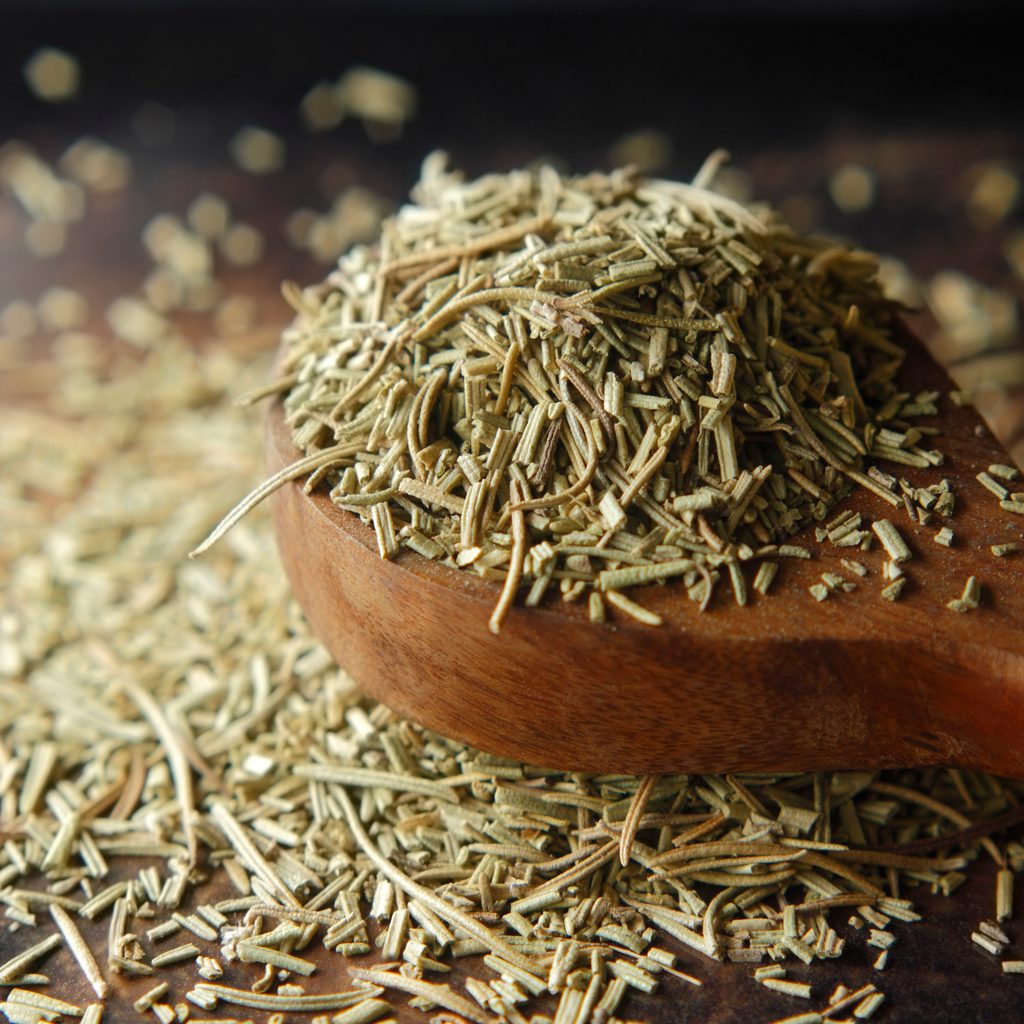
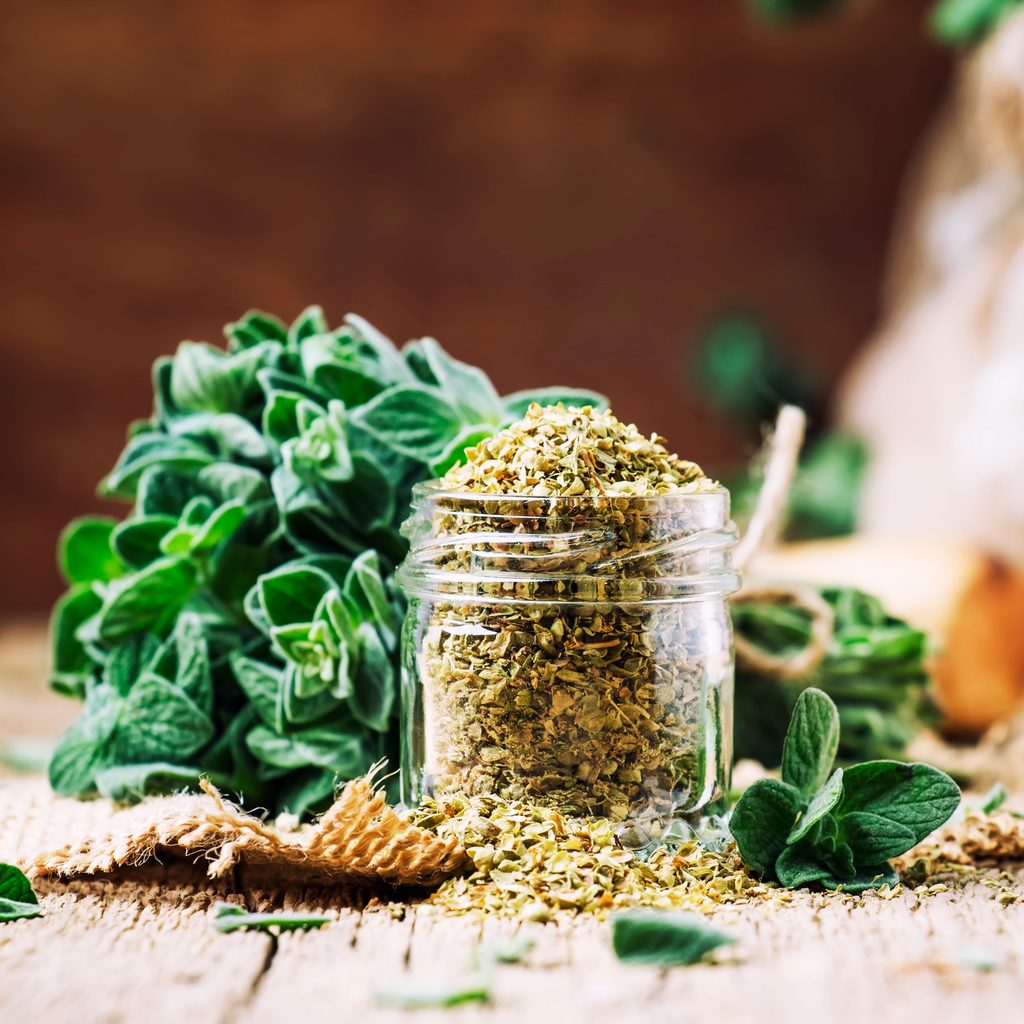
When drying your own herbs at home, the best plants to use are woodier ones, such as rosemary, thyme, and oregano. Plants with higher moisture content, such as parsley or basil, may be harder to preserve and may not retain their flavor as well when dried. If you want to try drying these herbs, stick to using an oven or dehydrator instead of zapping them in the microwave or letting them air dry. That said, these tender herbs, for the most part, will taste best when you freeze them.
How to store dried herbs
After cooling them, store your herbs in airtight containers — suitable vessels include lidded plastic containers, glass canning jars, and sealed freezer bags. Make sure to label the containers with your herb names to know what you’re working with when cooking. It also helps to jot down the date; herbs should be good for a year after you dry them.
How to use dried herbs
When it comes to using your dried herbs, the possibilities are limitless. Sprinkle them into your meat dishes, porridges, omelets, and more. Really, you can use them to spice up any savory meal where you’d bring in fresh herbs; this way, you’ll save a couple minutes of washing and chopping. To get the most out of your dried herbs, use them while you’re cooking as opposed to sprinkling them on at the very end. Rubbing and crushing your dried herbs while cooking will also release their remaining oils and maximize their flavors.
One of the easiest ways to use up your growing season herbs is to dry them for future use. It’ll likely be more delicious than the store-bought stuff, and it won’t require too much effort on your part. You won’t have to invest in too many gadgets and gizmos to dry your herbs, either; chances are you probably have everything you need in your kitchen. Whether you’re using a microwave, oven, dehydrator, or plain old air, drying herbs is a straightforward process with tasty results!


