

While orchids are one of the most common houseplants out there, maintaining them can be a tricky endeavor. Caring for your orchid starts the moment you bring it into your home and find a suitable planter for it. But how exactly do you pick an orchid pot, and why do orchid pots have holes? To help you navigate the ins and outs of orchid planters, we’ve compiled this guide on picking out the perfect orchid pot.
Why are orchid pots special?
When you’re looking into pots for your orchids, you might notice these special planters tend to look a bit different from your typical houseplant pot with bottom drainage holes. Orchid pots are often clear and have slits and holes on the side, but why is that so? In nature, orchids are actually epiphytic, which means they grow on trees instead of being grounded by soil. That’s to say, they naturally grow with lots of air around their roots. Orchid roots also generally contain more chlorophyll and provide energy for the plant through photosynthesis.
Because of how orchids naturally grow, planters for them tend to look a little different. Clear pots allow more light to reach orchids’ roots, as they’re typically exposed in their native habitats. The holes and slits in orchid planters also bring more ventilation around the roots to help them breathe.

Orchid pot materials
With so many different types of orchid pots available, you may wonder which is the best for your plant. Usually, you can make any orchid planter work for you as long as you keep in mind your specific orchid’s needs and your external environment. Here are the differences between common orchid planter materials.
Plastic: Plastic is a fairly common orchid pot material, and you’ll usually find that it features holes or ventilation slits on the side to maximize air circulation around your orchid roots — these are sometimes called mesh or net pots, like the kinds used in soilless hydroponic gardening. Often, these go into plastic or clay cachepots. If this is the case, you want to make sure the plastic pot isn’t kept tightly in the glazed pot, or else your roots may suffocate.
Clay (unglazed or glazed): Unfinished clay is another popular orchid pot material, as it is forgiving with overwatering — if you don’t enjoy how orchids look in clear containers, clay can be an appealing option. Plus, terracotta can be cooling for orchid roots if you live in a warm climate. While a glazed clay pot isn’t as porous, it can anchor your orchid better than a lightweight plastic one and is easier to clean than an unfinished clay planter. A glazed clay pot can work as a cachepot for an orchid in a mesh pot, but you can also place an orchid directly into a glazed pot with ventilation slits on its side.
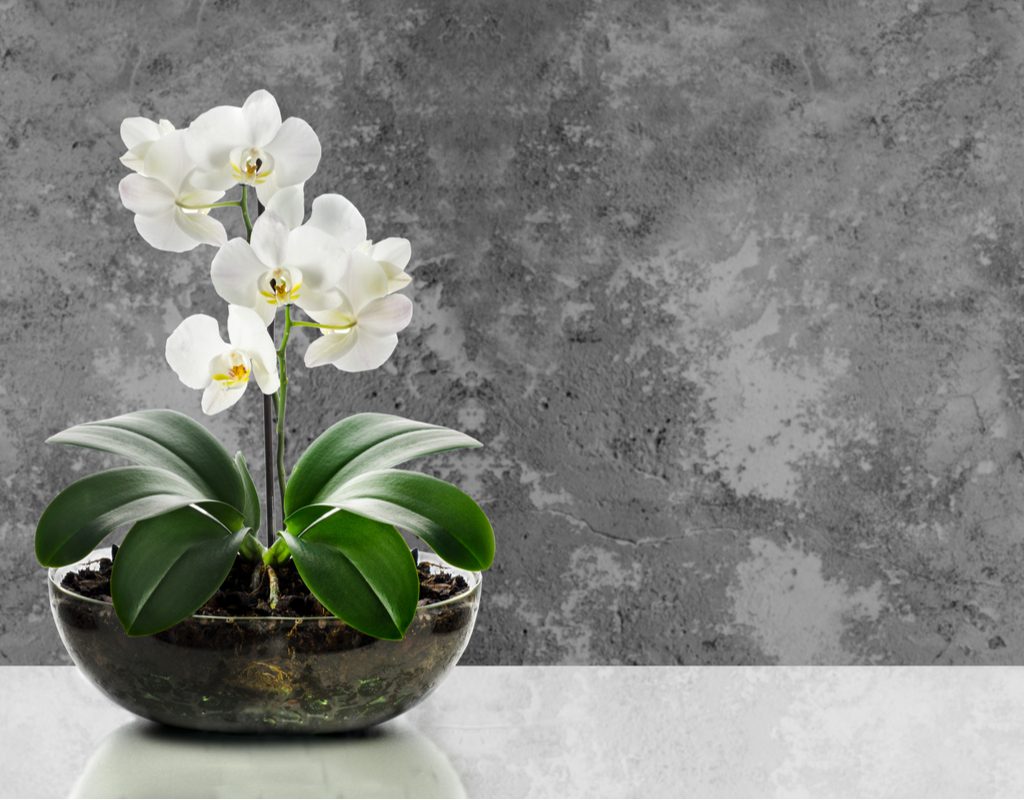
Glass: Because it is clear, glass can also be great for orchid roots to photosynthesize. With a glass container, you want to make sure you have your orchid in a shallow, wide bowl or a planter with plenty of ventilation so the roots don’t suffocate. If you don’t have drainage holes, consider using LECA balls to wick away excess moisture.
Wood: Occasionally, you may find orchids growing in wooden baskets or crates with open slats for their roots to easily pass through. If you like wood, choose a rot-resistant hardwood to ensure the integrity of your planter over time.
Other considerations
Size: Most new orchids from the store will do well in a planter that’s 6 inches wide and deep. In general, you want to look for a planter that’s slightly larger than your plant’s root ball. Orchids do well when they’re slightly snug inside a pot. If your pot is too big, the growing medium may deliver too much water to your orchid’s roots. If your pot is too tight, your roots may not get enough air around them.
Color: Color may not be at the top of your mind when you’re picking out orchid pots, but it can make a difference. If you live in a hot climate zone, you may want to opt for a pot in a light color so it won’t absorb as much heat and harm your orchid.
How to pot an orchid
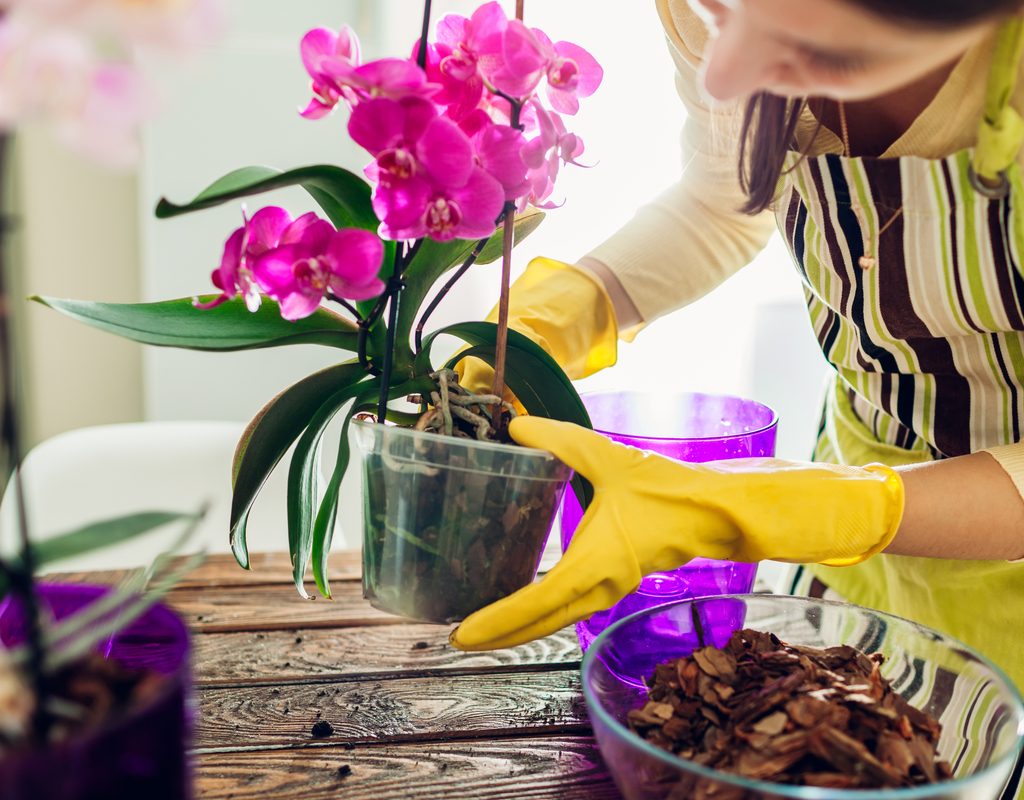
Once you bring home an orchid, it’s ideal to repot it as soon as possible, especially if the blooms are on their way out. Most orchids are packed into sphagnum moss, which may retain too much water and cause root rot. You’ll want to remove the moss and repot your plant in an appropriately sized planter that’s filled with a fresh, well-draining growing medium. Here’s how to go about it.
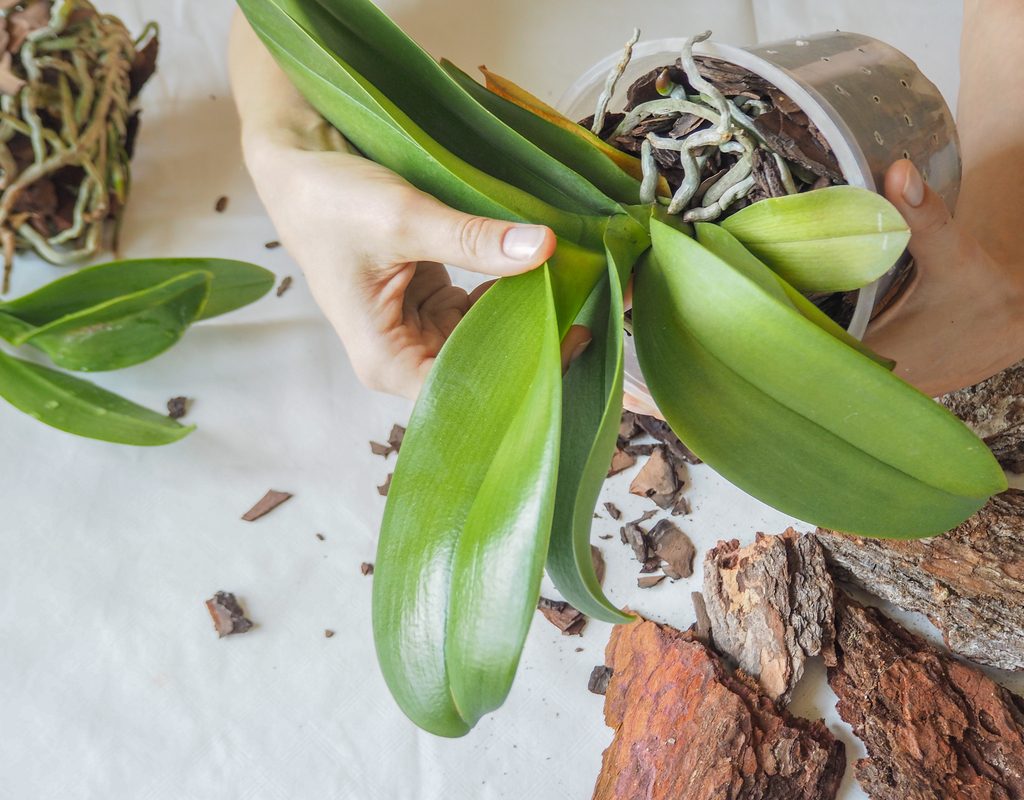
Step 1: Start with an orchid that’s relatively dry and remove the moss from your new orchid’s roots.
Step 2: Cut off any damaged or rotted roots as needed.
Step 3: Situate your orchid into your pot of choice.
Step 4: Add a medium, such as orchid bark, to anchor your plant. You can also mix the bark with perlite, which provides aeration, and sphagnum moss, which helps with water retention — avoid using too much moss.
Step 5: To prevent your orchid from being too top heavy, cut the stems and spikes down to the leaves, especially if your blooms are on their way out.
Step 6: Water your orchid.

How to create your own orchid pot
Creating your own orchid pot can actually be quite easy, and you can reuse plastic containers that you have lying around. While you could DIY an orchid pot from wood or glass, we’ll go over how to make one from plastic.
Step 1: Pick a plastic container and make sure it fits your orchid’s root ball. You can choose from cups, takeout bowls, or nursery pots — the more flexible the plastic is, the easier it will be to alter.
Step 2: Carefully create ventilation holes around your container using a heated nail, hot glue gun, or soldering iron. A few holes on each side should suffice, but you can create as many as you want.
Step 3: If your container doesn't have bottom drainage holes, create a few holes at the bottom — around four or five should be enough, but you can create more.
Step 4: Place your container over a saucer, which can be any object, such as a lid or a dish.
Step 5: Situate your orchid into your container and fill the sides with a growing medium.
Growing a healthy orchid can be a daunting endeavor, but it all starts with the simple task of choosing a suitable planter. You'll have a bevy of options to choose from, whether you prefer plastic, terracotta, or something else. If you're feeling creative, you can even DIY your own orchid container. With a few simple steps, you'll have a snug and suitable home for your stunning orchid plant.


