
These popular houseplants are grown for their arching stems and unique blooms; however, they aren’t always as easy to repot as pothos or spider plants. They require a specific type of potting mix (or a hydroponic setup!) and certain conditions to allow their roots to get the oxygen they need to thrive. Because of the way their roots grow, you can’t always look for the usual indicators (roots growing out the drainage hole, for example) that tell you when it’s time to repot. So, let’s go over how to repot an orchid so that it’s happy, healthy, and can continue thriving in your home.
When should you repot orchids?
In the right conditions, orchids are pretty easy to grow. Chances are if one is in your home and doing well, there will come a time where you’ll need to repot it so that it can continue growing strong. But when is the right time? Orchids can be repotted at almost any time of year; however, you want to avoid doing so when they’re actively flowering. Because a lot of energy and nutrients are going towards the blooms, the plant will have a harder time recovering from the stress than it would when flowers aren’t present. For best results, repot after the blooms are spent and you’ve removed the dying flower spike.
Signs your orchid is ready for repotting
There are two main ways to tell your orchid is ready for repotting:
- It’s growing out of the container. Although orchid roots will grow and cling to the pot to anchor the plant, the orchid shouldn’t be outgrowing the space. If you see a lot of roots growing out the top and between other spaces of the container, it’s time to give your plant some more space.
- The potting mix is breaking down. Because orchids grow in a potting mix with a lot of chunky material, you’ll notice that it won’t drain well over time as that material breaks down. If you see the water isn’t draining as well as it used to, it’s time to repot and change out the potting mix.
How do you repot an indoor orchid?
To repot an orchid, you want to make sure the pot you choose is an inch or two bigger than the one it’s currently in (and no more). If you want, you can buy an orchid-specific planter that has holes all around to help increase the amount of oxygen the roots get; however, a regular terracotta pot will work just fine. Once you have your pot and your potting mix, follow these steps:
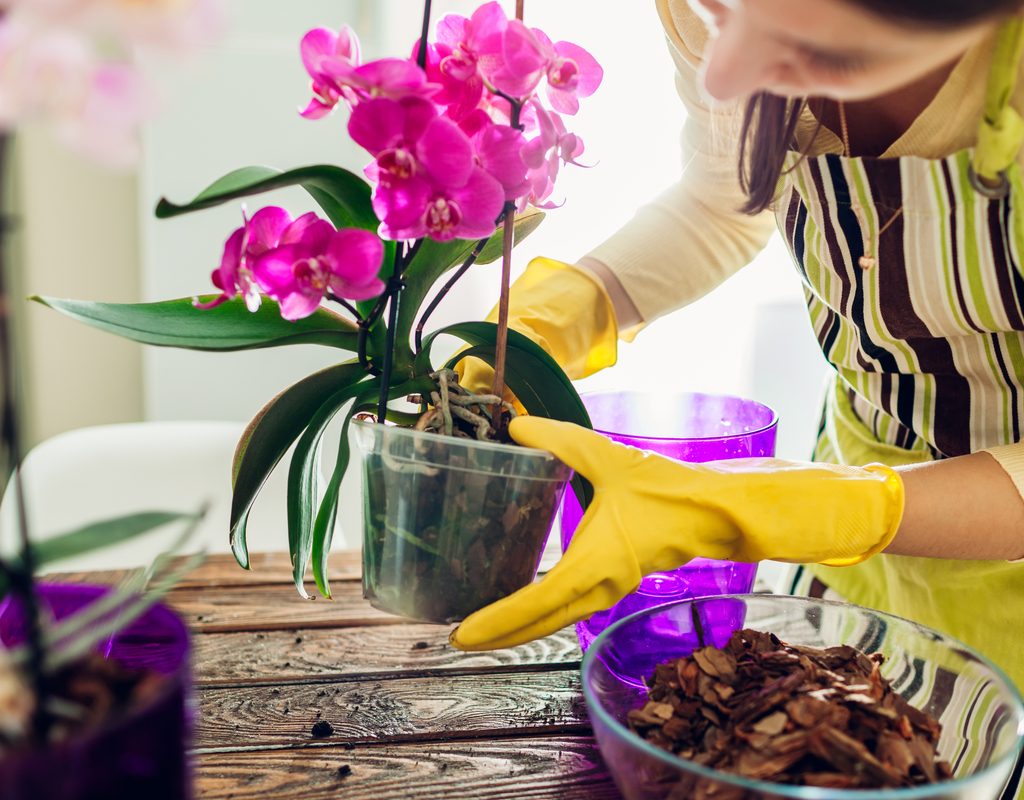
- Gently remove the orchid from its current pot, cleaning off as much of the old mix as you can from the roots.
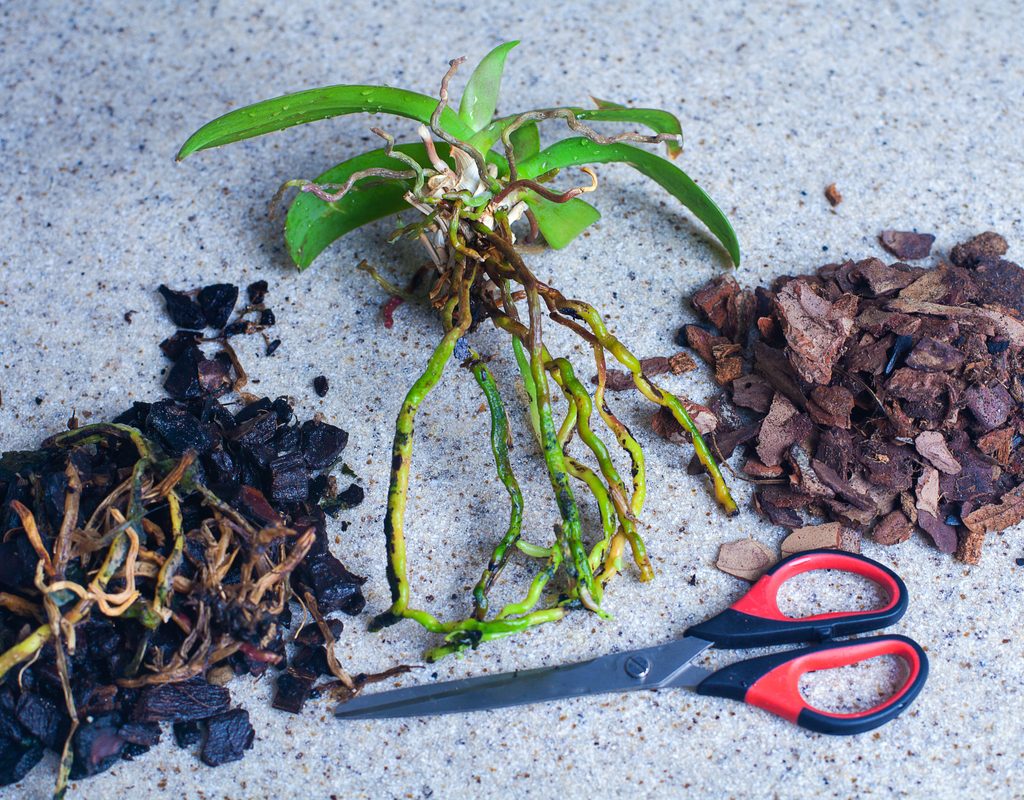
- Inspect the roots to see if they’re healthy. If any are shriveled, brown, or rotting, use sterilized pruning shears or other sharp tools to remove them.
- Fill the bottom of the pot with your orchid mixture, then set the plant on top. Lightly fill in the areas around the roots with the potting medium, but make sure not to pack it down — remember, orchids love oxygen.
- Once the orchid is happily repotted, place it back in its original location. If you need a new spot for it, an east-facing window with some morning sun is preferable.
Be sure that no matter which pot you choose, there are drainage holes and a tray to catch excess water. This can be an old terracotta tray from a different planter, or you can go so far as to get a tray, fill it with pebbles, and set the orchid on top so that the excess water also helps increase the humidity around the plant.
Can I repot an orchid in regular potting soil?
You could; however, your orchid will be much happier and last much longer if you buy an orchid-specific potting mix. Because orchid roots love oxygen, they need a specific growing environment to be able to thrive. Orchid mixes often have chunkier bits of growing medium in them (allowing for more air to move between the spaces of the soil) as opposed to regular potting mix, which is very fine. If you have an anthurium growing in your home, it will be a similar mix to the one you used for that.
Things to keep in mind when repotting an orchid
Orchids are very sensitive to bacteria. Some of the most common fungal and bacterial infections happen during the repotting process because of unclean tools, hands, or pots. To help counter this, make sure you thoroughly wash and dry the new pot before you start repotting your orchid. You’ll also want to sterilize the tools you’ll be using (whether it’s the set of pruning shears you have to cut off any dead or dying roots or even the little trowel you’re using to help fill the pot). Then wash your hands with soap and water, and dry thoroughly.
After you’ve done all that, you’re ready to relocate your orchid to its new home! Cleaning everything, using the right potting mix, and taking care not to pack down the soil will help set your orchid up to be as happy and healthy as possible.


