
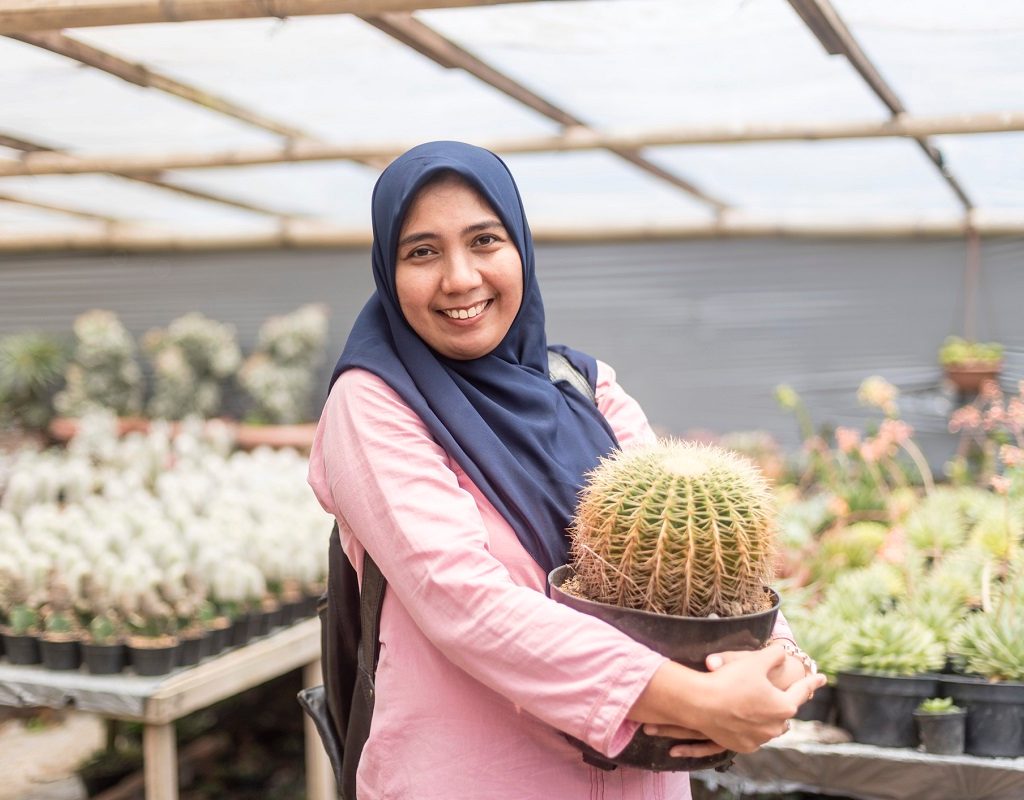
As far as houseplants are concerned, cacti are some of the best ones to have around. There are so many varieties, shapes, sizes, and colors, and they’re perfect for beginners and experts alike! Cacti are generally low-maintenance plants; however, when it comes to repotting, it’s important that you do so tactfully and carefully. Knowing how to repot a cactus properly is essential to prevent harm coming to you or your plant.
Why you should repot your cactus
It’s important to repot a cactus for the same reason you need to repot the rest of your houseplants: It gives them room to grow bigger and healthier and replenishes the nutrients in the soil. On average, you’ll find yourself repotting a cactus every two to four years for a mature plant, and potentially every year or two for one that’s still growing.
How to tell when a cactus is ready for repotting
The best time to repot your cactus is during the active growing season as that’s when it’s healthiest. You’ll know your cactus is ready for a new home when the roots start to poke through the drainage hole at the bottom (drainage holes are especially important here). The two to four year timeline is simply a ballpark with a lot of factors, such as how often and how much you fertilize, how old the cactus is, and if it’s a fast- or slow-growing variety. For example, more fertilization means the soil will last closer to four years as far as nutrients go, but if the cactus grows fast, you may find yourself repotting sooner. When considering how to repot a cactus, it’s important to be mindful of every variable.
How to safely repot your cactus
Repotting cacti isn’t the same as repotting most other plants, simply due to the fact that they have spines that act as protection. Although you aren’t there to harm it, the spines will still hurt you if proper precautions aren’t taken. These include using gardening gloves made of thick canvas or leather—the spines will penetrate fabric gloves, so you should avoid those—and gently using metal tongs.
Things you’ll need to get started
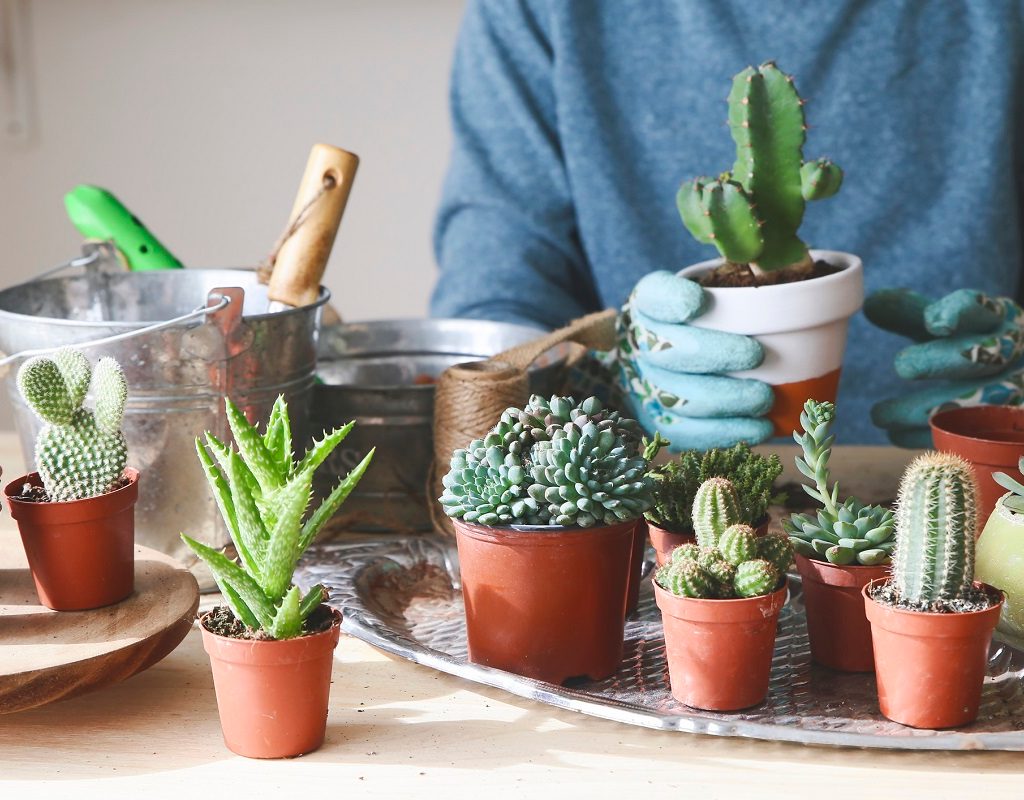
There are a few things you’ll need for the process: protective gloves, tongs, newspaper, cacti/succulent potting mix, and a new container.
Using a succulent/cacti potting mix as opposed to a standard indoor plant mix helps ensure that the cactus will get the specific nutrients it needs. Specialty soils (for any plant) are always designed with that type of plant in mind. When choosing a container, be sure you pick one with a drainage hole so that the excess water has somewhere to go.
Really, how important is the pot?
A proper container is more important for cacti than you think. Unlike some houseplants, they like just enough room to grow but won’t do well in a space that’s too large. Even fast growing varieties don’t grow all that speedily, and you should always take care to repot in one size up from the cactus’ current home.
As far as materials go, a pot made of terracotta or clay will help give the roots room to breathe, and having a drainage hole will allow excess water to have somewhere to go. We all know what happens when cacti roots sit in soggy soil. The story never ends well. Plus, the drainage hole is perhaps the best indicator for knowing when your cactus is ready to be repotted.
A step-by-step process for repotting
To successfully and safely repot your cactus, follow this step-by-step guide:
- Gather your tools and supplies. Make sure you have all of the above necessities before starting your repotting. Wearing protective gloves is always recommended, no matter the size or amount of spikes.
- Take the cactus out of the old pot and loosen the roots. Loosen the soil around the edges with a dull knife and gently remove the plant and roots from the current container. This is where you’ll want to use the metal tongs, as well as wrap the cactus loosely in layers of newspaper if needed. Once removed, loosen the roots to shake out the old soil.
- Inspect and trim the roots. Make sure the roots are healthy, free of any root rot, pests, or other diseases. If there are any damaged or diseased roots, trim them off with sterilized shears or scissors.
- Plant your cactus in its new home. You should have already chosen a proper pot to have on hand prior to repotting. Once the roots are inspected and trimmed, put some of the cactus mix in the bottom of the new container so that the cactus is planted at around the same depth as it was before. Place the cactus in the pot, holding it gently in place with the tongs, and fill the remaining space.
Caring for your newly potted cactus
Once your cactus is happily sitting in its new home, put it back in the same location it was thriving in before. If there was something wrong with the environment (for example, it didn’t have enough light), this is also a great time to try out a new spot! Although you’ll be tempted to water right away, you should let the cactus acclimate to the new pot for about a week before watering regularly again.
Cacti are notoriously hardy and can handle transplanting with ease so long as nothing was damaged. Be sure to always use metal tongs gently, without squeezing tight as you could puncture the plant. With the right care, your cactus will continue to thrive.


