
Across the internet, there are many interesting gardening trends, but few have lasted as long or become as popular as air plants. Whether they’re in terrariums, suspended from the ceiling, or kept in fancy mugs, air plants have a simple and elegant appearance that works well with many homes. Air plants are popular for their unique growth habits, but how do you grow them? This guide will answer all your questions about how to care for air plants, so you can add this delightful plant to your home without worry.
What are air plants?
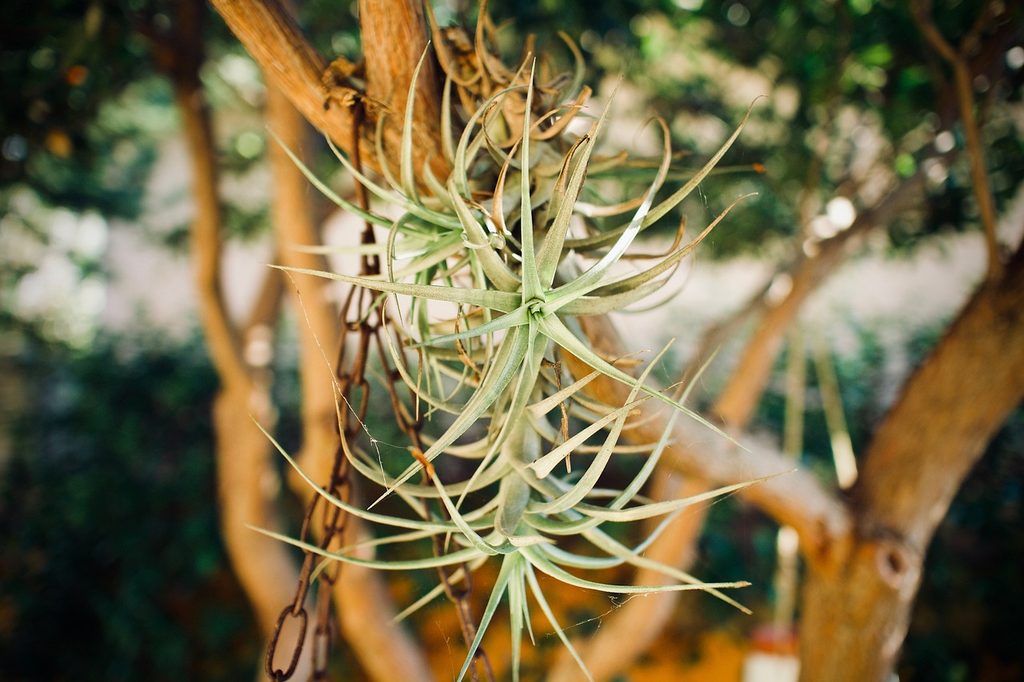
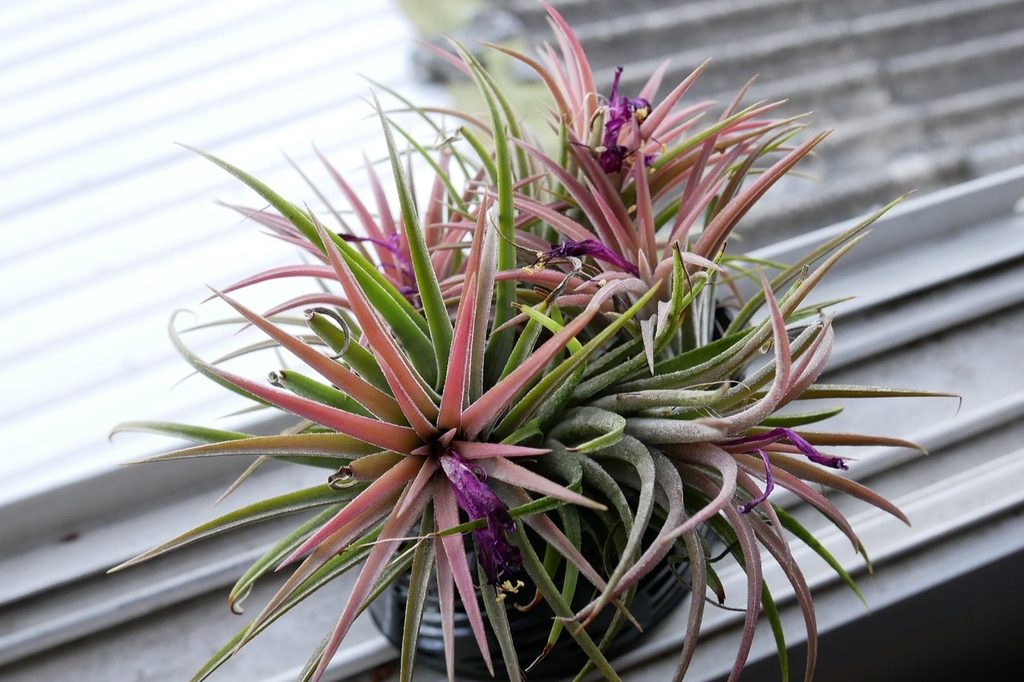
Air plants are plants in the tillandsia genus, which is in the bromeliad family. They may look like succulents, but air plants are actually considered epiphytes, which are plants that don’t need soil to survive. Instead, their roots are used to hold on to a tree, log, rock, or other surface, and their leaves are covered in special cells that let them absorb water and nutrients. In addition to air plants, there are certain mosses, orchids, and ferns that are epiphytes. However, only tillandsia is usually referred to as an air plant.
Within the tillandsia genus, there are many distinct species and varieties. They can range in size, leaf shape, and flower color. Air plants are not particularly difficult to care for, but their unique growth habit means they require slightly different care than other types of plants.
How to plant air plants
Air plants can grow from seeds, but they are more commonly propagated from offshoots of mature plants. Nurseries and other gardening stores typically carry seedling or mature tillandsia plants, and this is what we recommend starting with. Since they don’t germinate in soil, air plant seeds can be tricky to start with, especially if you are not already familiar with the care requirements of tillandsia.
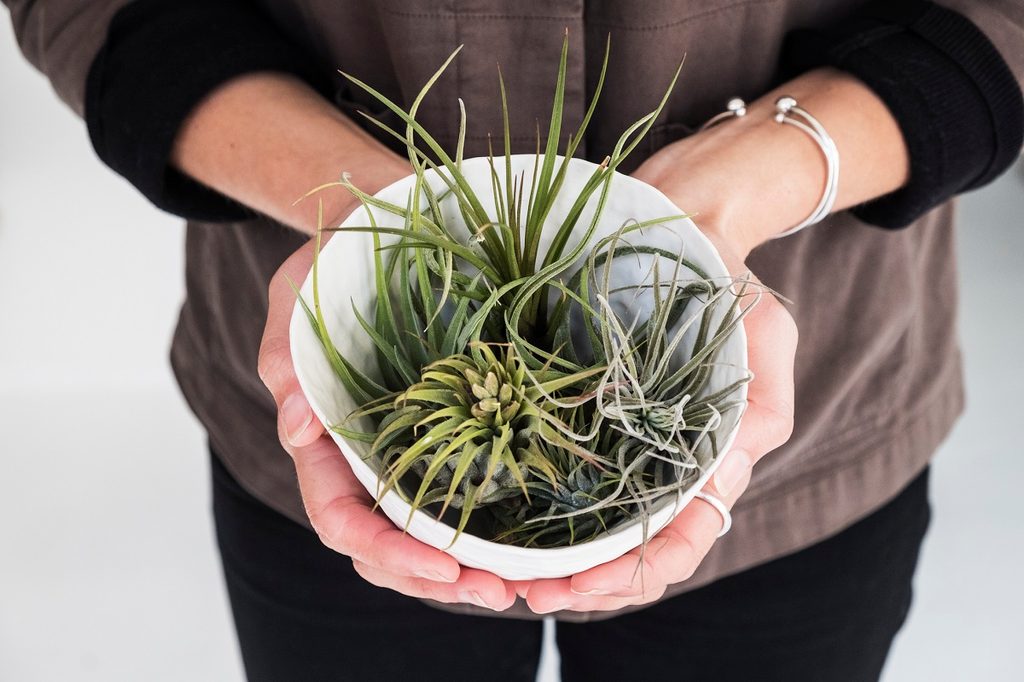
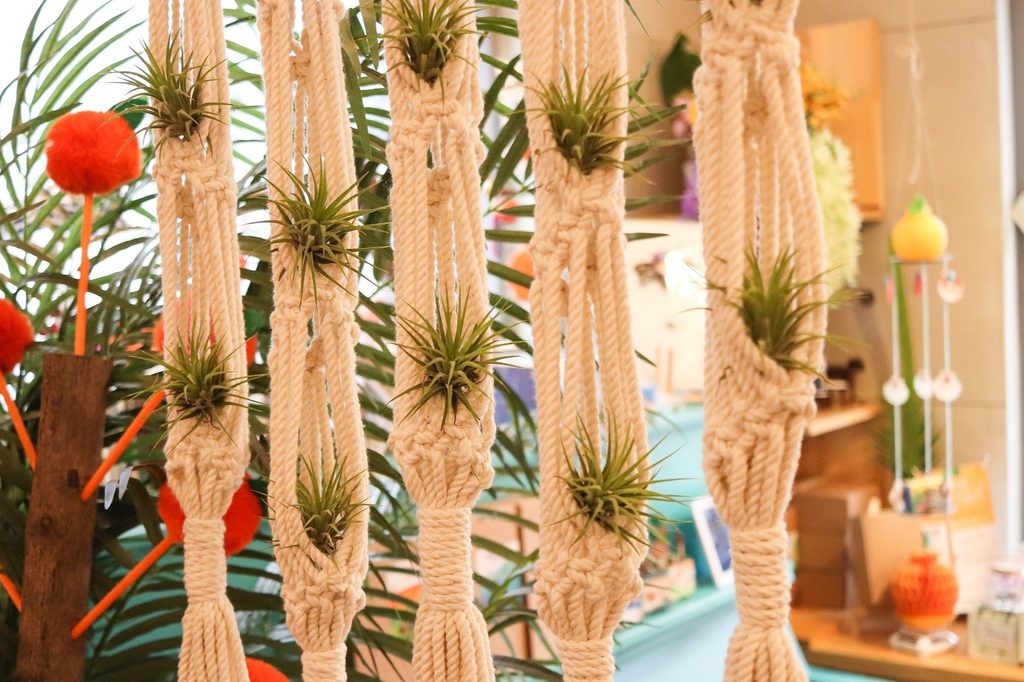
Luckily, planting a seedling or mature air plant is incredibly easy for this same reason. Since they don’t need soil, you can keep them in almost any container and move them from one container to another without issue. Many gardeners prefer to use logs (or faux log planters) for their air plants to mimic tillandsia’s natural environment, but you can just as easily keep your air plant in a cup, mug, bowl, terrarium, or traditional flower pot.
A container is all that’s required, but some gardeners prefer to add a layer of pebbles, aquarium gravel, or beads to the bottom of the container. This gives the roots something to hold on to for more long-term displays, but it also keeps the container from looking too empty.
How to water air plants
Air plants absorb water through their leaves instead of their roots, so naturally watering them entails getting their leaves wet. The easiest and most effective way to do this is to soak the plant. Use plain, room-temperature water that doesn’t contain chemicals. Distilled or softened water should be avoided. Tap water can be used, but let the water sit uncovered overnight before soaking your air plants, so that the chlorine can evaporate off of it. If you have a rain barrel, bringing a cup of rainwater inside to soak your tillandsia is a great idea.
If your air plant is flowering, avoid getting the flower wet as much as possible. Soak your air plant once or twice each week for roughly half an hour, then let it dry on a towel before returning it to its container. This prevents excess water from pooling at the bottom of the container, where it could rot the roots.
If your air plant is in a more permanent display, then regular misting and a higher humidity will help keep it hydrated. This method can also be useful if your air plant is flowering, as it’s easier to avoid a flower when misting than when soaking.
Additional air plant care tips

Air plants thrive in bright, indirect sunlight. A few hours daily is ideal, but they can also survive under fluorescent lights. This, combined with their overall low needs, makes them a great choice for offices. However, you should avoid placing them in direct light. While small amounts of direct light won’t harm air plants, too much can dry them out or even burn the leaves.
In addition to water, air plants absorb nutrients through their leaves. Orchid fertilizer is the most commonly used fertilizer for air plants, as they have similar needs. Fertilize them roughly once per month during spring and summer for the best results. Keep your air plants warm. They are native to tropical regions and are easily damaged by cold weather.
Although their flowers are beautiful, they’re also bittersweet. Air plants begin to die after they flower. Some will live for only a month or two, while others may last up to a year. During this time, simply continue to care for them as you were previously. Proper care will keep them alive and healthy for as long as possible.
Air plants are beautiful, elegant, and extremely versatile when it comes to display options. This makes them a great choice for most homes, as they can easily fit most aesthetics and environments. While their care is different from other plants and takes some getting used to, it isn’t difficult once you get the hang of it! Now that you understand the basics, why not give it a try?


