
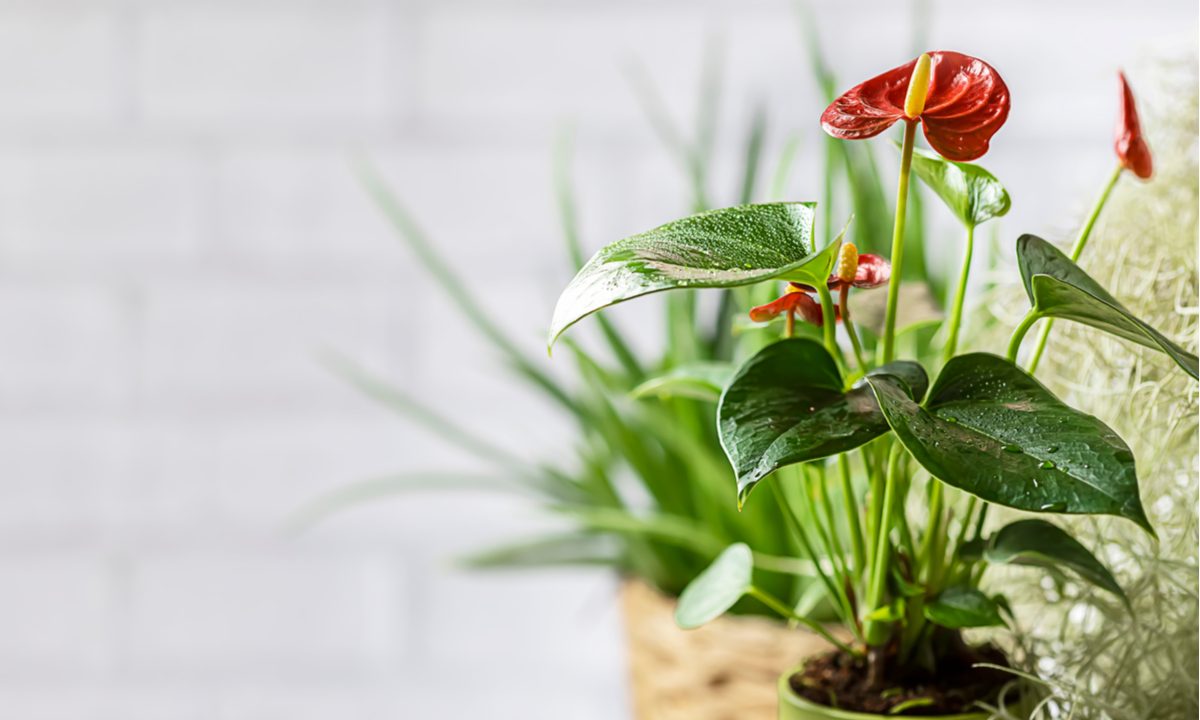
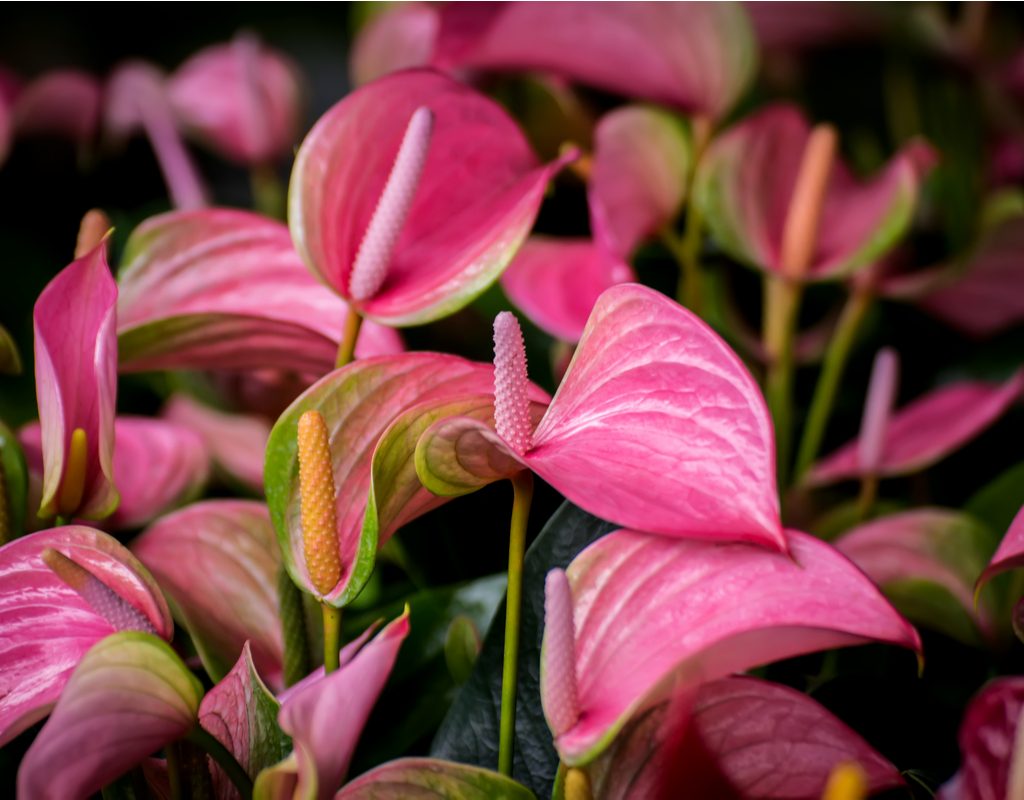
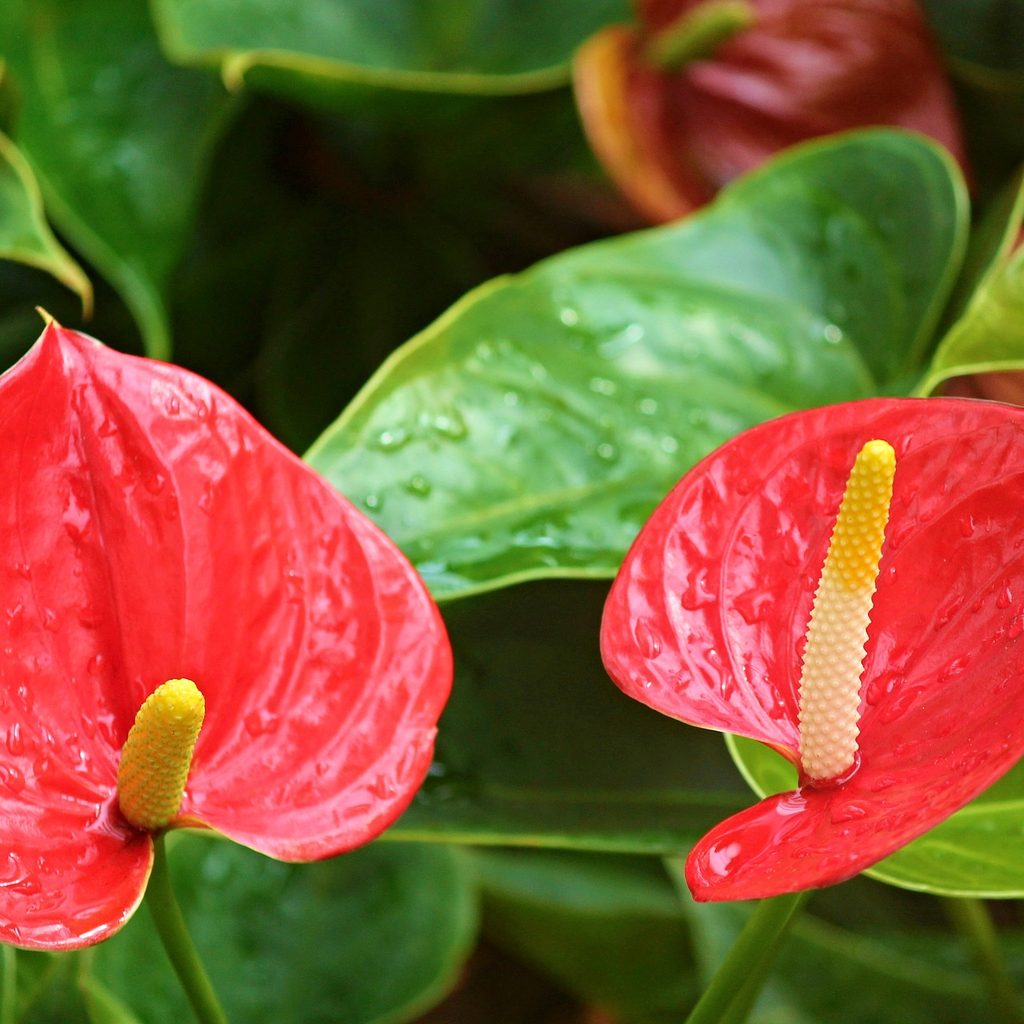
Known colloquially as the flamingo flower, anthuriums are sought out for their ability to bloom at any time of the year as long as they’ve been cared for well. With over 1,000 varieties in the genus, anthurium blooms come in all sorts of colors, including green, pink, red, white, and yellow. Anthuriums are a great way to bring the tropics to your home, brightening up practically any space.
In addition to their regular care, anthuriums need to be repotted with fresh soil every few years. This is an important step in their care routine, but it's also one that's easy to overlook! Wondering how to repot anthuriums? This simple guide will break down every step, from how to tell when it's time to repot your anthurium to caring for your plant after repotting.
How to tell your anthurium is ready for repotting
Your anthurium is ready for repotting as soon as it starts showing signs of being rootbound. When possible, you want to wait until new growth starts in the spring and the plant has enough energy to recover from the stress faster; however, a severely rootbound anthurium should be repotted as soon as possible.
Signs that an anthurium is ready for repotting include:
- Bent or cracked containers
- Roots around the soil surface
- Roots growing out of the drainage hole
- Water running straight through
- Wilting foliage, especially after watering

How to prepare soil for an anthurium plant
Anthuriums prefer to have a potting mix that’s coarse, loose, and well-draining. You want to shy away from the standard bag of indoor mix.
Step 1: Either purchase a loose potting soil or create your own by mixing two parts orchid mix, 1 part peat moss, and 1 part sand or perlite. This mixture creates the perfect environment for anthuriums to thrive in.
Step 2: If you know what your anthurium was potted in before and it was doing well, you should repot it in the same mixture you took it out of — just use new and fresh soil instead of the old nutrient-drained soil.

How to repot an anthurium
Repotting an anthurium isn’t difficult, and it usually needs to be done about every two or three years. Make sure you don’t plant the crown of the anthurium too deep; otherwise, the plant could easily rot. Slight wilting does happen when repotting anthuriums, so don’t be worried if your plant isn’t fully happy for a few days. It should perk up in no time.
Step 1: Choose a new pot with good drainage holes to help prevent water pooling. If you know you tend to overwater, select a terracotta pot. If you tend to forget to water, pick a pot made from ceramic or plastic. The pot should be no more than 2 inches larger than the current pot (for example, if you have a 6-inch pot, you should upgrade to no bigger than an 8-inch pot).
Step 2: Water the anthurium well the day before repotting. You’ll have an easier time repotting a moist rootball for this plant, as it will help prevent root shock.
Step 3: Fill the new container with your prepared potting soil. Just make sure that the top of the anthurium’s root ball sits about an inch below the rim of the container. You don’t want the roots to be buried at the bottom of the pot.
Step 4: Remove the anthurium from its current pot. To do this, tip the pot on the side and gently work the plant out from the base. Never pull on the stems, as you could damage the plant. If needed, you can use a rubber spatula to loosen the edges of the soil around the pot.
Step 5: Remove excess dirt. If there are a lot of soil clumps around the roots, use your fingers to gently release it and loosen the roots.
Step 6: Place the anthurium in the new pot. Fill in the gaps around and on top of the roots with your potting mix.
Step 7: Water lightly. This will settle the soil, and then you’ll be able to top it off with a bit more mix as needed.
Splitting your anthurium
For splitting your anthurium, you’ll need the above materials in addition to a pair of sterilized shears. If you’re looking to split your anthurium before repotting, take the following steps during the repotting process.
Step 1: Water the anthurium well the day before repotting.
Step 2: Fill the new containers with your prepared potting soil.
Step 3: Remove the anthurium from its current pot.
Step 4: Remove excess dirt from the rootball.
Step 5: Find where the offshoots are joined at the roots. This is usually close to the base of the plant and is where you’ll be splitting them up.
Step 6: Gently start pulling the offshoots apart. It’s important to not be too forceful, but as long as the roots aren’t severely compacted, you’ll be able to separate them with just your hands. If the roots are tangled up, try to use your fingers to gently unwind them; however, if there are a few parts that just won’t give, you can use your sterilized shears to make some cuts.
Step 7: Place the anthuriums in their new pots.
Step 8: Water lightly and top off with potting soil.

Things to be aware of when repotting
After repotting, your anthurium will need anywhere from a few days to a week to readjust. Anthuriums are more sensitive to light following their repotting, so keep them in a shadier area of the home for three to seven days instead of the well-lit location they came from. If you put them right back in the sun, the leaves could burn and stress the plants even further.

Why is it important to repot an anthurium?
Repotting your anthurium helps it thrive and grow, even in ways you might not be aware of! It gives your anthurium more space to grow and decreases root crowding, which helps your anthurium absorb nutrients more easily.
Since potted plants are growing in the same soil, they can run out of nutrients over time. Adding fertilizer, compost, or other additives can help replenish these nutrients, but they can also lead to a build up of salts or unused nutrients. Repotting your anthurium in fresh soil refreshes the nutrients and gets rid of any built up salts.
Repotting your anthurium is also beneficial if you're dealing with certain pests. Some pests lay eggs in soil, so if you're dealing with a pest infestation, repotting your anthurium can prevent new pests from emerging.
Anthuriums are gorgeous plants that make beautiful accents in your home. Their unique foliage and blooms fit perfectly on a side table, as a centerpiece, or even as an office plant. As long as you take care during the repotting process and are careful not to damage the roots when splitting, your anthurium will continue to bounce back and thrive.


