
When you’re a plant enthusiast, repotting your plants is an inevitable part of the plant-growing process. If you’re dealing with indoor plants, they’ll appreciate more room as they flourish. With edible garden plants, you’ll often need to move seedlings into the ground or a more spacious container. And sometimes, you’ll need to repot your plants to combat issues such as root rot or pests. Moving plants from one place to another should be easy, right? This isn’t necessarily always the case.
Let’s be clear: A yellow leaf here and a wilted stem there is no cause for concern, as these are just signs that your plant is acclimating to its new home. But an entire plant dying on you can be quite a hassle, not to mention disappointing! So, how do you prevent transplant shock as you repot your plants? Here’s a helpful breakdown of measures to take to ensure your plant settles into its new planter without a hitch.
Start with a healthy plant
The process of transplanting your plant really starts at the nursery. You want to get healthy plants with strong root systems. A plant that is rootbound or has weak roots may be difficult to transplant into a different container down the line. Once you grab a plant from your local nursery, don’t rush to transplant it. Keep your plant in its nursery pot for a few weeks or months. You can even use its intended planter as a cachepot for a while to help it acclimate to its new home.
Transplant at the right time
Moving your plants in the middle of summer or winter will make them more vulnerable to stress due to the extreme temperatures. The ideal times for transplanting plants are early spring and autumn — this is why it’s a good idea to start seeds a couple weeks before the last frost. So, when is it time to repot? With indoor houseplants, you really don’t need to repot your plants more often than every year or two (unless you have pests or root rot). Signs that your plant will appreciate a more spacious pot include roots poking through the drainage hole or emerging from the soil, the potting mix drying out quickly, and the plant becoming top-heavy.
Hardening off plants
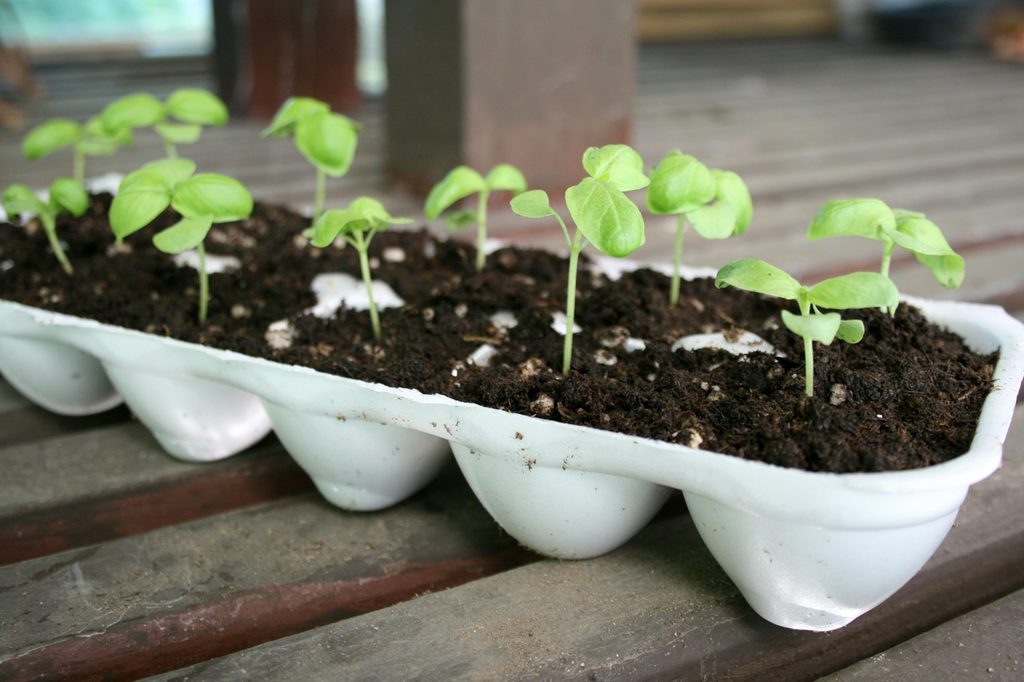
While hardening off plants isn’t strictly part of the repotting process, acclimating your plant to a new environment can definitely help you avoid shock in general. It’s crucial for seedlings that you’ve started inside and now want to plant outside in the ground or a bigger container. If you’re bringing your plants from an indoor environment to an outdoor one, it’s crucial that you harden them off. This basically means that you gradually expose them to outside conditions rather than planting them in the ground or leaving them outside immediately.
The hardening-off process is usually applicable to seedlings and overwintered plants. You can bring plants outdoors for the warmest parts of the day and gradually leave them outside for longer periods of time until you feel comfortable keeping them outdoors overnight. It’s also helpful to take advantage of greenhouses and cold frames during this process to reduce the possibility of shock.
Picking the right planter
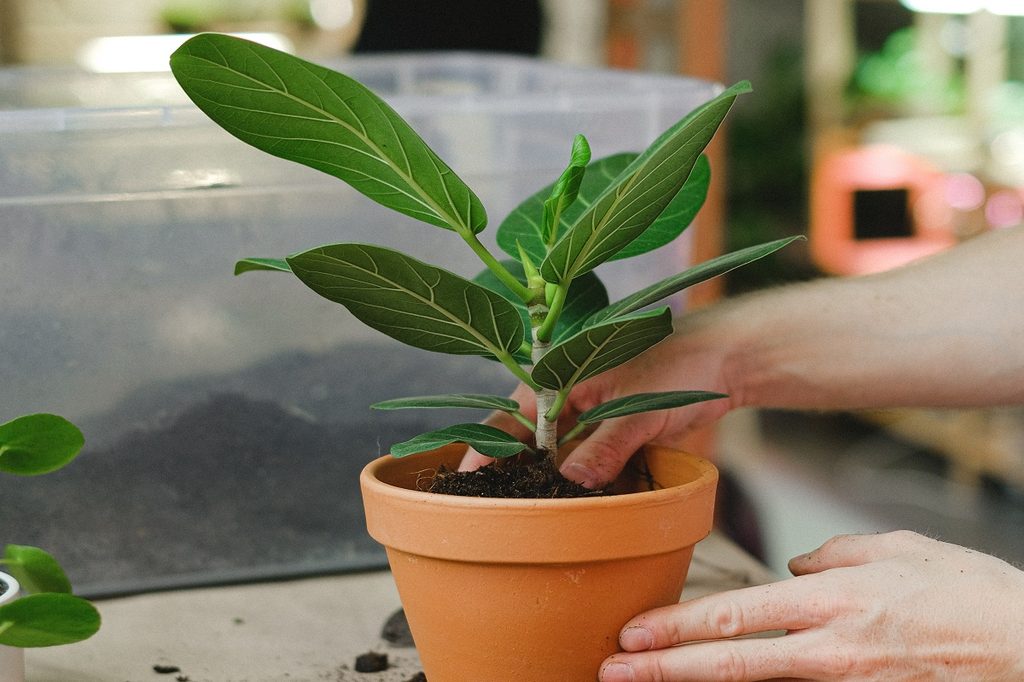
Ideally, you want to get a planter that’s roughly two inches wider in diameter than your current plant container. A small pot will leave your roots without space, but one that’s too big can be problematic, as well — the growing medium will absorb too much water and drown your roots. As you pick out potential planters, check if they have drainage holes, or otherwise, use them as cachepots or drill holes into them yourself.
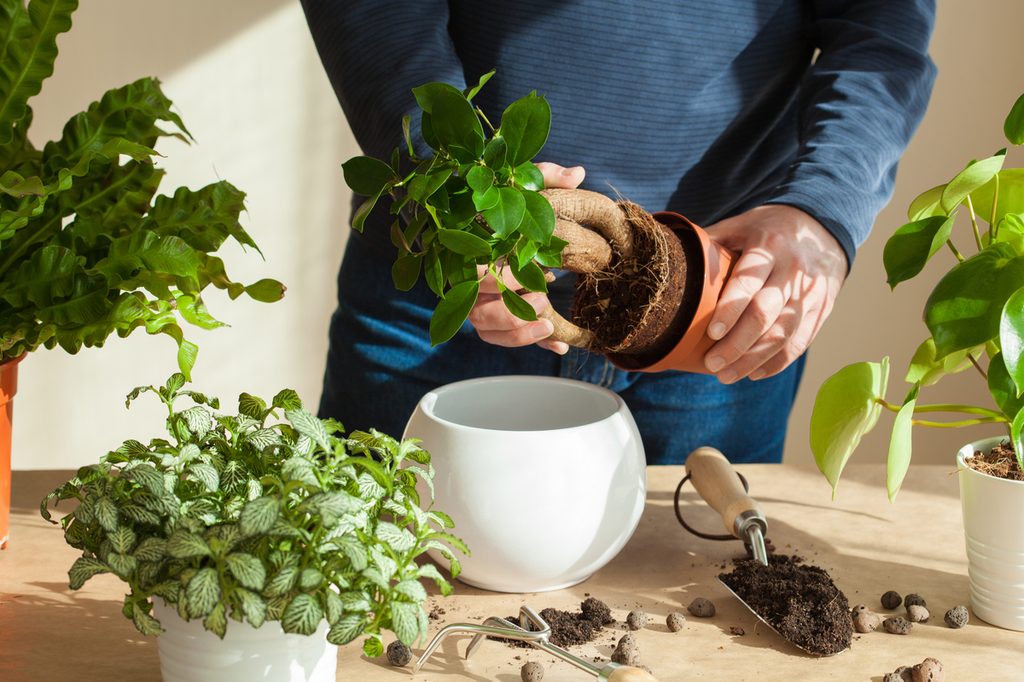
Be gentle when transplanting
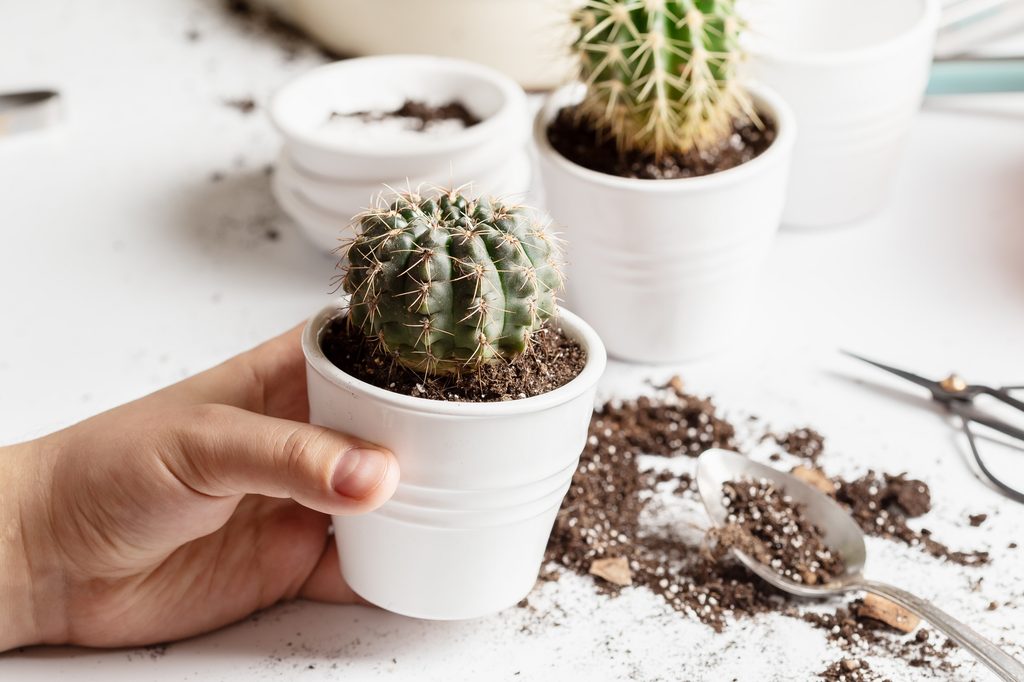
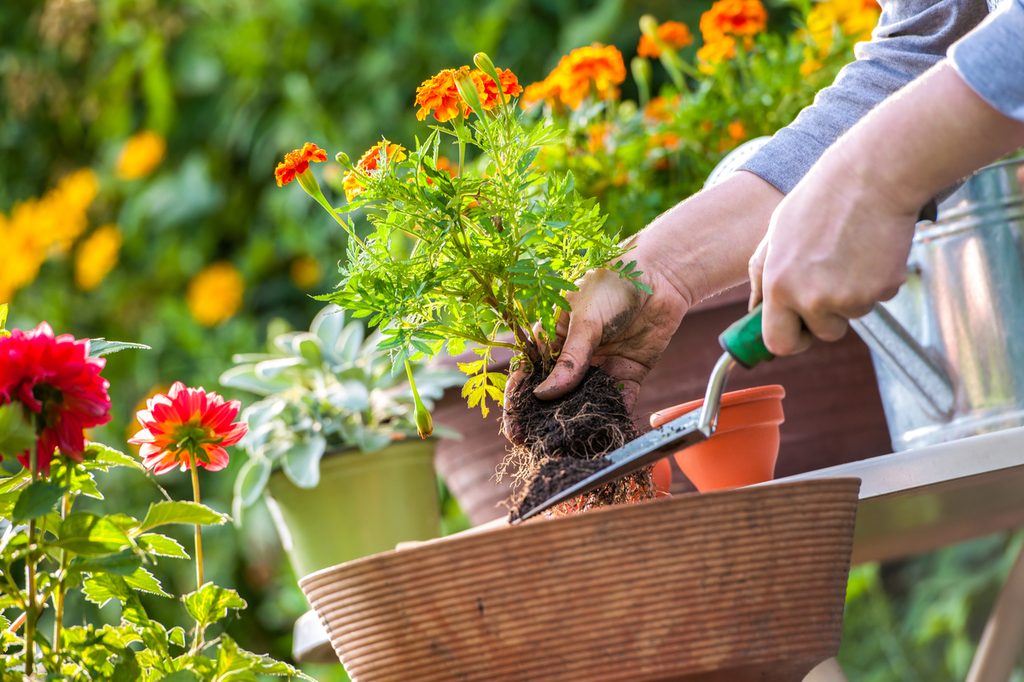
It goes without saying, but definitely be gentle when you move your plants. The root system is literally the plant’s lifeline, providing it with water and nutrients. If you’re working with a plastic nursery pot, squeeze the sides to loosen the soil so that you don’t have to yank out your plant. You can also untangle the roots and remove some of the soil attached to the root ball to give your plant more breathing room.
While you want to be gentle with your plant, detangling compact root balls is a must, as this will allow the roots to properly uptake water and nutrients. If you have a rootbound plant, it’s absolutely fine to trim and prune the roots before you settle your plant into its new home. If a knife can’t help you unravel the root ball, tease the roots a little by misting them or soaking them in water. Allowing the roots to loosen up will help them establish a strong foundation in the plant’s new pot.
Water your plant after you transplant it
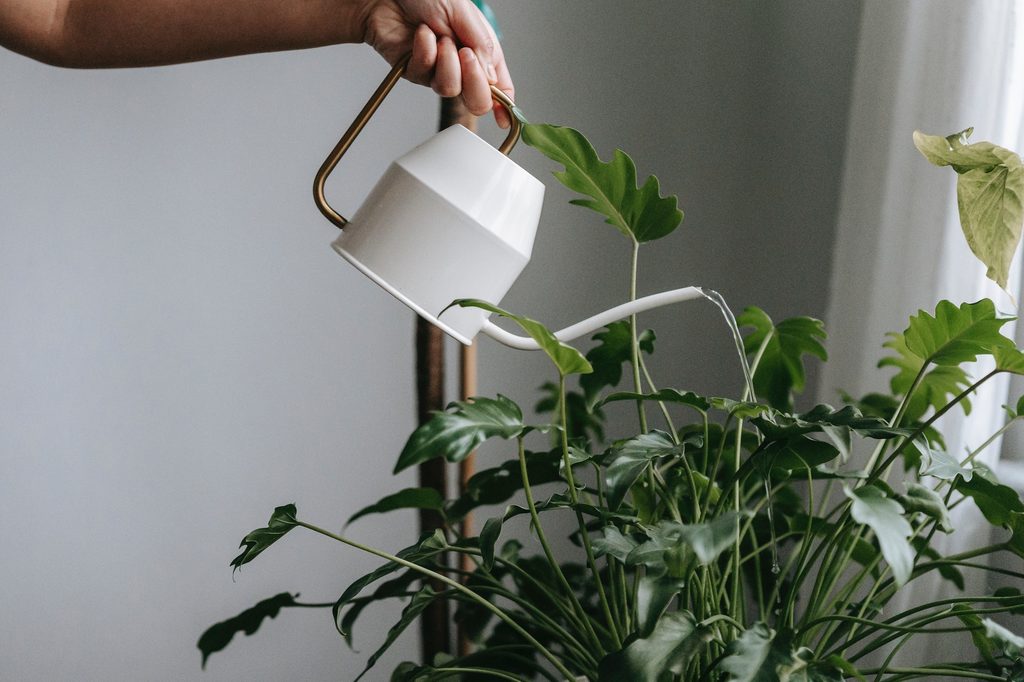
Watering your plant will help its roots settle into the new soil. Water the potting mix thoroughly, but don’t let your plant sit in water. If you’d like, you can also mix water with a specially formulated solution for giving transplants nutrients and preventing transplant shock. Because these solutions are essentially fertilizers, you should definitely dilute them with water.
Moving your plants will inevitably pose some risk, but there are active measures you can take to keep them from dying. Starting with a healthy plant is one of the most critical steps since a strong plant will have an easier time acclimating to a new growing medium. Then, be sure to follow the steps listed above. After adding water and perhaps a transplant solution, your plant should be set to thrive!


