
Philodendrons are beautiful and popular houseplants, known for being hardy and lovely. There are many stunning philodendrons, like the pink princess, to choose from, but one you might not be aware of is the Philodendron gloriosum. If you’re searching for a new philodendron to add to your collection, this might be the right plant for you. While they can be a bit tricky to grow, they are worth the effort. Want to get started growing your own? Here’s everything you need to know to keep your Philodendron gloriosum happy and healthy.
What sets Philodendron gloriosum apart?

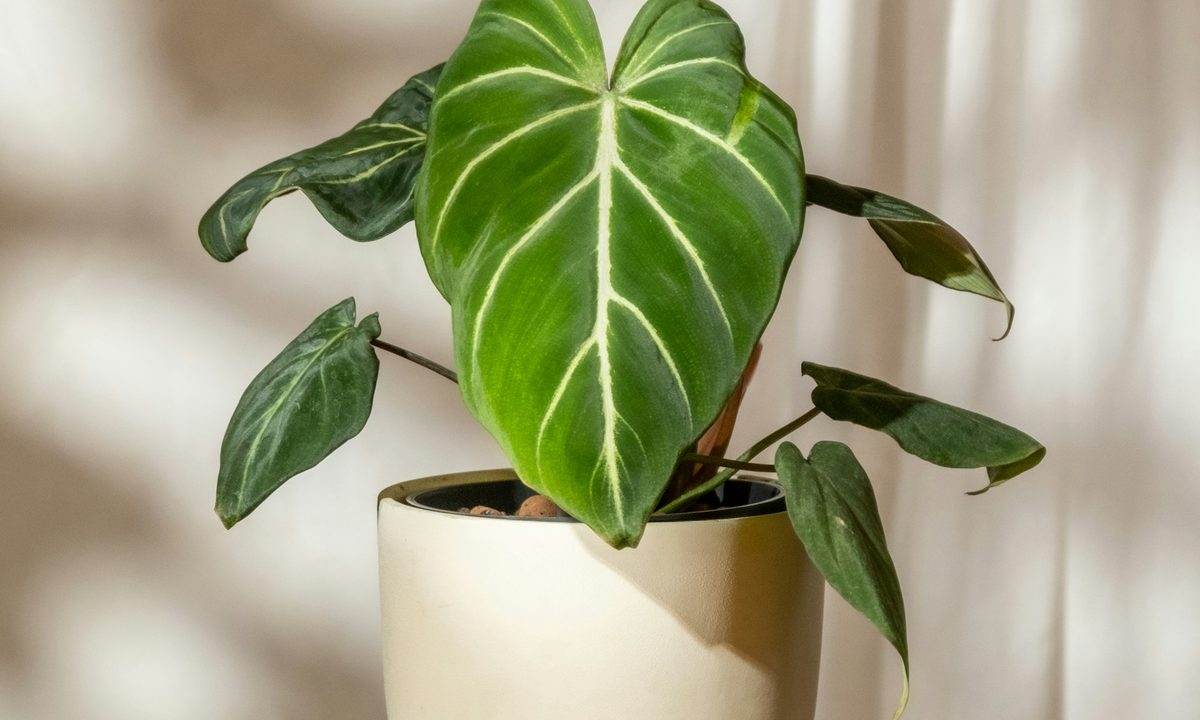
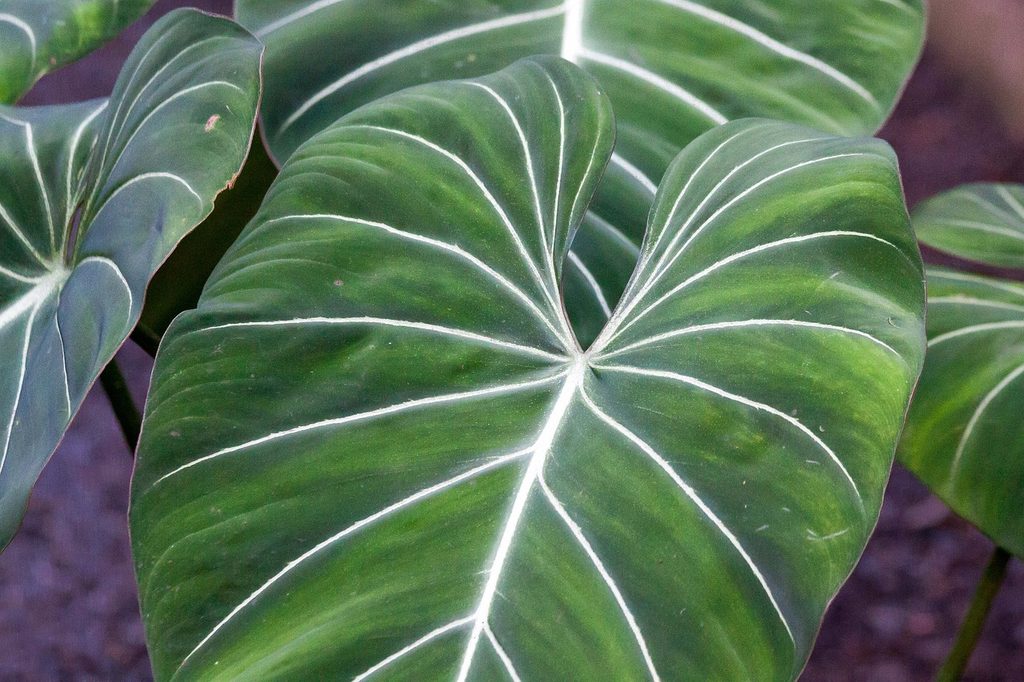
Philodendron gloriosum is marked by a few unique and interesting characteristics. It has large leaves that are primarily a lush dark green color. The leaves are soft and velvety, and they typically have a slightly elongated heart shape to them. The edges and veins of the leaves are tinted pink, although the veins can also be white or light green.
Another thing that sets this philodendron apart is the way it grows. While some philodendrons will climb, and others stand on their own, Philodendron gloriosum is one of the creeping philodendrons. These philodendrons have stems that crawl or grow along the ground. Smaller stems extend up from there to grow leaves. While Philodendron gloriosum isn’t the only creeping philodendron, it’s less common as houseplants than the other growth habits.
Planting philodendron gloriosum
Plant your Philodendron gloriosum in well-draining, slightly acidic soil. Potting soil with peat mixed in is a great choice, but you can use any well-draining potting soil if you can’t find one with peat. Choose a container large enough for the roots and that has plenty of drainage holes to prevent excess water from building up at the bottom of the pot.
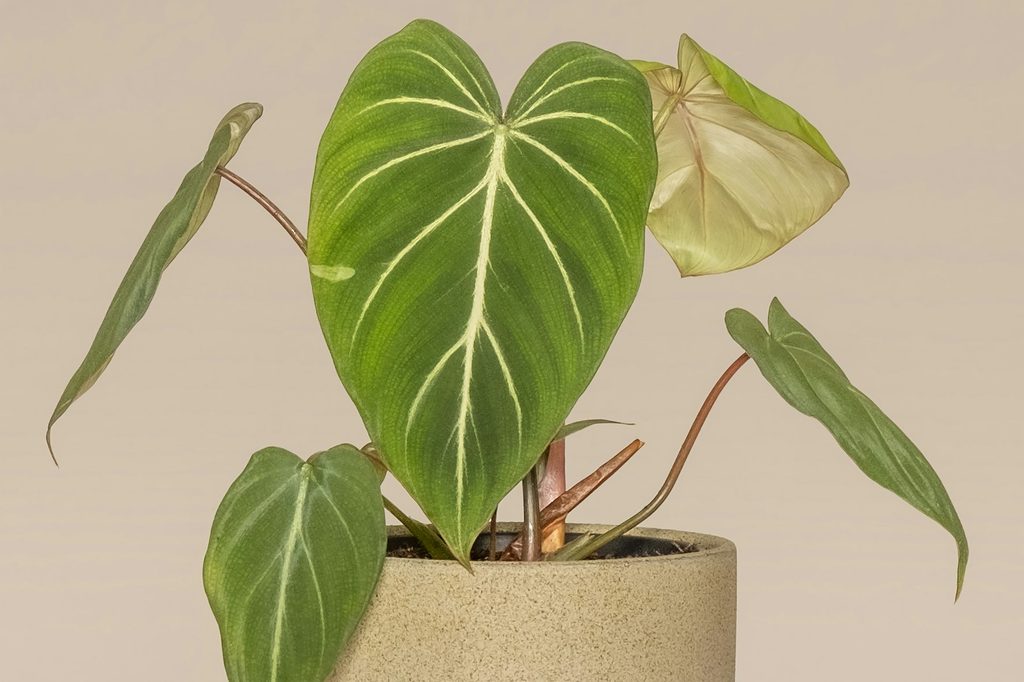
Position your philodendron in bright, indirect light. While philodendrons can tolerate some light shade and occasional bursts of direct light, they won’t thrive long term in either. Direct light can even burn the leaves, leaving dry brown patches on the nice velvety leaves.
As tropical plants, Philodendron gloriosum should also be kept away from drafts and air conditioning vents. They don’t tolerate cold weather and prefer a comfortable minimum of 65 degrees Fahrenheit. They also prefer a high-humidity environment, although they can tolerate low humidity better than they tolerate low temperatures.
Philodendron gloriosum care
Proper care for your philodendron means watering it whenever the top few inches of soil are dry. Depending on the plant size, temperature, and humidity levels, this can be once a week to every other week. Avoid getting the leaves wet when you water it. Wet leaves are a common source of fungal infections for many plants, and these risks are often higher for plants with soft or textured leaves, since the water (and fungal spores) has an easier time clinging to the surface of the leaves.
If your home has low humidity, you can increase the humidity around your plant in a few ways. Placing your philodendron in or near the bathroom when you plan on taking a hot shower will give it a boost of humidity through the steam. You can also place a shallow tray of pebbles and water beside your plant. Finally, you can mist your philodendron lightly once or twice a week. While the misting may wet the leaves, the smaller droplets will evaporate more quickly than a drenching from being watered, so you don’t need to worry about the risk of fungal infections.
During the growing season, fertilize your Philodendron gloriosum with a balanced houseplant fertilizer. You can use a tropical plant fertilizer if you prefer; either will work. Most gardeners find it easier to use a liquid fertilizer, especially since liquid fertilizers are easier to dilutee for smaller plants or more frequent applications.
Repotting and propagating
Plan to repot your Philodendron gloriosum yearly to every year and a half, although you may need to repot it more often when it’s young and growing quickly. As a general rule, repot your plants when they are close to doubling in size or if the roots are visible through the top of the soil or the drainage holes.
Like other philodendrons, this lovely plant is easy to propagate. Select a healthy stem with at least one leaf and cut it from the plant using a sharp, clean knife, scissors, or shears. Then, place the cut end in a fresh pot of soil or in a glass of clean water. Before long, roots should begin to grow.
Philodendron gloriosum is a gorgeous houseplant, and now you’re prepared to add it to your houseplant collection. Whether you plan to start with a seedling or mature plant from a store or propagating a cutting from a friend’s plant, you’ll be thrilled at how stunning this plant looks in your home. So why not get started today? Before you know it, you’ll have a beautiful, thriving philodendron.


