
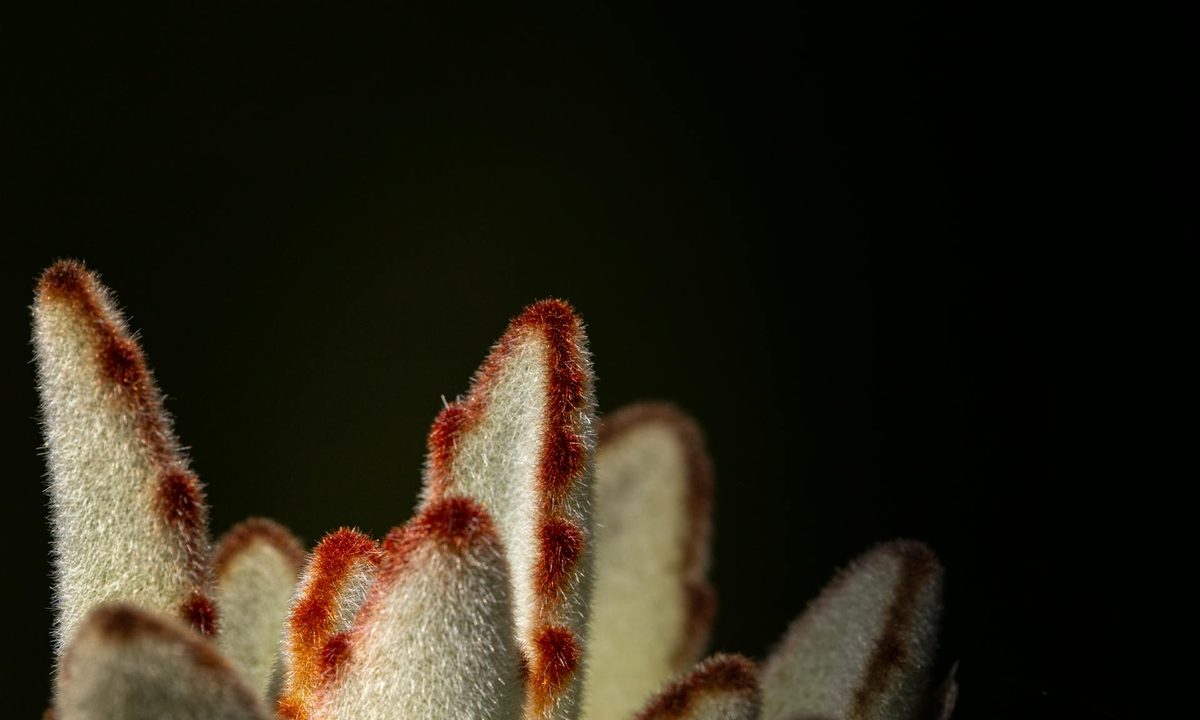
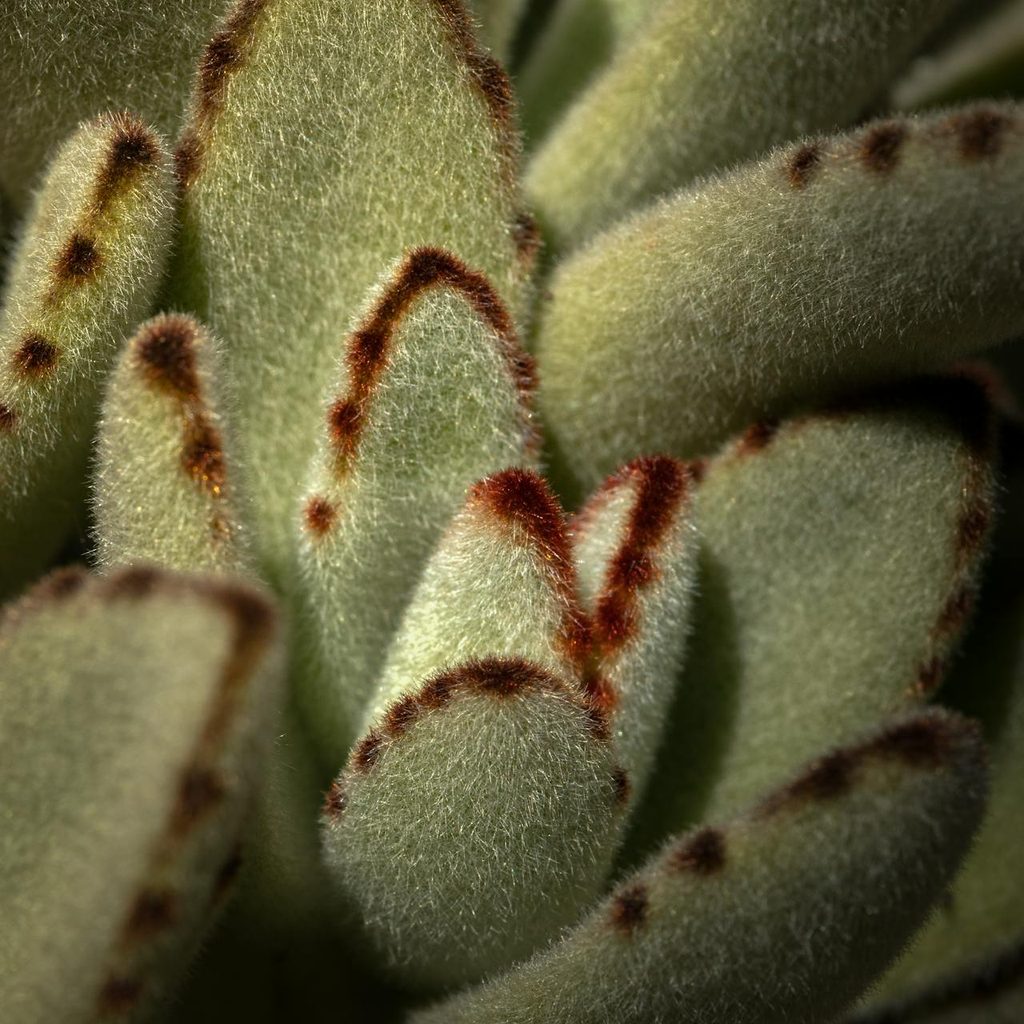
Succulents are popular for many reasons, and each succulent has its own unique look and vibe to offer your home. If the look you're after is cute and sweet, then look no further than the bear paw succulent. This fuzzy plant has round leaves that end in small points, making them look like little bear paws. If you want to bring this cuddly looking plant into your home (and why wouldn’t you?), then you’ll need to know how to care for it. Here’s what you need to do.

Planting a bear paw succulent
Planting your bear paw succulent correctly can save you a lot of time and trouble down the road. Here’s how to set your succulent up for success.
Step 1: Plant it in sandy, well-draining soil. You can use cactus-specific soil or add coarse sand and perlite to regular potting soil. These plants are sensitive to overwatering, so drainage is important.
Step 2: Use a pot or container with drainage holes.
Step 3: Plant your succulent in bright, indirect light. The soft leaves of the bear paw succulent are delicate and easy to burn, so keep them out of direct light.
Step 4: Avoid planting outside in cold weather. Bear paws are sensitive to the cold and can quickly become damaged by frost.

Caring for a bear paw succulent
Once you plant your bear paw, here’s how to care for it:
Step 1: Water when the soil is completely dry, or once every week to every two weeks for outdoor bear paws. Don’t water these plants during cold weather or if the soil is still wet.
Step 2: Avoid getting the leaves wet.
Step 3: Only fertilize during the spring or summer, not fall or winter.
Step 4: Repot your bear paw every two to three years, using fresh soil, in the spring.
Common problems with bear paws
Bear paws are prone to a few problems caused by improper care. Luckily, these problems are easy to identify if you pay attention to their leaves.
Overwatering:
- Yellow leaves
- Leaves falling off
- Squishy texture
Not enough light:
- Leaves falling
- May be pale but not yellow
- Limp but not squishy
Underwatering:
- Dry, brittle, withered, or brown leaves
- Leaves falling
These problems are generally easy to fix once identified. Here's how:
Step 1: Repot an overwatered succulent. In minor cases, you can simply wait for the soil to dry out. However, repotting the succulent in dry soil is the easiest way to avoid fungal infections.
Step 2: Increase the amount of light your succulent is receiving. Although their leaves can burn if they have too much direct light, getting too little light can cause problems as well.
Step 3: Water an underwatered plant. Most succulents will bounce back quickly from a dry spell after being given a thorough soaking.
Companion plants for your bear paw succulent
You can easily grow bear paw succulents with other succulents and cacti. For maximum cuteness, consider planting with panda paw succulents! Panda paw succulents have a similar leaf shape and texture, but they're a grayish-teal color with brown “claws.”
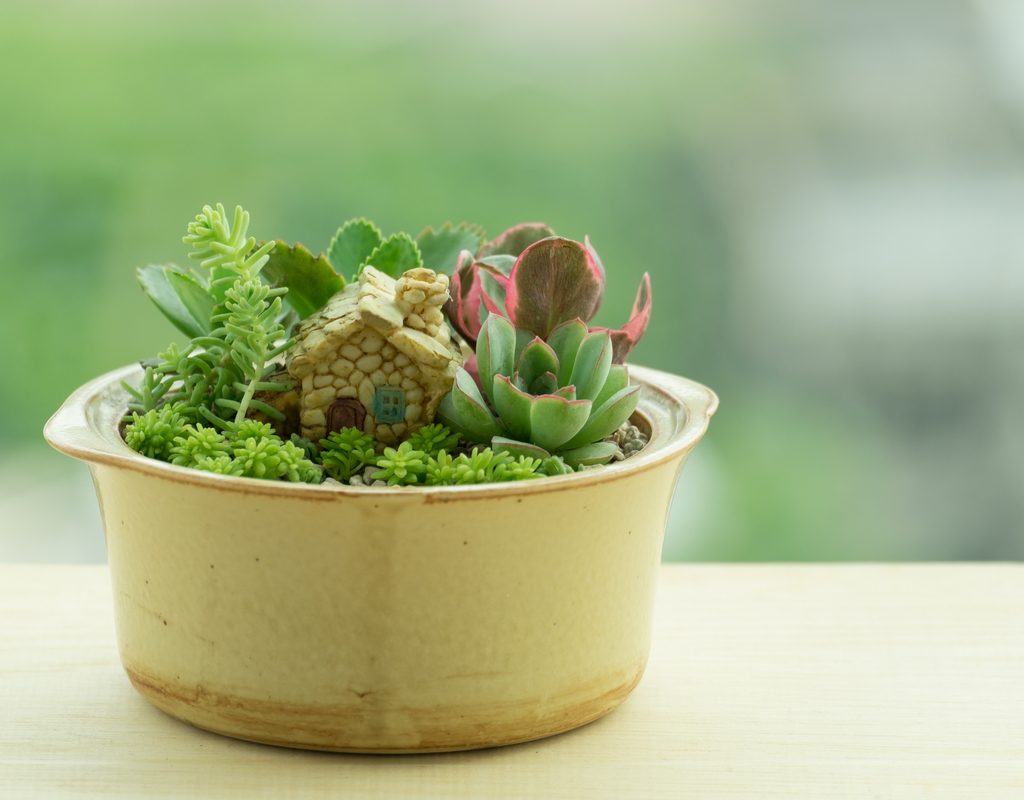
If your bear paw succulents are in a container garden, it’s easiest to pair them with other succulents or small cacti. This is due to size constraints, as many popular companion plants for succulents can grow fairly large. With proper pruning and a large enough container, you could add a few non-succulent companion plants.
Here are a few to consider:
- Kangaroo paws
- Lavender
- Rosemary
- Valerian
- Sage
- Spirea

Propagating a bear paw succulent
If you already have one bear paw succulent and want to increase your collection, then you might be interested in propagating your bear paw succulent. There are two ways you can propagate a bear paw succulent. The first way is through leaf propagation, which has a low success rate but is less stressful to try. All you need is one or more leaves and a container of either succulent potting soil or sphagum moss. Simply lay the leaves on top of the soil or moss and wait. Most of the leaves will not root, and those that do may grow quite slowly. However, if your bear paw succulent has lost leaves due to stress or accidents then there's no harm in trying!
Stem cutting have a higher success rate, but the process is slightly more involved. You'll need a mature bear paw succulent that can handle being cut. To have the best chance of success, the cutting should be 3 to 5 inches long, but taking too much at once can stress your plant. Choose a healthy stem with several sets of leaves and cut it just below a leaf node. Let the cutting callous slightly, then place it in a container of fresh succulent soil. Remove any leaves that would be below the soil.
Bear paw succulents make a pleasant addition to any garden or home. Even if you’ve never grown a succulent before, you can successfully care for a bear paw just by following these simple tips. Whether you integrate them into your garden or keep them indoors, these fuzzy plants are sure to bring you joy!


