
Fresh fall pumpkins are a treat like no other, and few things are better than an October trip to a pumpkin patch. Except, maybe, having your very own pumpkin patch in your garden! Whether you’re a big fan of pumpkin pie, have plans for an intricate jack-o-lantern display, or just enjoy the aesthetics of a pumpkin patch, you can achieve all your pumpkin-themed dreams. Here is everything you need to know about growing, caring, and harvesting pumpkins.
When and how to plant pumpkins
Start your pumpkins in early summer, especially if you’re starting from seeds and not seedlings. Pumpkins need warm soil, with lots of organic matter and a neutral or slightly acidic pH. Pumpkin vines grow quite long, so be sure you have plenty of room. If you want to conserve some space you can plant your pumpkins in mounds, roughly three feet across, which the vines can grow over before spreading out.
Mounds also warm more quickly in the sun and help prevent water buildup in the soil. Plant your pumpkins in full sun. Although some varieties are more tolerant of shade than others, full sun allows the pumpkin vines to reach their full potential. Too much shade leads to a smaller plant overall, with fewer pumpkins.
Mature size and more specific care requirements can vary from variety to variety, so it’s important to double check what your specific variety’s needs are. There are plenty of varieties to choose from, too.
Here are a few varieties you might want to look at, organized by what they’re used for:
- Pie pumpkins
- Small Sugar
- Baby Bear
- Triple Treat
- Carving pumpkins
- Jack-O-Lantern
- Kratos
- Cronus
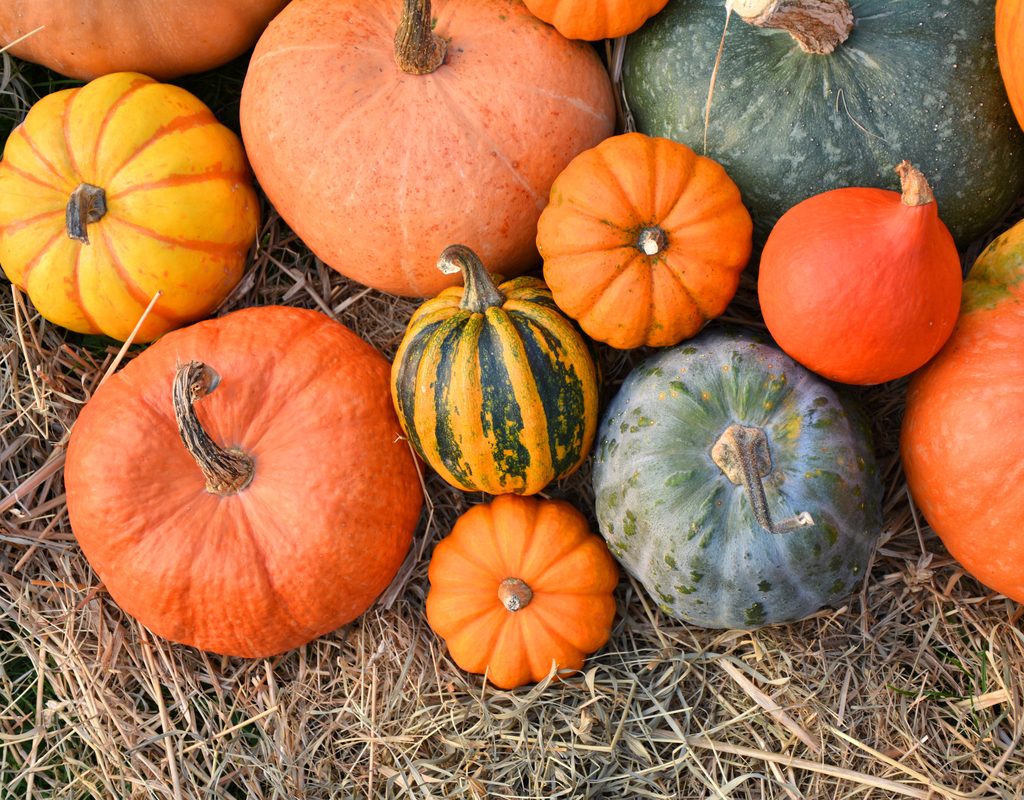
- Unusual or Display pumpkins
- Warty Goblin
- Lumina
- Fairy Tale
Basic pumpkin care
Apart from sun and soil, pumpkins need plenty of water. On average, pumpkins need roughly an inch of water each week. This can be given to them all at once, or spread out across the week, depending on your climate. In hotter, drier climates you may need to water your pumpkins more often. Mulch can be a great help in water retention, as it stops water from evaporating as quickly.
However, once your vines have spread out and developed their leaves, water evaporation will slow as well, as the leaves provide shade for the soil underneath. Just be careful not to get the leaves wet when watering your pumpkins, as this can lead to mildew, leaf rot, or sun scorching. Watering in the morning can also minimize the risk of sun scorching and give the water time to soak in before evaporating.
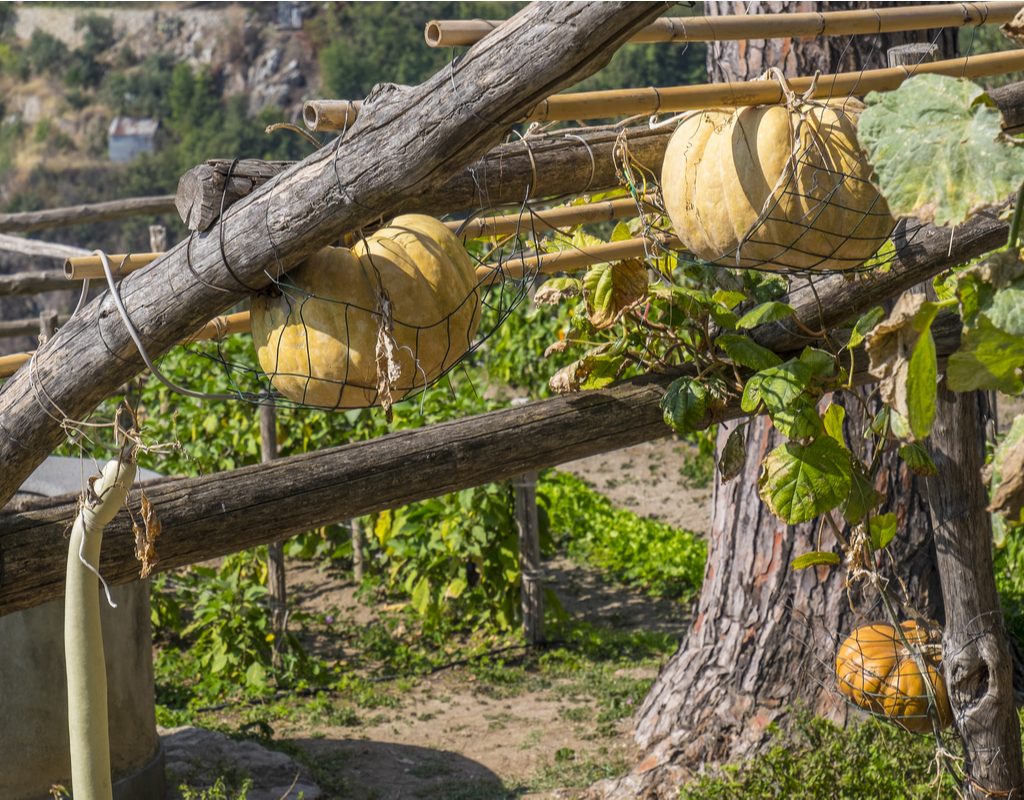
Pumpkin vines, while sprawling across your garden, will climb anything they can reach. You can minimize this by growing your pumpkins on a trellis. This gives your pumpkin something to climb, and limits the amount of space they take over, while also keeping the vines from climbing fences, bird baths, or even other plants. All you need is to set your trellis next to where the pumpkins are growing and gently weave the vines into the trellis as they emerge. The plant will do all the rest. If you plan on growing large pumpkins, be sure to give them a sling or hammock as extra support, or the pumpkins may break off the vine and fall.
Since pumpkin vines can grow so long, and produce such large fruits, it’s likely not a surprise that they need a lot of nutrients. Test your soil before planting if you plan on using fertilizers. Otherwise, mixing compost into your soil before planting and adding smaller amounts throughout the growing season can keep your pumpkins well fed.
Harvesting pumpkins
Your exact harvest date will depend on the variety of pumpkin and when exactly you planted them, but, on average, your pumpkins will be ready after three or four months. For an early October harvest, you should plan to plant in late May or early June. Pumpkins ready for harvest are firm and evenly colored. It can be difficult to tell if pumpkin varieties that are striped, spotted, or otherwise unusually colored are ripe based on color alone, so you may need to rely more on a texture test. Gently but firmly press your fingernail into the rind of the pumpkin. If it leaves an impression, the pumpkin is not yet ripe. A gentle flick or thump can also work as a suitable test.
Once you’re sure your pumpkin is ripe, it’s time to take it off the vine. Use sharp garden shears, scissors, or a knife and gently sever the vine at the top of the pumpkin. Be sure to leave yourself plenty of stem to give yourself a nice handle (although you should avoid carrying large pumpkins by only their stems, since the stems can break), and to avoid opening any accidental wounds on your pumpkin.
Now that you know all the basics for planting, raising, and harvesting pumpkins, you can have all the pie and jack-o-lanterns your heart desires. There’s nothing standing in your way, so why not start today? In three to four months, you’ll have all the pumpkins you want, and all it’ll take is some sun, soil, water, and patience.


